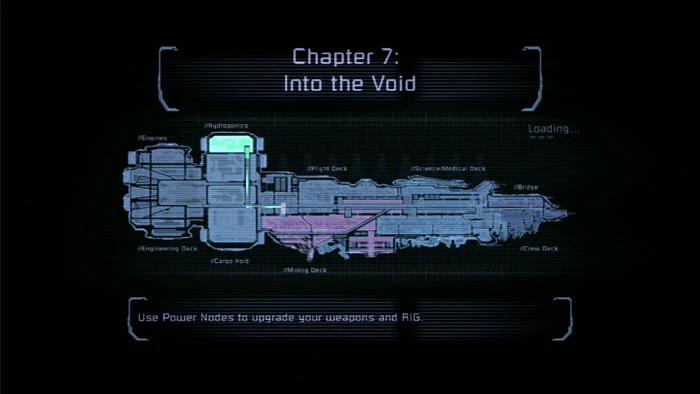
1. Descend to the Mining Deck for Chapter 7: Into the Void.
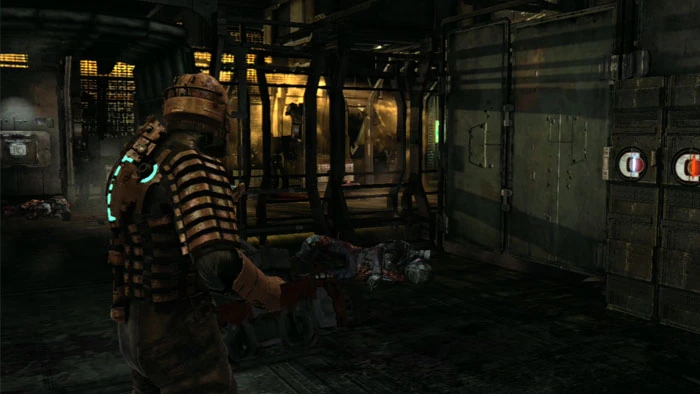
2. Inside the tram station you'll find a storage bin and a wall cabinet to the right. Exit through the door on the left.
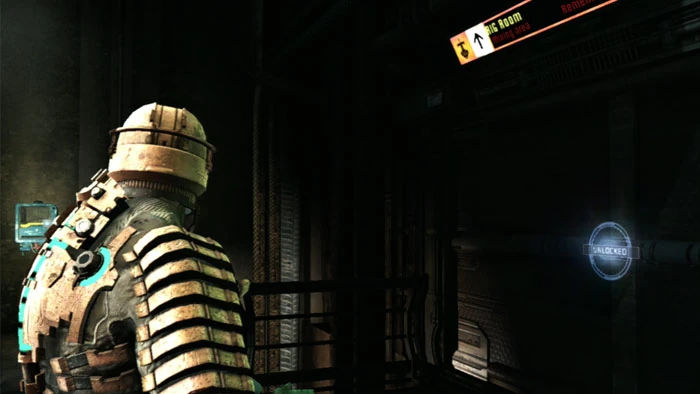
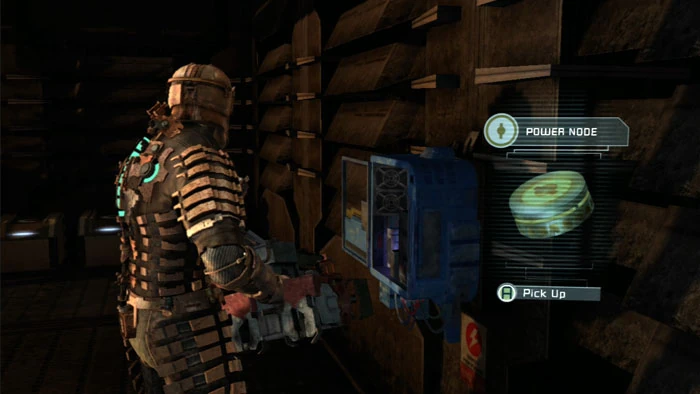
3. Don't miss the two alcoves before heading through the Rig Room door. The one seen here on the left holds a Power Node, and there's another across the room with a storage bin.
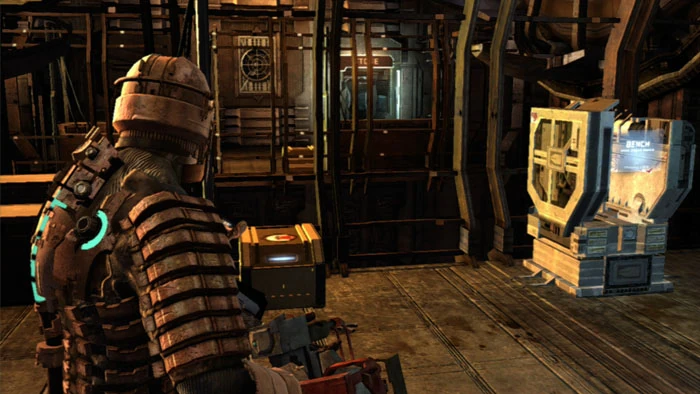
4. Lots to help you out in the Rig Room. Two storage bins, two pick-ups, an Upgrade Bench and a Save Station, as well as a pair of unlocked lockers.
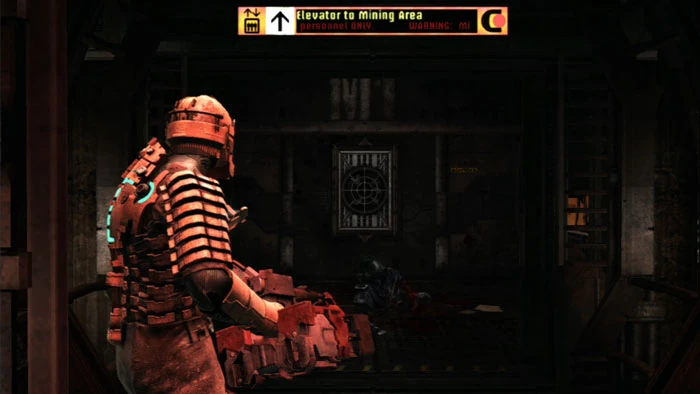
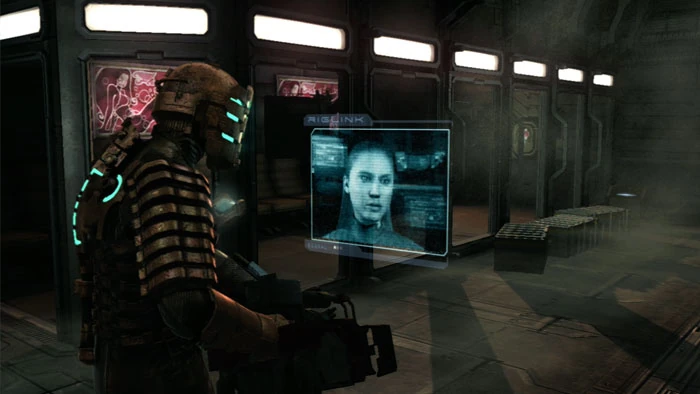
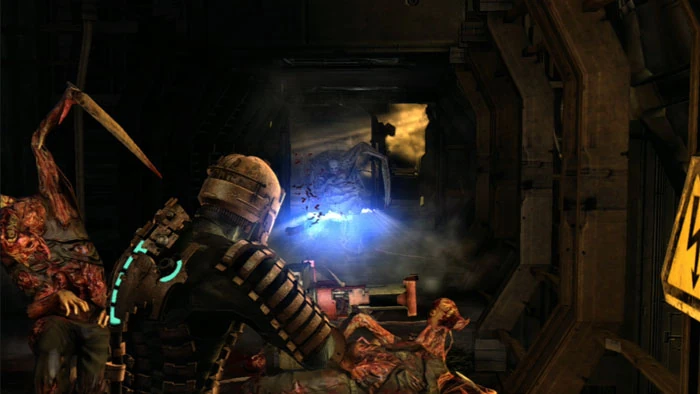
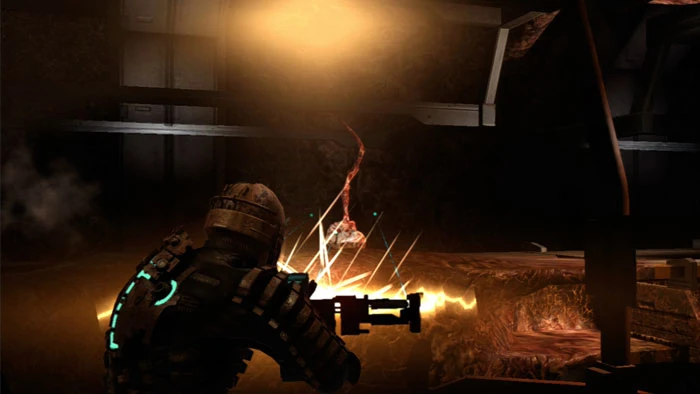
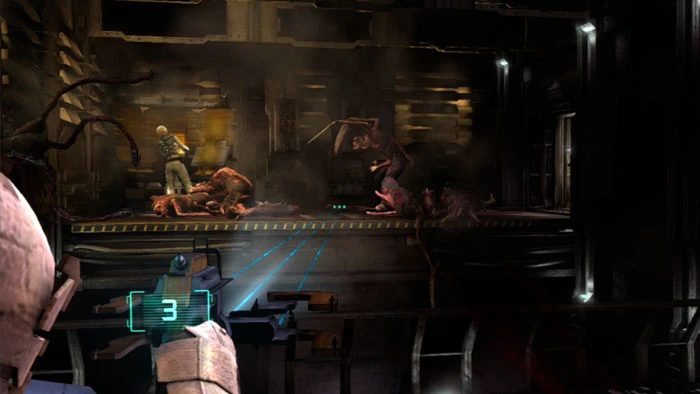
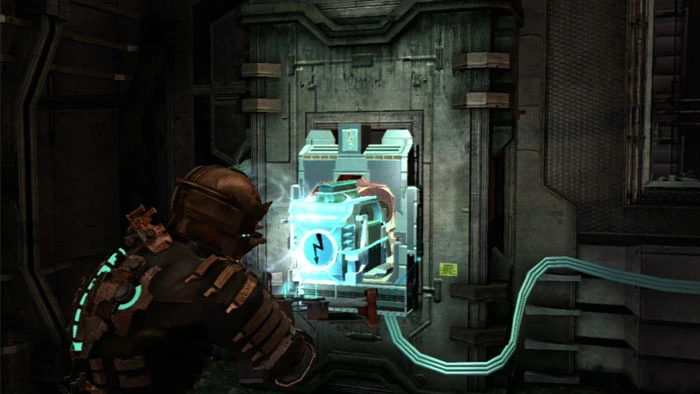
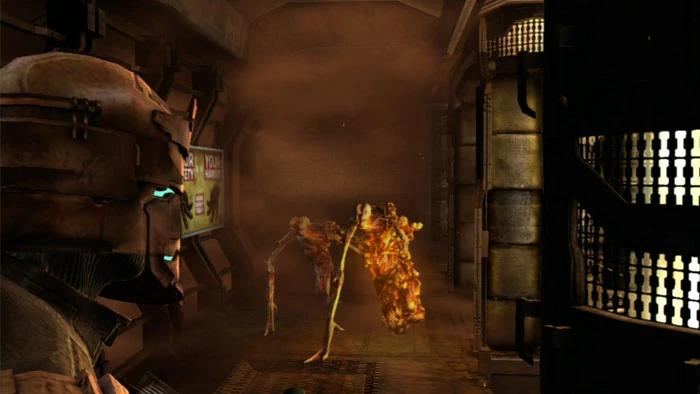
5. Call the Elevator to Mining Area and witness this poor soul's last moments.
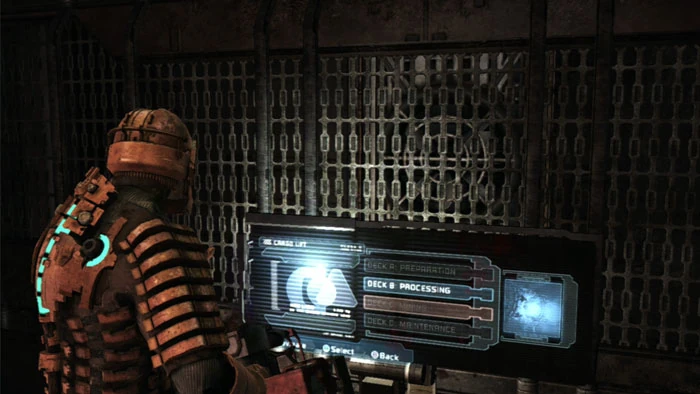
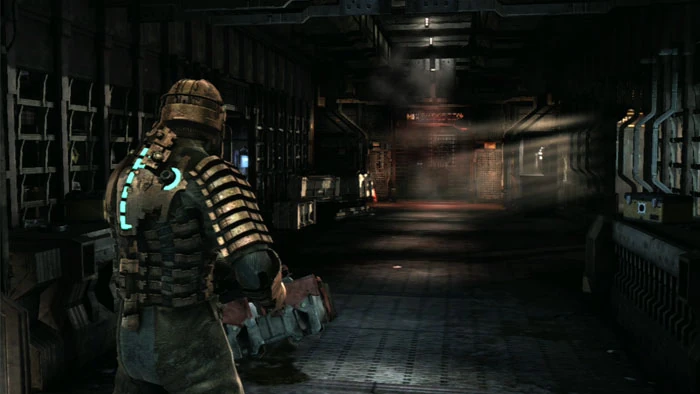
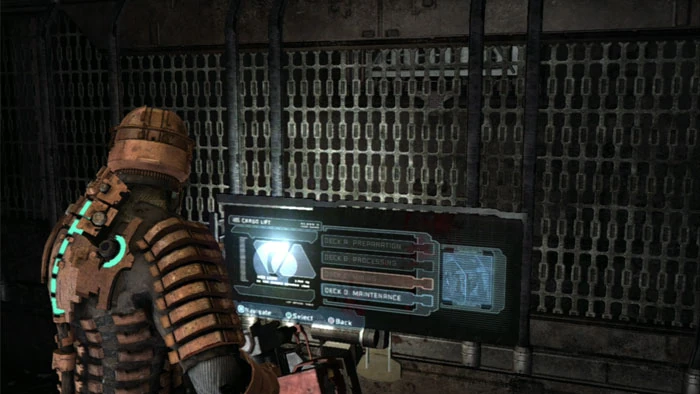
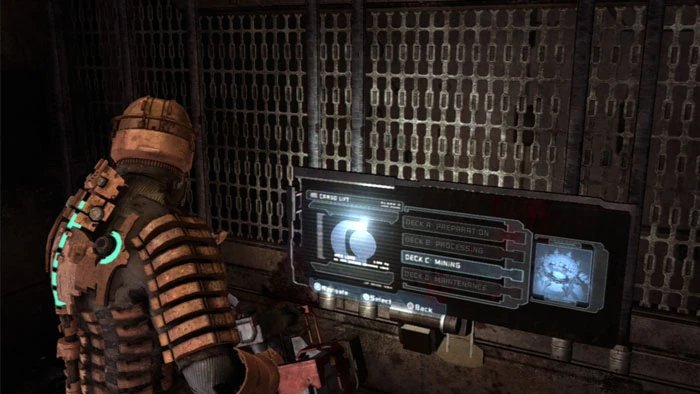
6. Step on and Kendra informs you that Deck C: Mining is unavailable at the moment. You can proceed to Deck B: Processing or Deck D: Maintenance, it doesn't matter. Your locator directs you to Deck B, so I'll choose that first. Ready the gun you prefer for close-in combat.
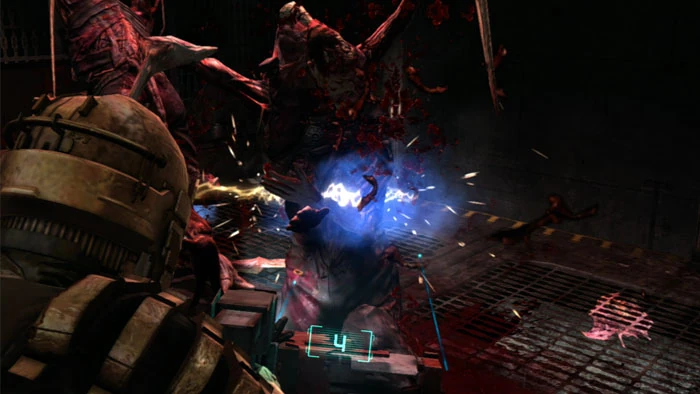
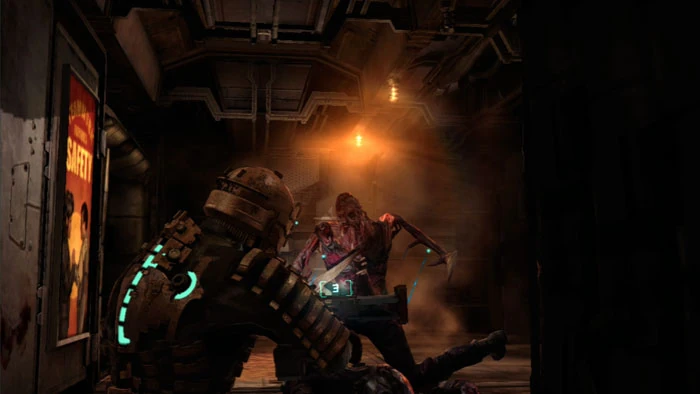
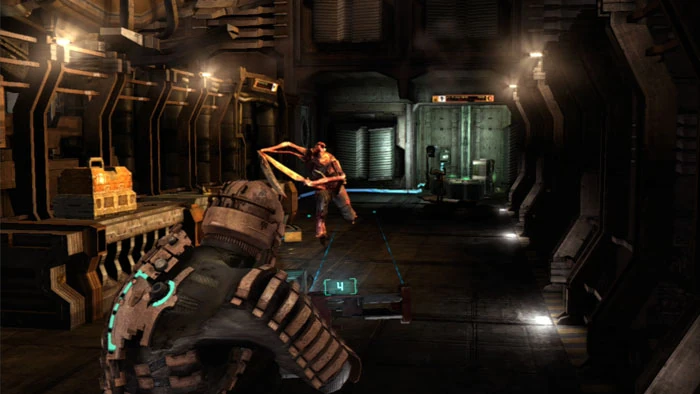
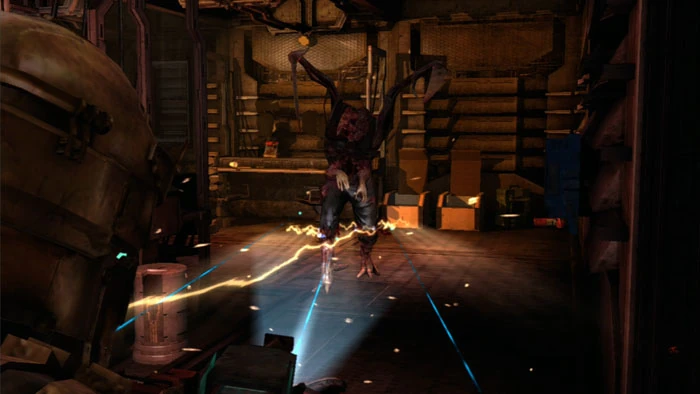
7. Think the elevators are safe? Guess again. Four Slashers attack in quick succession as the lift descends. My Line Gun takes them down without much trouble.
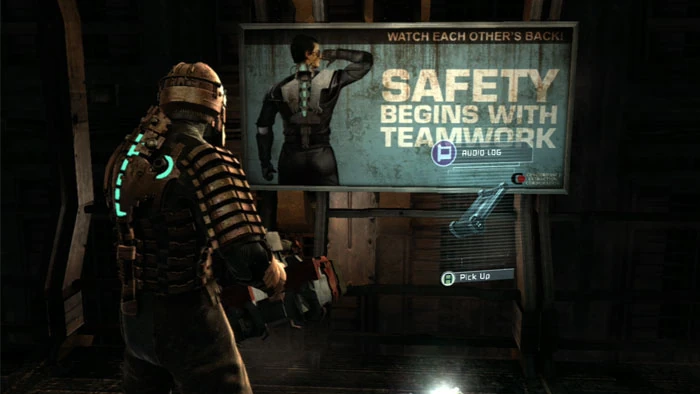
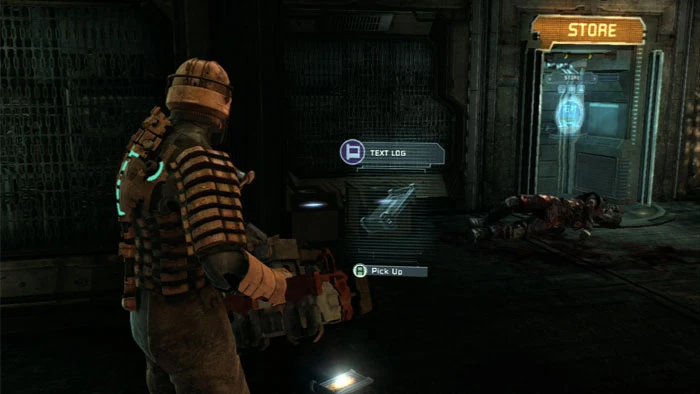
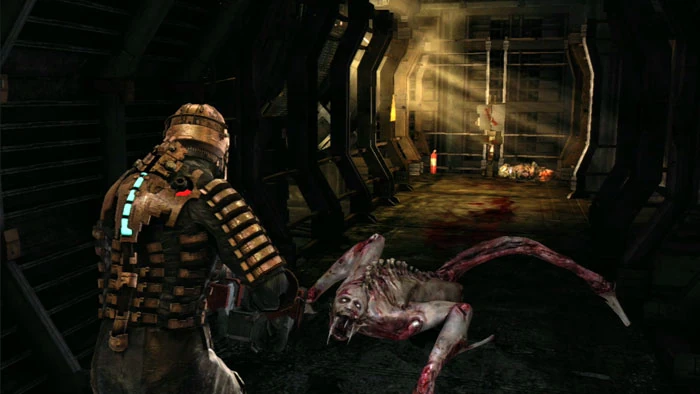
8. Step off the lift and find the Temple and Elizabeth audio log.
9. Two storage bins are on the left, and a whole lotta hurt is on the right. Four Slashers and a Pregnant spawn as you advance down the right walkway.
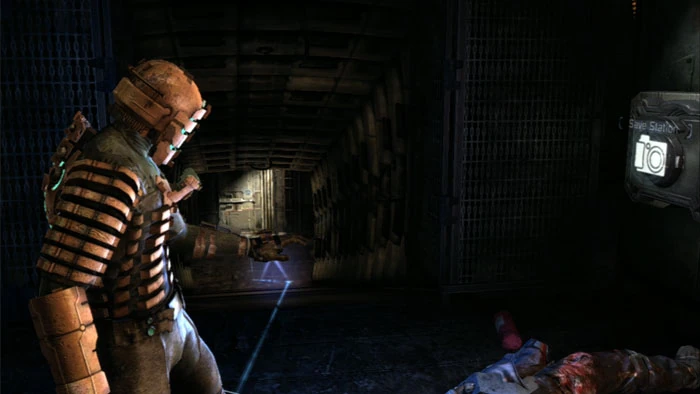
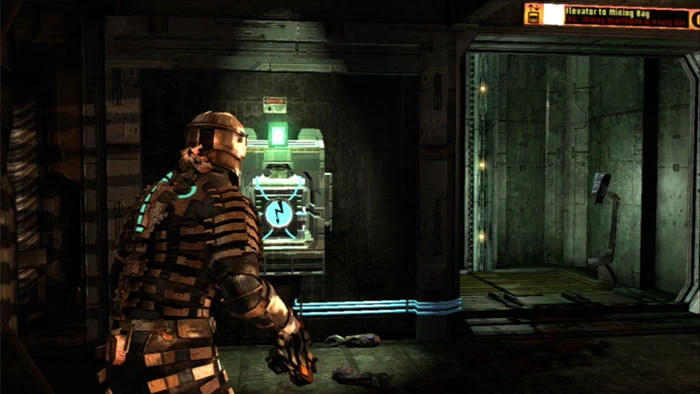
10. Around the corner is this unlocked locker and Save Station.
11. Descend this ramp and pass through the door at the bottom.
12. Defeat a Slasher in the corridor and find the Processing Room Problem text log here. Note the two storage bins. I buy two Power Nodes at the Store.
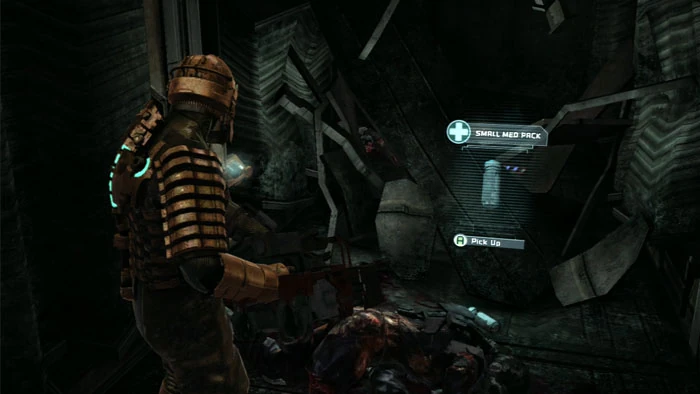
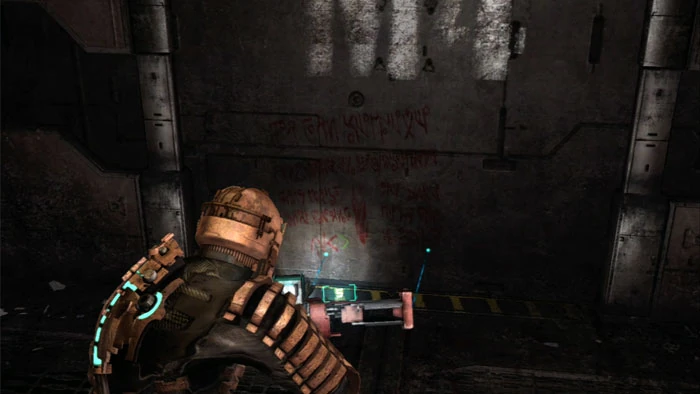
13. Follow the corridor all the way back/right to this pick-up. Note the cornucopia of goodies on the other side of the debris - inaccessible for the moment.
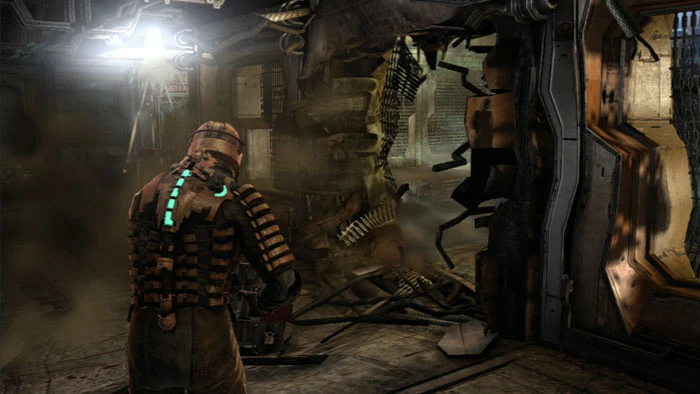
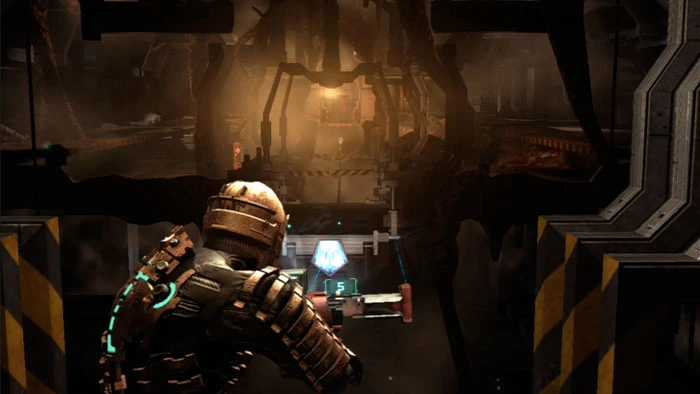
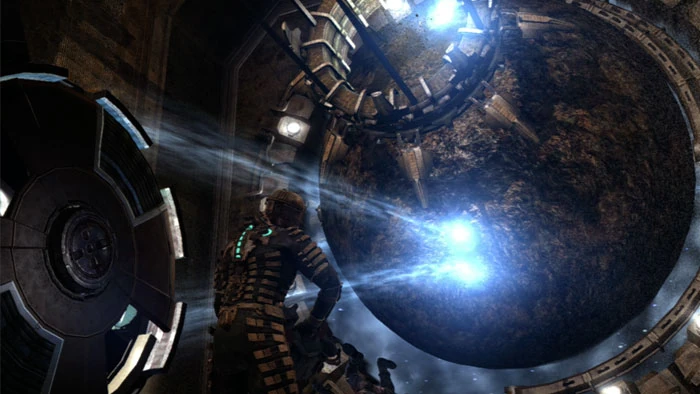
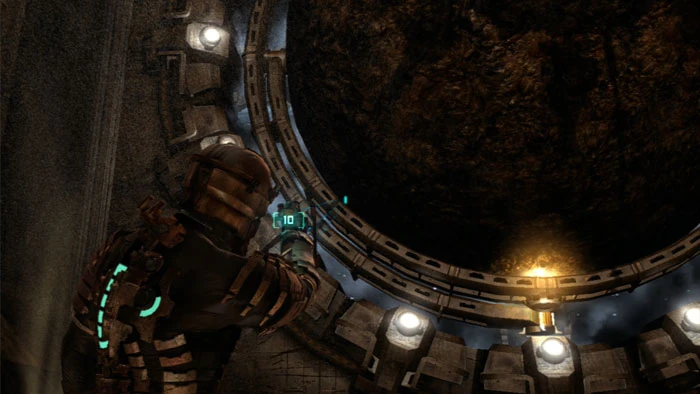
14. Backtrack a bit then pass through this hole in the wall to the Zero-G area beyond.
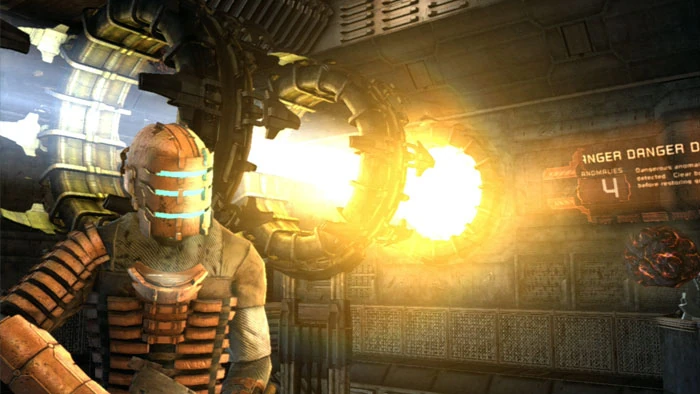
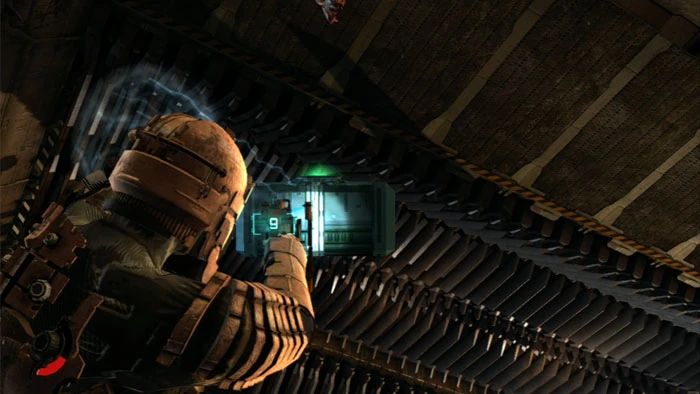
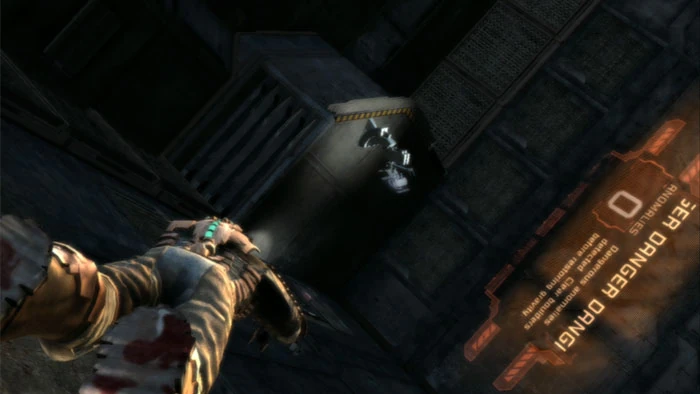
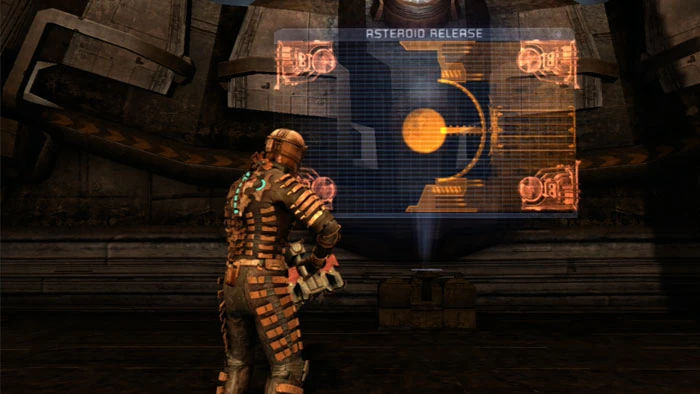
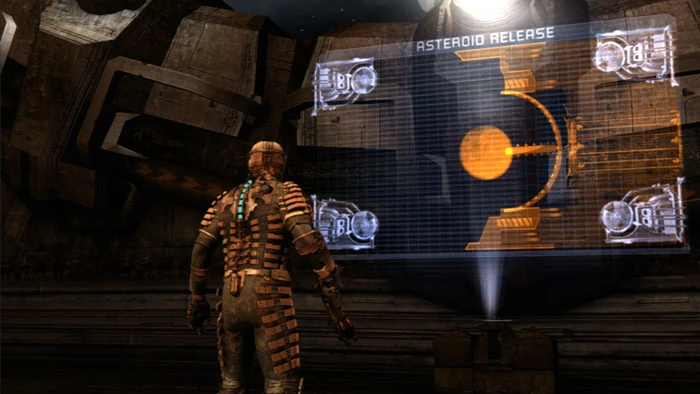
15. The big board on the right tells you there are four anomalies preventing gravity from being restored. You can see one of them under the board -- the anomalies are asteroids.
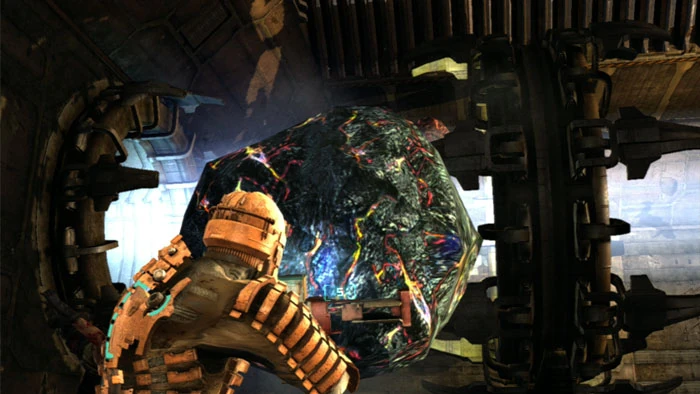
16. Using Kinesis you can grab the asteroids and deposit them into the gravity stream disposal system above.
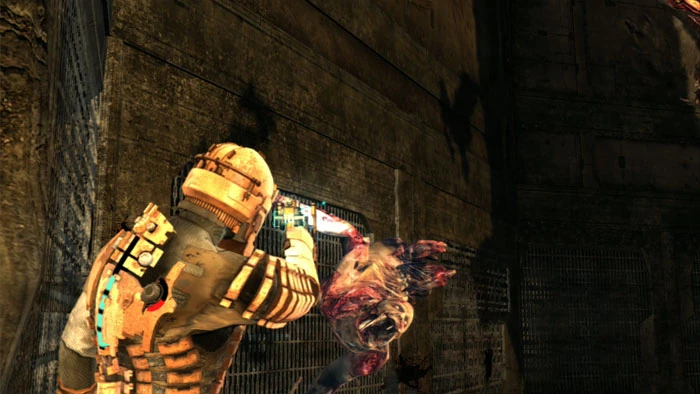
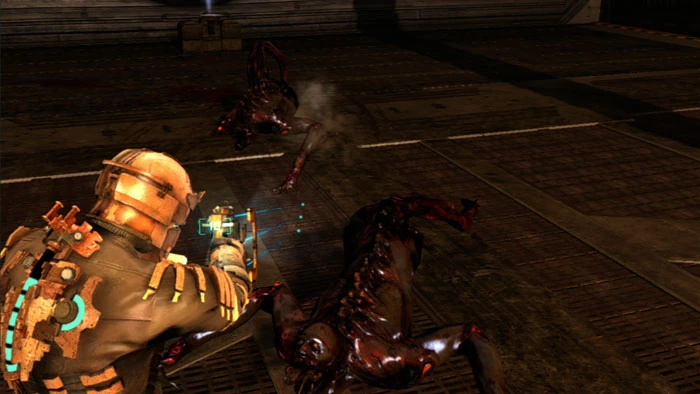
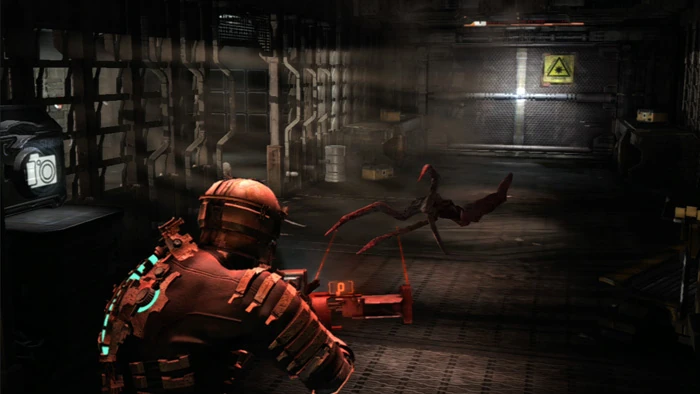
17. Necromorphs attack as you dispose of the asteroids, first Leapers and then Lurkers.
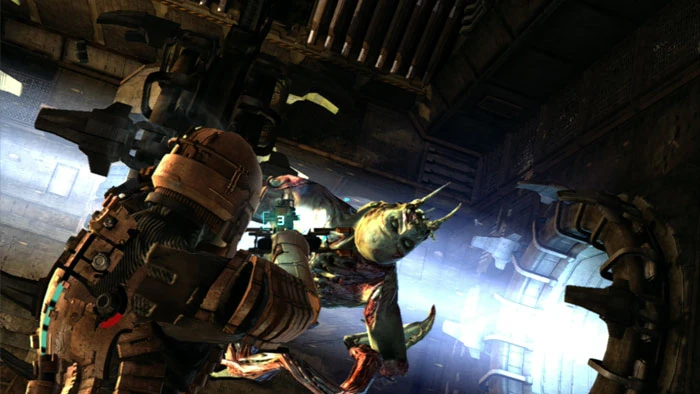
18. Call me a neat freak but I like to dispose of the bodies into the gravity stream as well. Sometimes revenge is a dish best served piping-hot.
19. You'll need to Zero-G jump around the room to reach all four asteroids. Be sure to grab any pick-ups and supply crates now, too -- once gravity is restored these goodies may fall into inaccessible areas.
20. Once all of the asteroids are cleaned out, Zero-G jump to this platform beneath the big board.
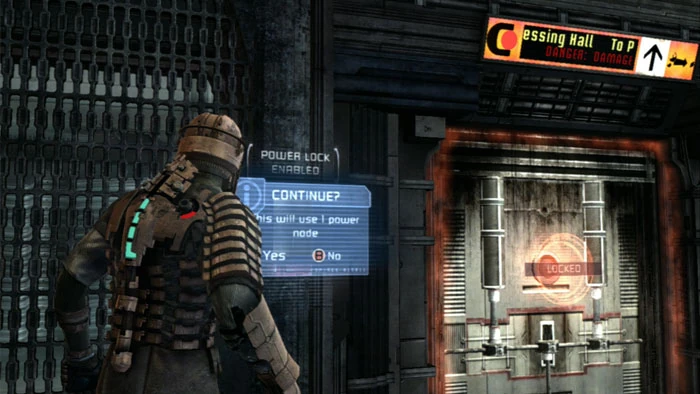
21. Spending a Power Node on this door behind the gravity control panel grants access to the previously-inaccessible cornucopia of supplies, including multiple pickups, a storage bin and the always-welcome Ruby Semiconductor. Note that the Ruby Semiconductor itself is worth the cost of the Power Node.
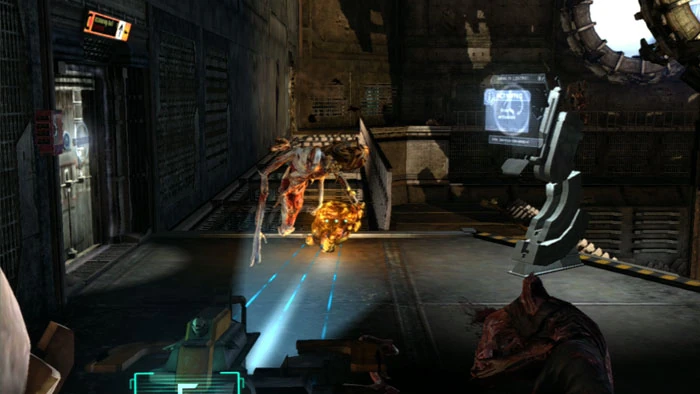
22. Activate the Gravity Control Panel to restore gravity. A rather sizable onslaught of Necromorphs attacks, including a Pregnant, multiple Slashers and multiple Exploders.
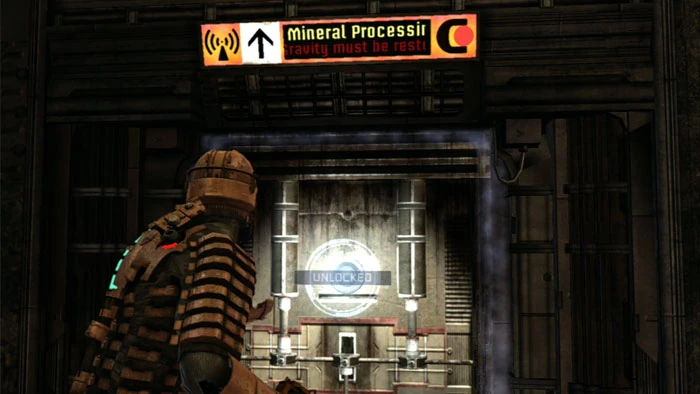
23. You can now access this door to Mineral Processing Control
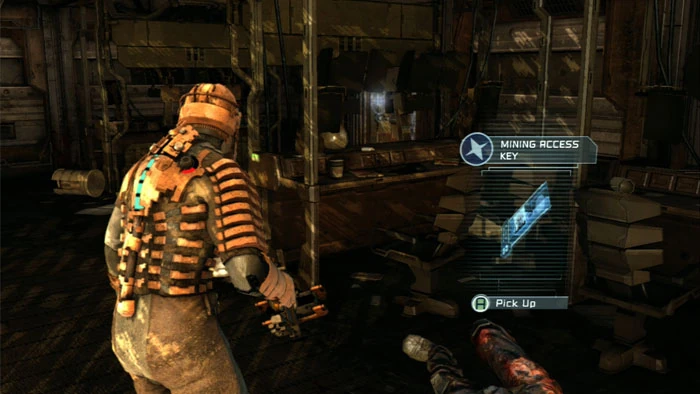
24. Inside are three storage bins, a pick-up and this all-important Mining Access Key. Exit through the door ahead.

25. Find a Power Node then approach this inactive door for a brief scare before it finally becomes unlocked. The corridor beyond leads back to the Save Station and Store.
26. This Leaper attacks as you return to the Elevator to Other Decks.
27. Next we'll take the elevator down to Deck D: Maintenance.
28. Upon reaching Deck D you can spy the seventh code of the 5-Node Cheat on the elevator's back wall. The green right arrow tells you that the seventh character of the cheat is an X.
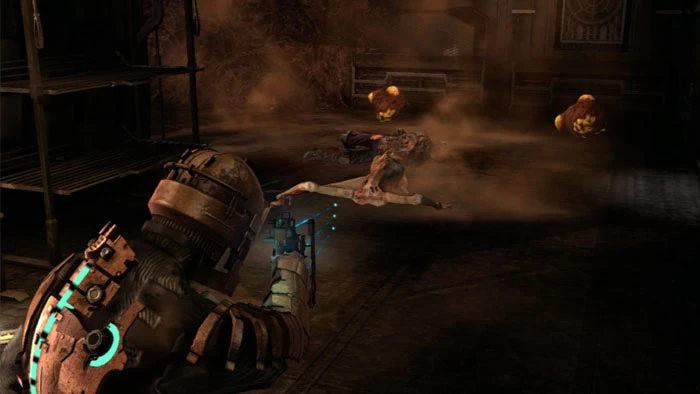
29. Quickly descend the ramp after exiting the elevator and eliminate a pair of Infectors.
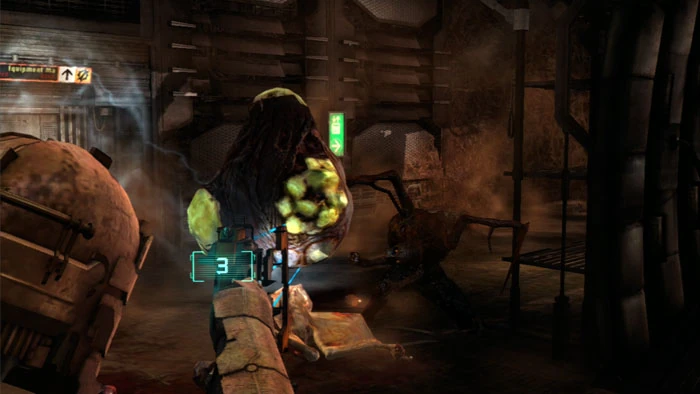
30. Work fast or you'll have Slashers to contend with. These yellow objects can be thrown for damage.
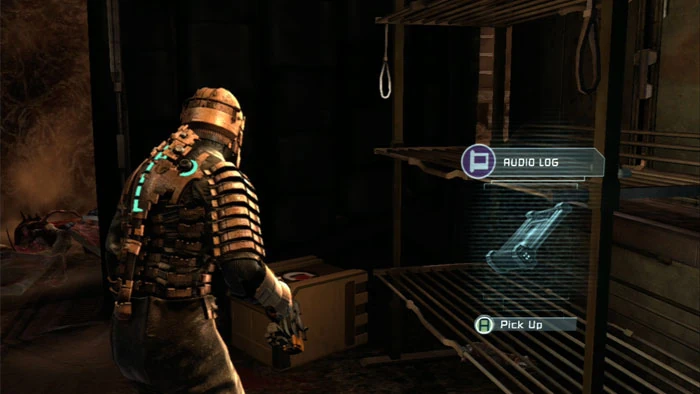
31. Loot the area and find the Kyne's Hostage audio log here. Don't miss the Gold Semiconductor in the far-right corner.
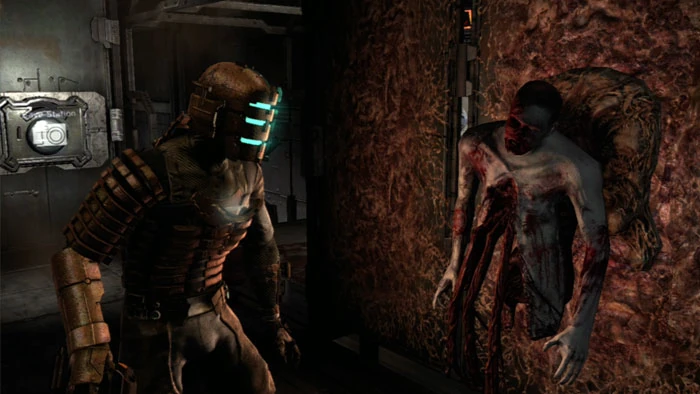
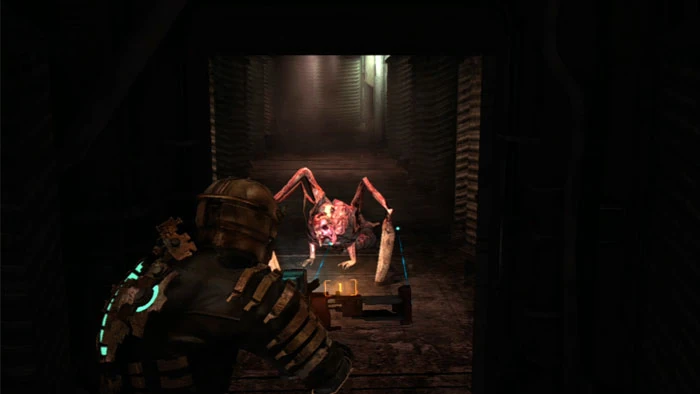
32. Exit through the Equipment Maintenance Bay door and find a Save Station plus this harmless-yet-grotesque Necromorph.
33. Use Kinesis to pull this Gondola toward yourself then step on.

34. Before using the panel to get going, use Kinesis to grab this power-up on the right. Another is on the left but I was only able to grab it after the gondola moved a short distance.
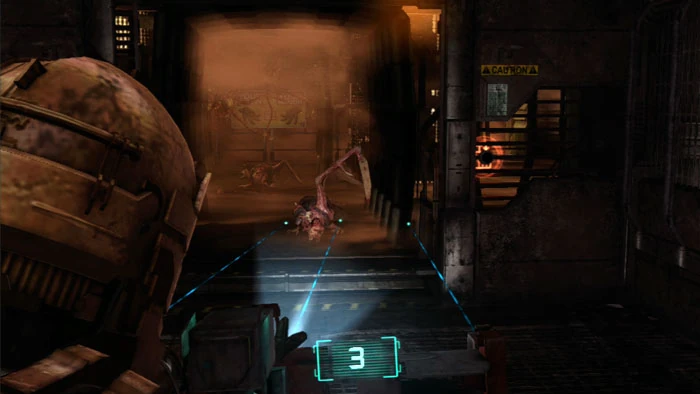
35. Numerous Pods attack from the left and right during your crossing. The Line Gun is ideal.
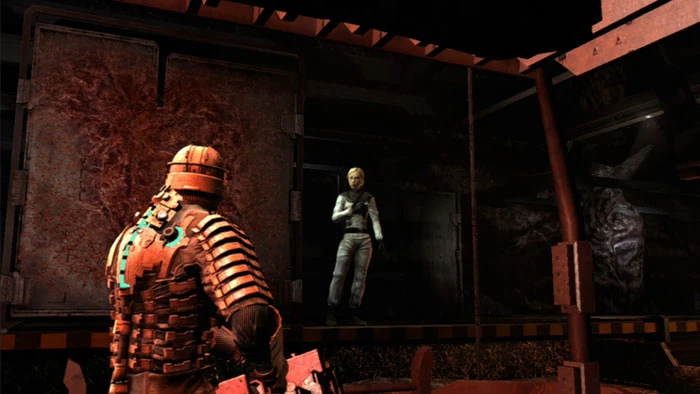
36. Nicole greets you on the other side. Something isn't quite right about her; she seems odd.
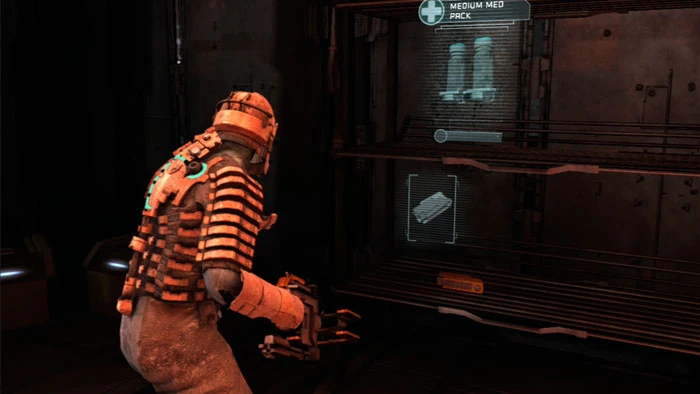
37. Exit the gondola and find two storage bins and plenty of pick-ups on these shelves. Another pick-up is across the room on the left.
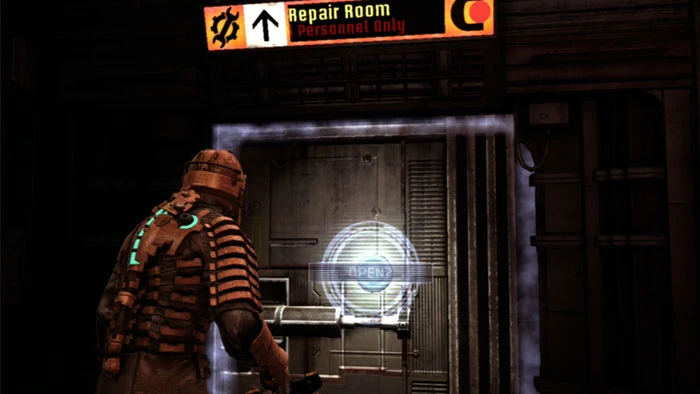
38. Enter the Repair Room and find a pick-up to the left.
39. Defend Nicole from multiple waves of Slasher attacks. You can hear the Slashers rattling about before each attack. You'll know you are getting close to the end when the Lurker seen here on the left appears.
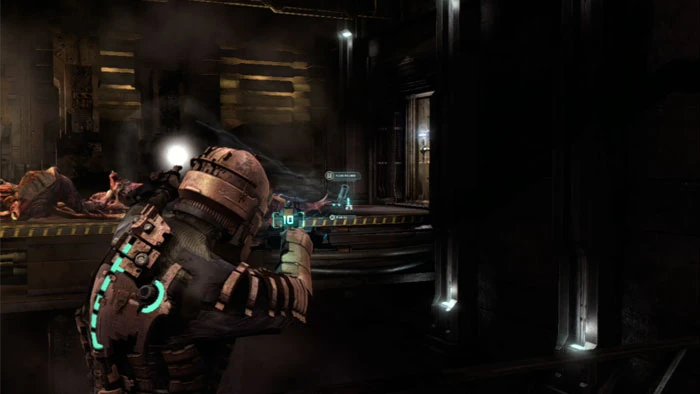
40. Use Kinesis to grab any drops before entering the now-unlocked Maintenance Storage Room door behind you.
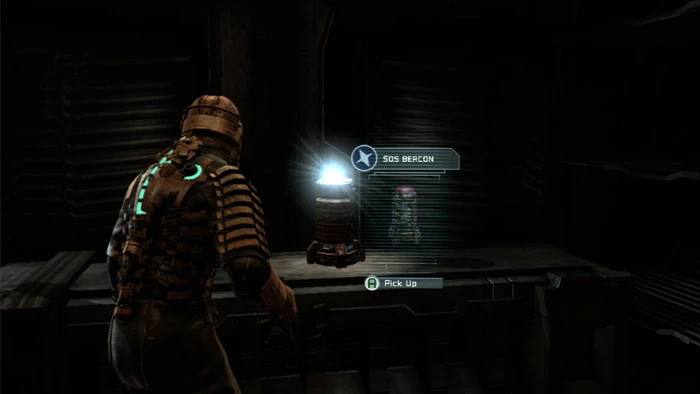
41. Grab the SOS Beacon to update your objectives.
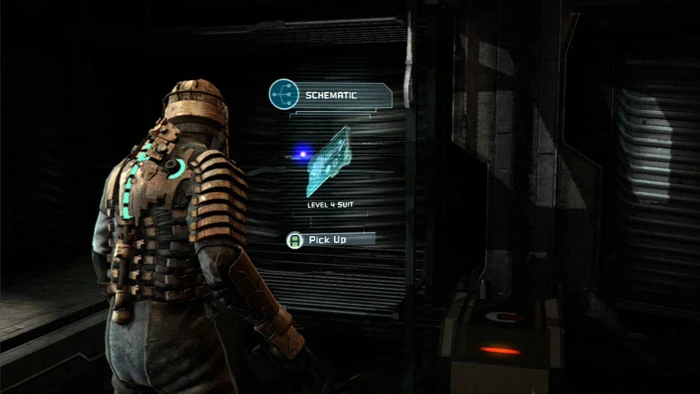
42. Plenty more to pick up on these shelves, including this Level 4 Suit Schematic and a Power Node on the wall.
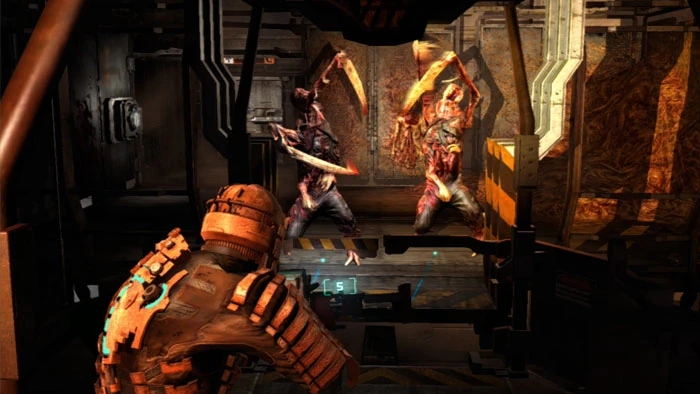
43. Backtrack to the gondola. Your return trip meets with even greater resistance, capped by these two break-dancing Slashers as the gondola arrives on the other side.
44. Beware this possum-playing Slasher as you head back to the elevator.
45. Kendra updates your objectives as you enter the lift, which you can now ride to Deck C: Mining.
46. Ready your weapon -- a Necromorph reception committee is waiting for you as the lift arrives.
47. Your locator directs you to the right, but head left to find a storage bin and this room, defended by a Slasher. Note the grouping of supply crates ahead/right -- the leftmost crate holds a small Swarm.
48. Two storage bins, a Save Station, Upgrade Bench and Store are also here.
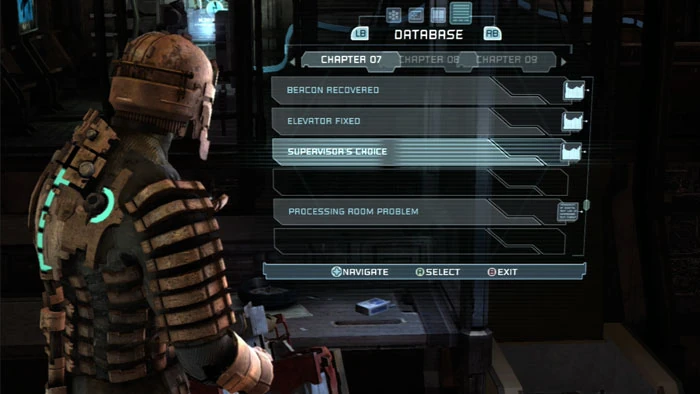
49. Find the chilling Supervisor's Choice audio log on this table across from the Store. Note the absence of a log between Supervisor's Choice and Processing Room Problem -- that will be explained shortly.
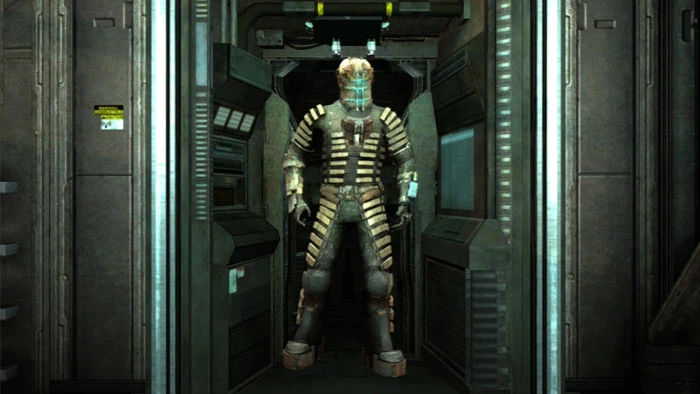
50. I buy a Power Node and the Level 4 Suit at the Store. 15% armor and 20 inventory slots are now mine.
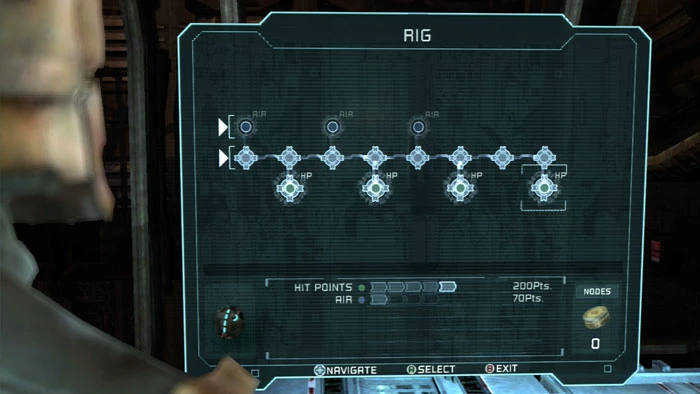
51. Even better, I use the Upgrade Bench to spend all six of my Power Nodes and maximize my Rig to the full 200 hit points.
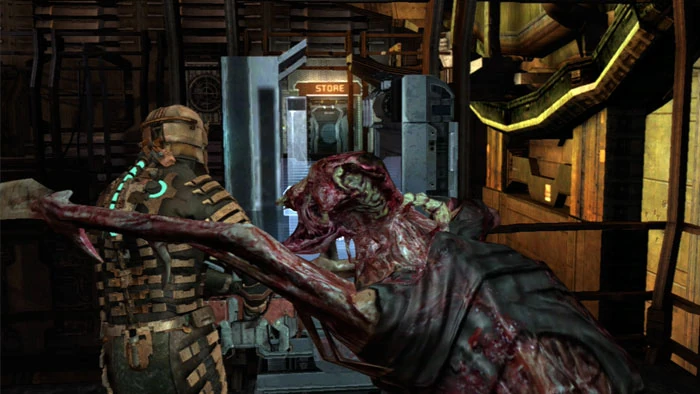
52. Yikes! I suppose it's only fitting that Chapter 7 has the only elevator attacks and the only Upgrade Bench attack. Hands off the new threads, slime bag!
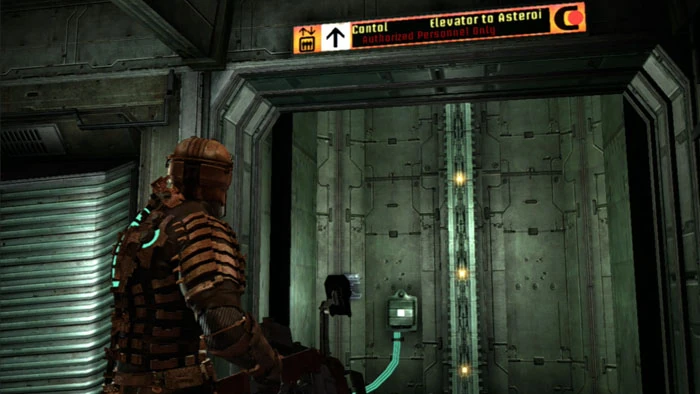
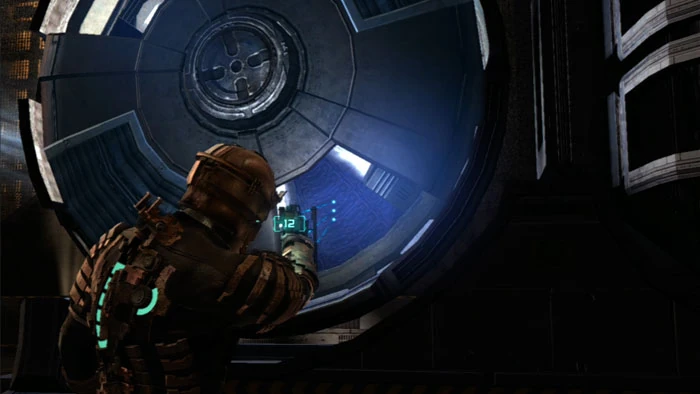
53. If you're short on supplies you can take a bit of a jump ahead and ride this lift up to Asteroid Mining Control.
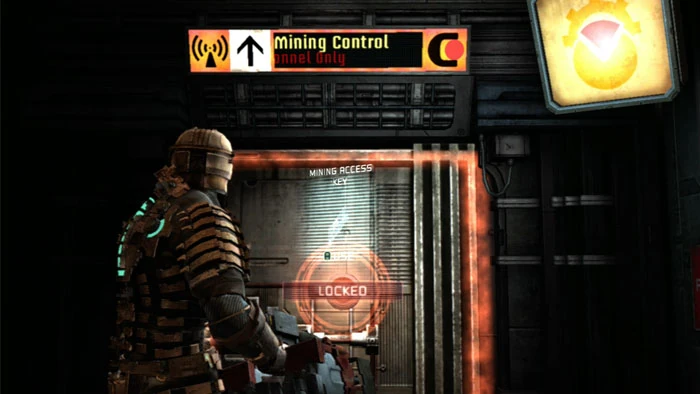
54. The door is locked, but your Mining Access Key will get you in.
55. A Power Node and two storage bins are now yours for the taking.
56. Once you're done with Asteroid Mining Control, go ahead and pull the plug on the lift. The power cell is needed elsewhere.
57. Of course the Necromorphs aren't going to make this easy. Two Exploders attack while you have your hands full.
58. Defeat the Exploders then install the power cell here and enable the Elevator to Mining Bay.

59. Ride the lift down then follow the corridor to this junction. Your locator directs you right, but continue ahead to raid a whopping five wall cabinets. Also here is the Mining Timeline text log, a Gold Semiconductor and a Stasis Recharge.
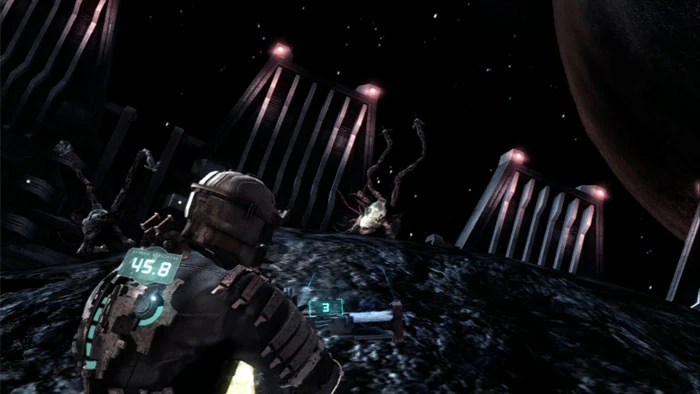
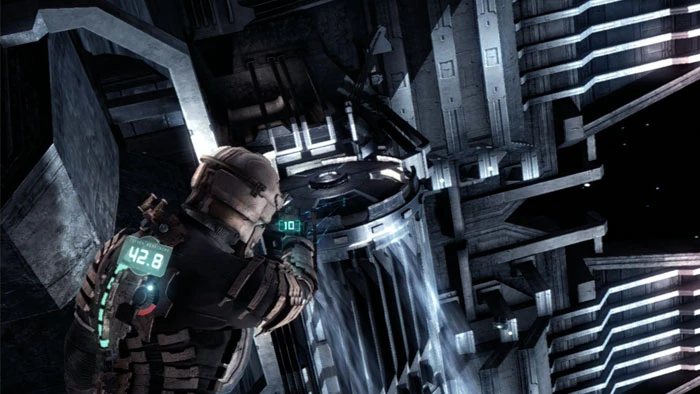
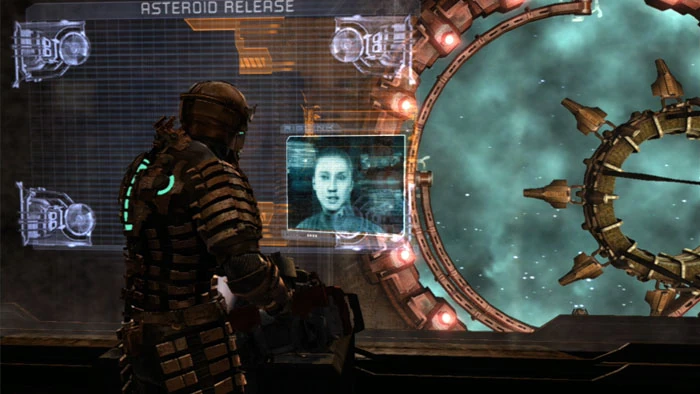
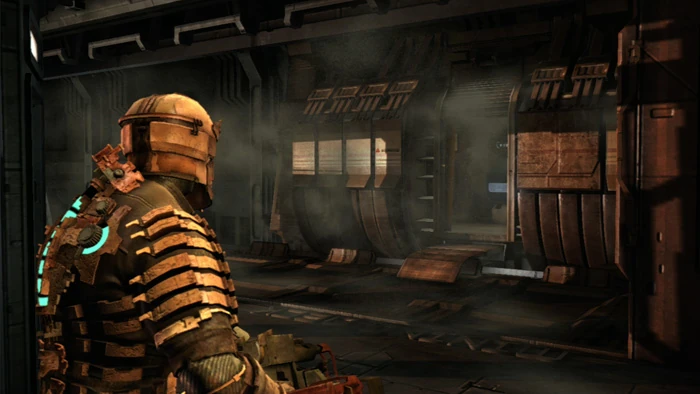
60. Wow. Amazing settings like this make Dead Space the special game it is, and are a reminder of how far gaming technology has come.
61. The big board clues you in that four gravity tethers need to be severed before the asteroid can be launched.
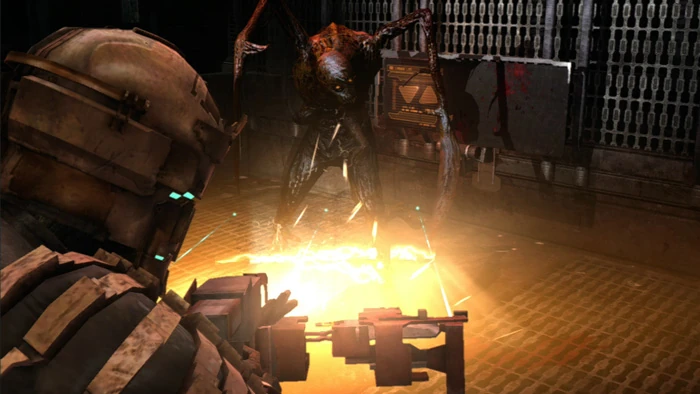
62. A quartet of Leapers attacks - of the Enhanced variety! These guys are tough.
63. Take care of the Leapers then turn your attention to the gravity tethers. The first one is right here by the doors. Use Stasis to slow it down then fire through one of the openings to knock it out of commission.
64. Zero-G jump to the ceiling then take out the second gravity tether. Be sure not to miss the nearby supply crate.
65. Many folks get stuck now because they can't find the other two gravity tethers. Don't fret; they're just on the other side of the asteroid. Wait for the two arms to move away from this position then Zero-G jump to this spot on the asteroid.
66. Walk across the asteroid to the vacuum of space then do battle with a pair of Lurkers.
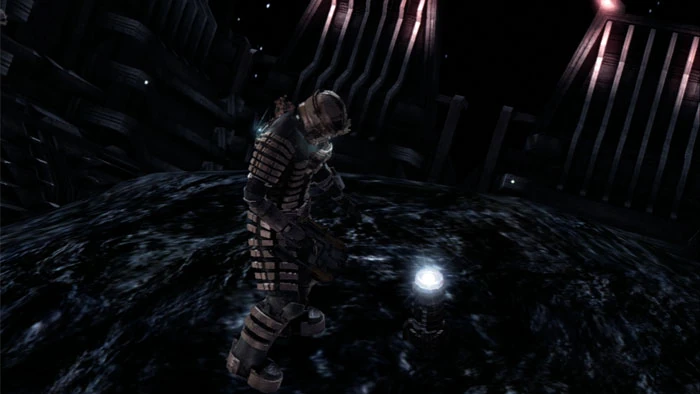
67. You're now free to plant the beacon in peace. Note that if you want the Attach the Beacon log you should not plant the beacon yet.
68. Take out the other two tethers as before and complete the objective.

69. Return to the other side of the asteroid and grab any supply crates or pick-ups you may have missed previously.
70. Zero-G jump back to the floor and relish your success. You've passed one of Dead Space's more difficult hurdles.
71. Defeat this slasher as you return to the cargo lift.
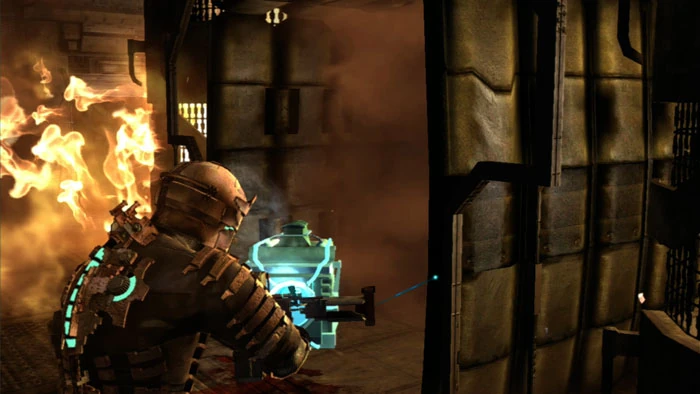
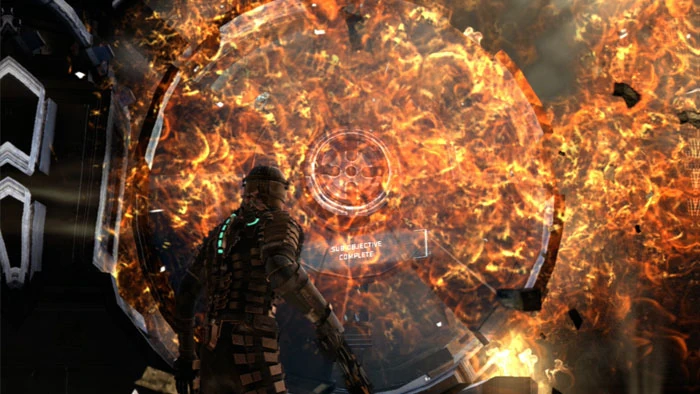
72. Grab the power cell with Kinesis then navigate the pulsating inferno back to the Mining Control lift, where a small Swarm attacks.
73. Plug the power cell back into the lift control then ride it up and use the panel. If you did not plant the beacon you will now get the Plant the Beacon log. Otherwise, you complete the objective.
74. As you approach the exit a lockdown initiates. Multiple Slashers attack.
75. Ride the Mining Area elevator back up to Level A. Once again, the elevator is not safe. This solitary Slasher will be your only guest.
76. Divider segments greet you in the Rig Room.
77. Return to the tram and use the panel to complete the level.
Sources[]
Visual Walkthroughs - Dead Space Walkthrough - Into the Void
|
| |||
| |||
|
|