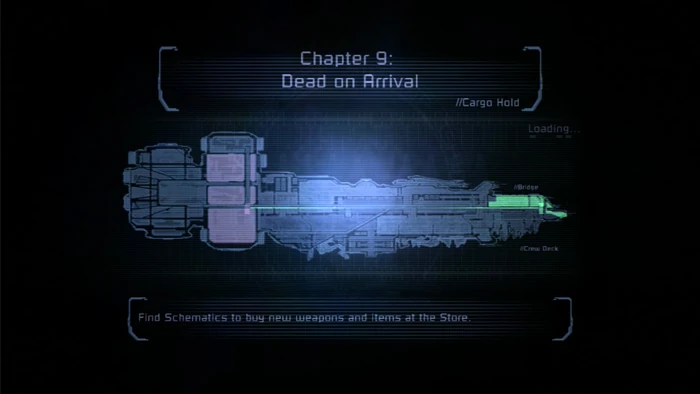
1. The Tram takes you to the Cargo Hold for Chapter 9: Dead on Arrival.
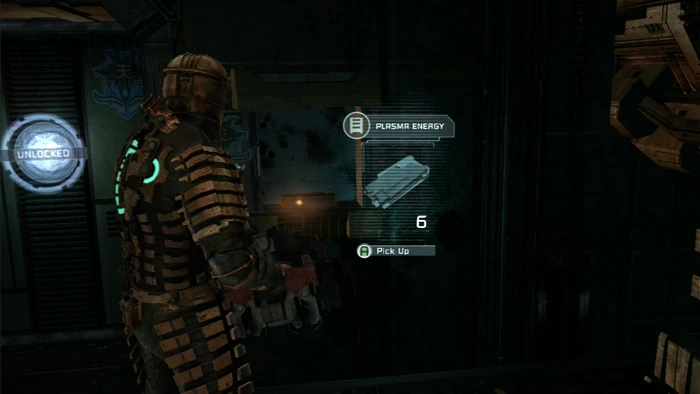
2. Hammond suspects that the Valor and the Ishimura are on a search-and-destroy mission, for what he doesn't know. A supply crate is in the waiting area, and a storage bin and Upgrade Bench are here, too.
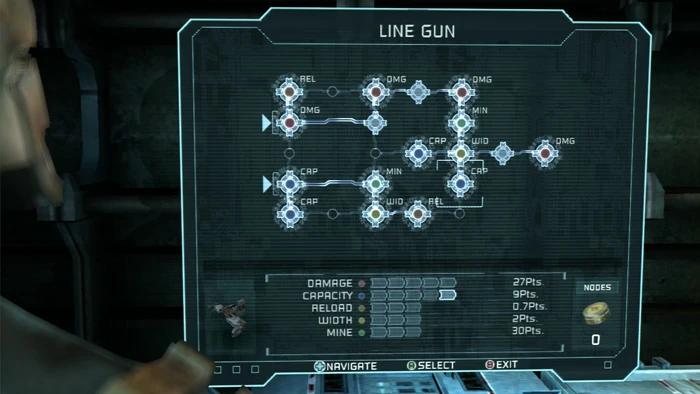
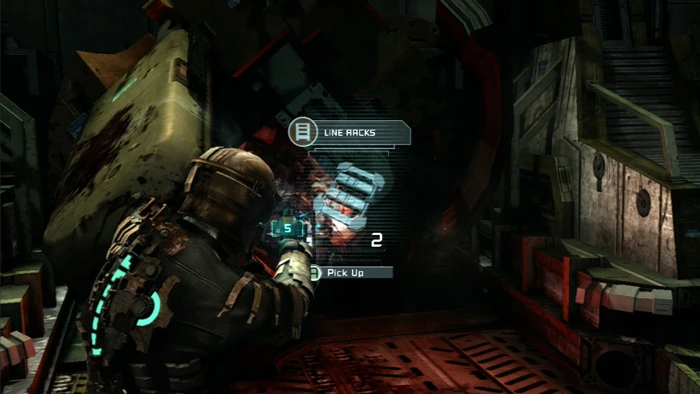
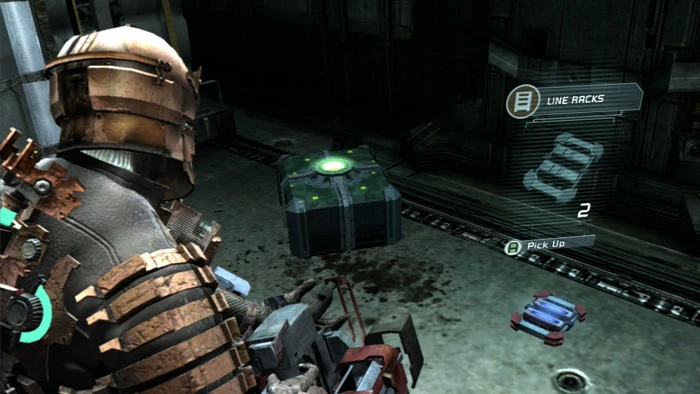
3. I use the Bench to spend all five of my Power Nodes, completing the upgrade of my Line Gun. No Power-Node doors are coming up soon so feel free to spend your Power Nodes.
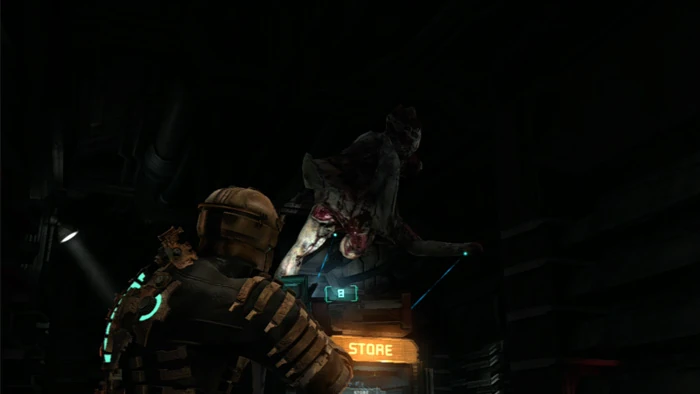
4. Follow the corridor to this Store, then the supply crate and door beyond. A storage bin is to the left of the Store.

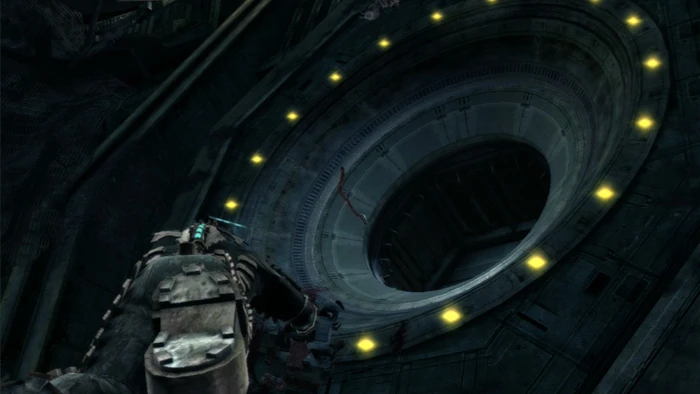
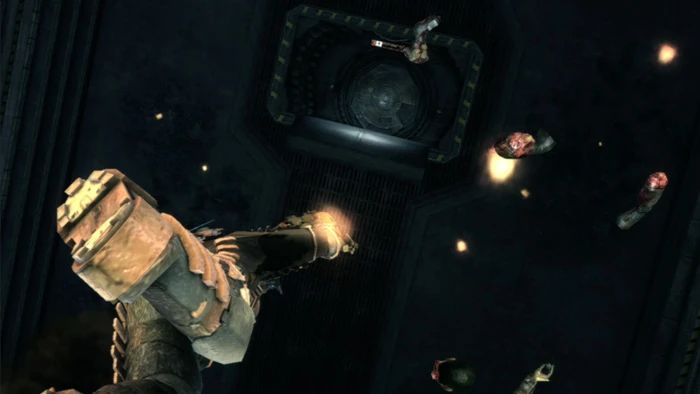
5. Grab this Medium Air Can then head into Zero-G Ore Storage.
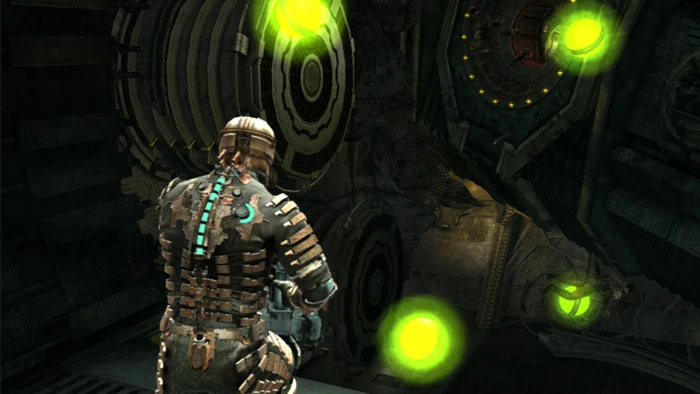
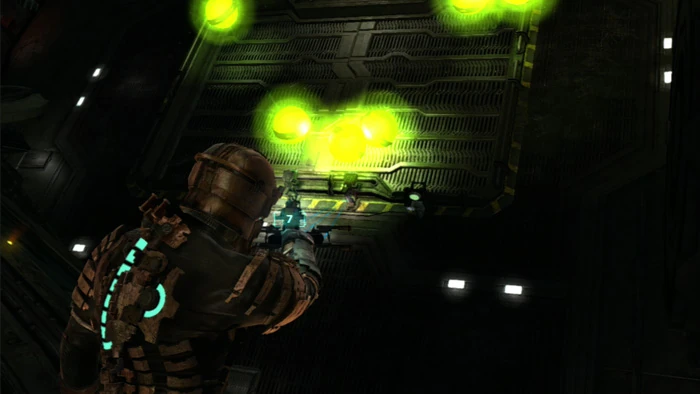
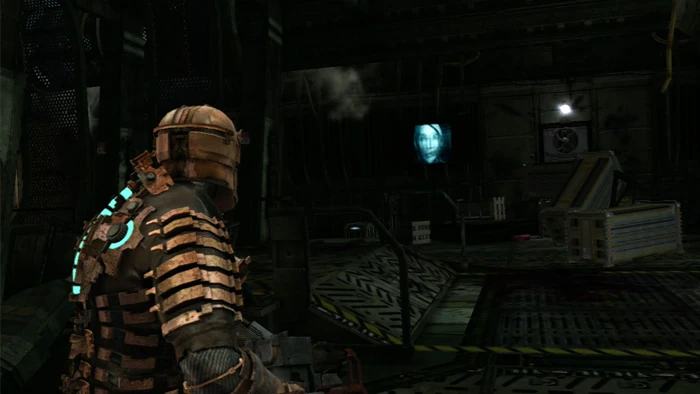
6. One of the Valor's weapon modules ripped open in the collision, releasing these radioactive orbs.
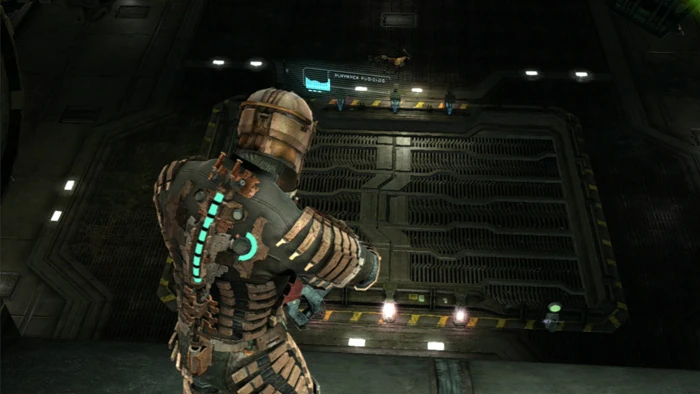
7. You'll need to jettison them through that ore-storage door and into space before the Valor's airlock will open. You can open the ore-storage door by shooting the fuses surrounding it, but that will leave you in a vacuum.
8. Much easier to move the orbs now, then open the doors once they're all bunched up together. This will also allow you to work in peace as the room will remain clear of Necromorphs until you open the ore-storage door.
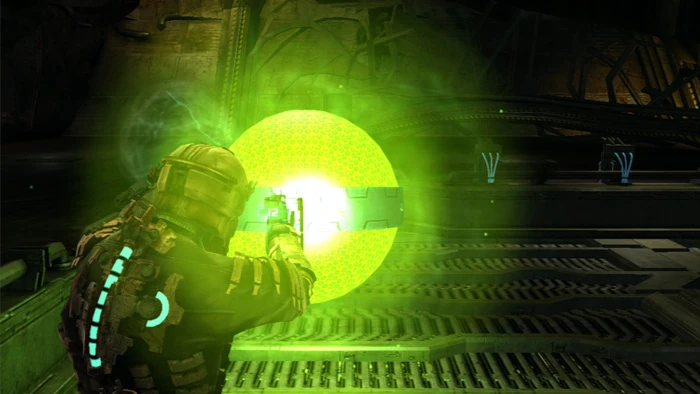
9. You'll need to do a fair bit of Zero-G jumping to reach all six orbs. Those that have upgraded Kinesis will find this task much easier than those of us who have not.
10. Once all six orbs are near the door, go ahead and shoot the six fuses holding the door shut.
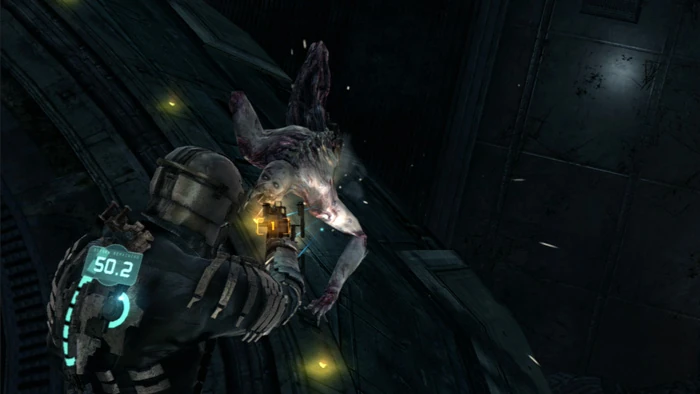
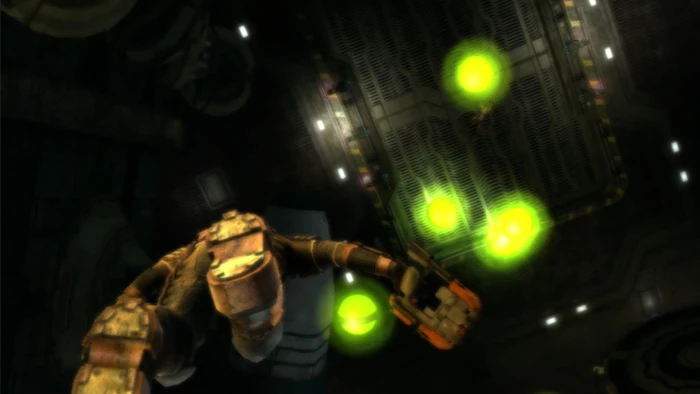
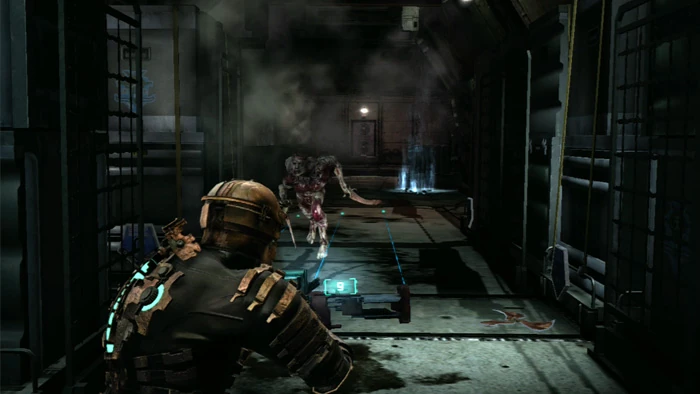
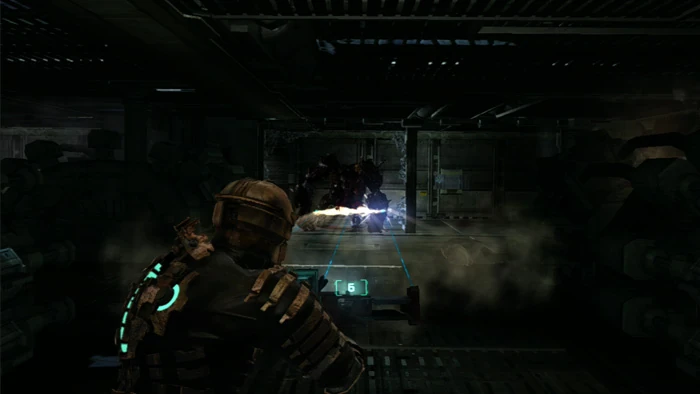
11. Now the fun begins. The air exits and the Necromorphs enter, starting with this Leaper.
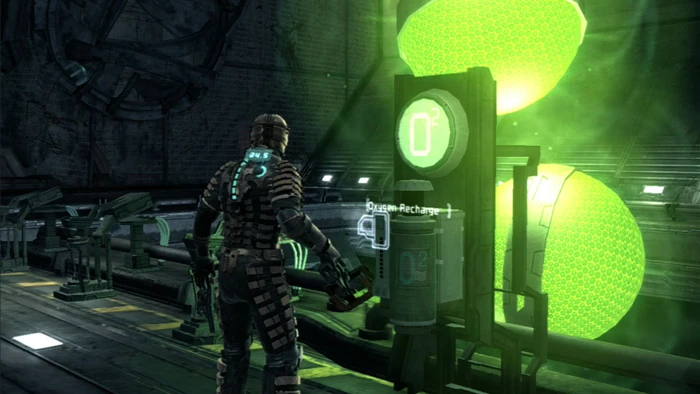
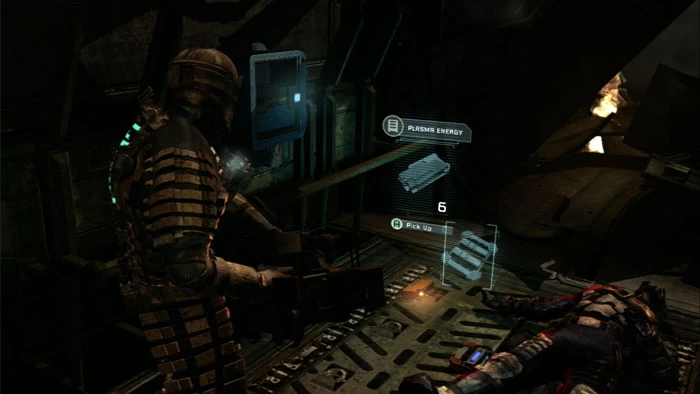
12. Oxygen Recharge is available as you shoot the orbs out into space. (Use Right Trigger to fire when using Kinesis.) At least the orbs are all near the door thanks to your earlier work gathering them.
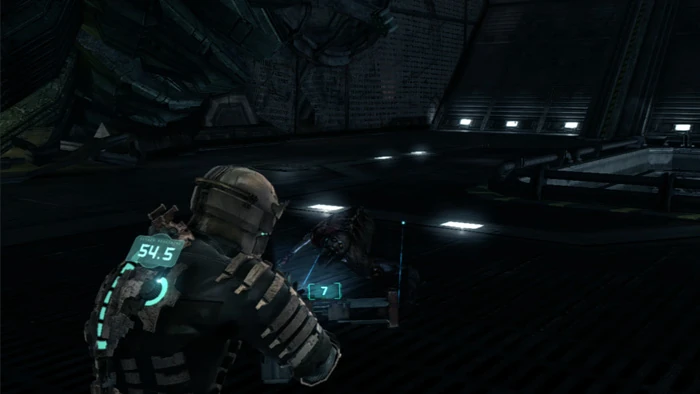
13. More Necromorphs attack, including Lurkers and Super Leapers. The width on this maxed-out Line Gun makes aiming almost unnecessary.
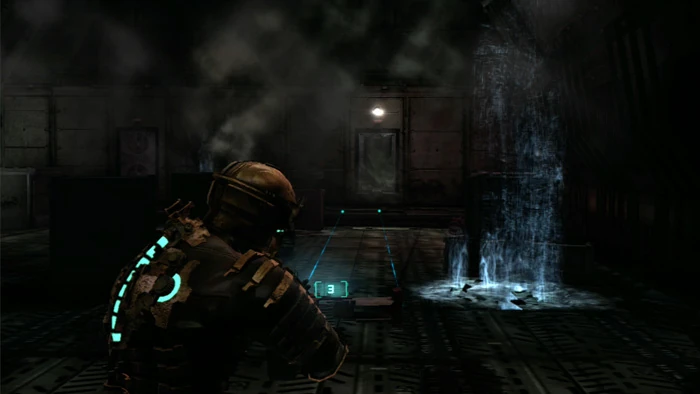
14. Once the radiation danger is averted, jump to the Valor's airlock and enter.
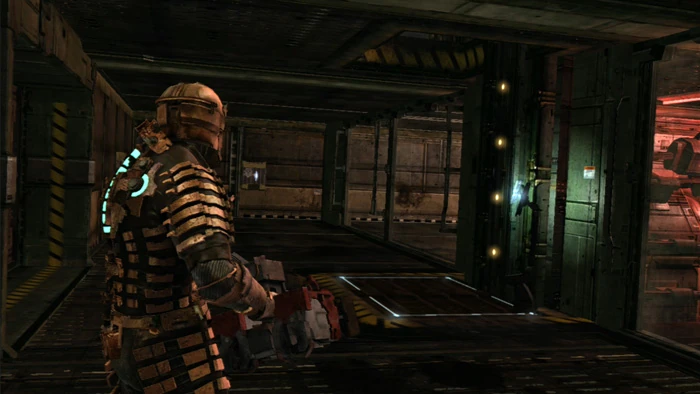
15. Catch a fleeting glimpse of something odd - and fast. A storage bin is on the right.
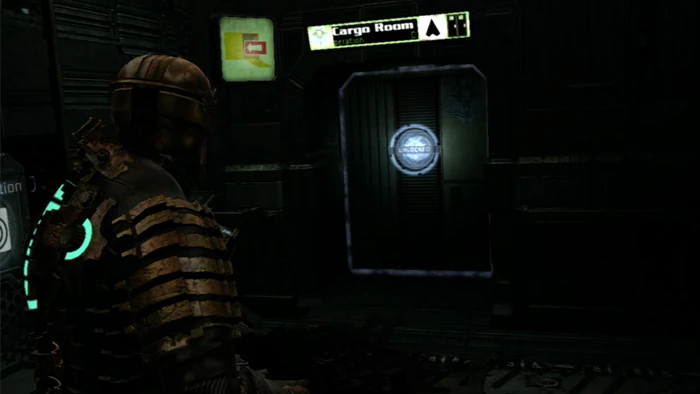
16. Follow the corridor to a Save Station and then enter this Cargo Room.
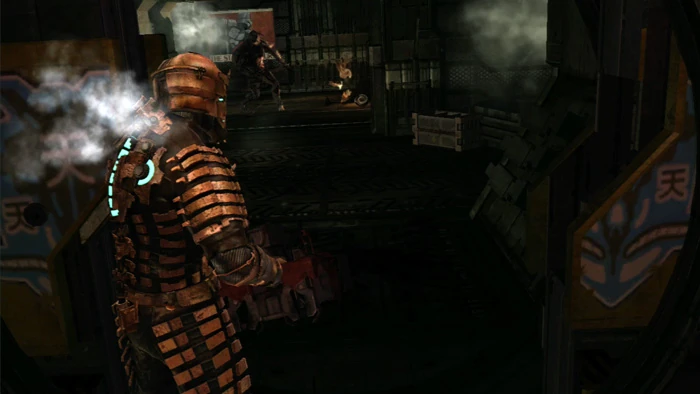
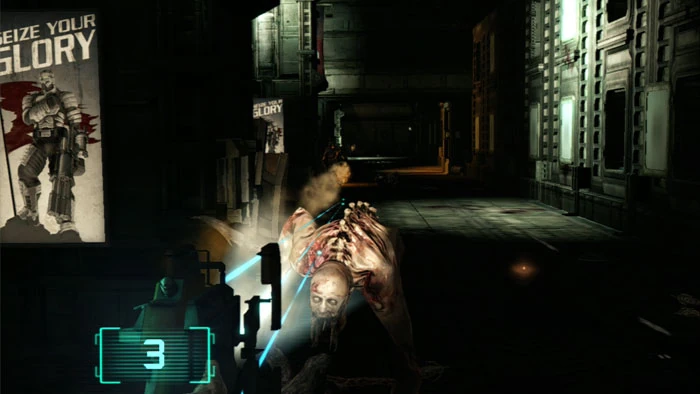
17. Here we go again with the crazy-fast twitchy guy. This is a new type of enemy aptly named the Twitcher. Marines stationed aboard the USM Valor have Stasis modules built into their military suits. When infected, the Marines assimilate these Stasis modules in a manner than results in wickedly-increased speed. Tread with caution.
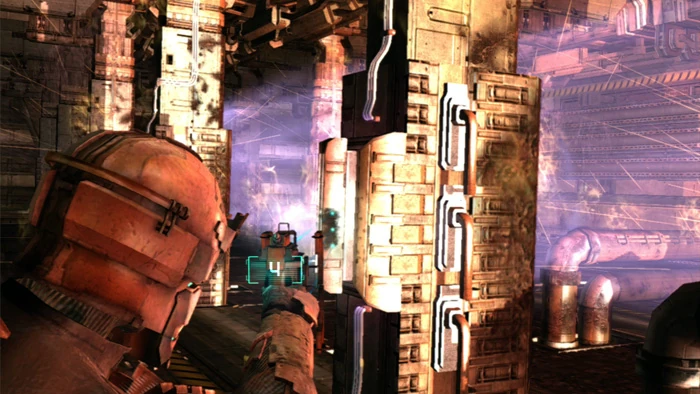
18. This area is all about hide-and-seek. Find a storage bin to the right of the door you just entered then use Kinesis to grab a pick-up in this debris. Note the additional pick-up to the right; you'll have to walk around to grab that, where you'll find another storage bin.
19. Farther into the room are these movable cabinets, sort of like mobile library shelving. Start with this one on the right, pulling it back to reveal a path beyond.
20. The path doesn't go far, but remember I said this area is all about hide-and-seek. Grab the pick-up then backtrack.
21. Farther left is this collection of three cabinets. Grab the one seen here and pull it to the side. Pull the one beside it to the left, revealing another path.
22. Move the next cabinet aside then be met by this Twitcher. Defeat him, then another. The maxed-out Line Gun can take one of these guys down with a single shot.
23. Move the cabinet on the left to reveal a secondary path that leads to this stash.
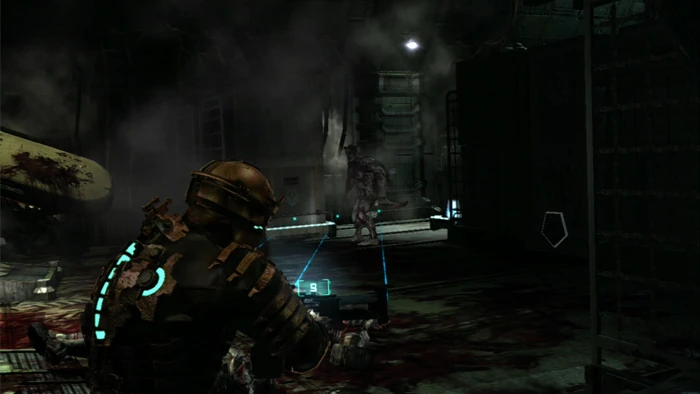
24. Keep an eye on the intact air vent on the left. Your next Twitcher emerges from there.
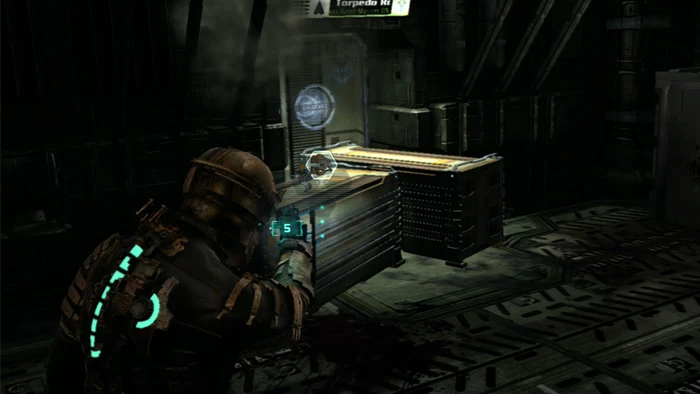
25. Clear this debris then enter the Torpedo Room.
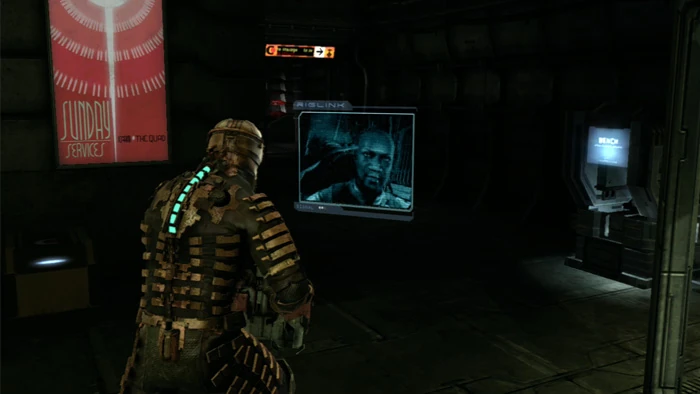
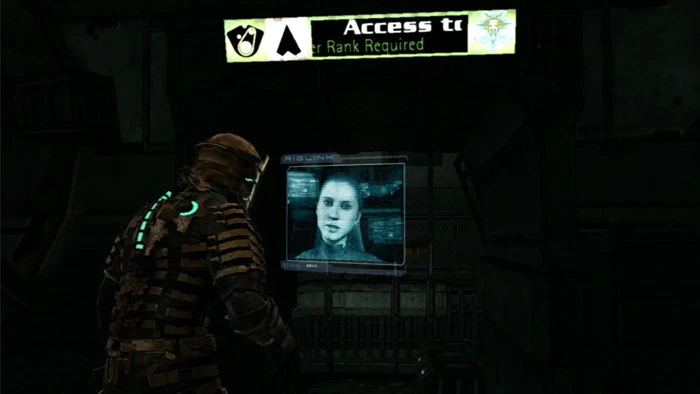
26. Suffer through another creepy Nicole video then clear the room of loot. A storage bin and supply crate are on the right, a storage bin is on the left, and a supply crate is down the middle.
27. Definitely don't miss the storage bin to the right of the door labeled Elevator to Upper Deck.
28. Once the door closes, stomp any bodies you find. Two Infectors are on the prowl. Note the Save Station and be sure not to miss the storage bin on the right.
29. Activating this door triggers the Infectors. Kill 'em good and dead.
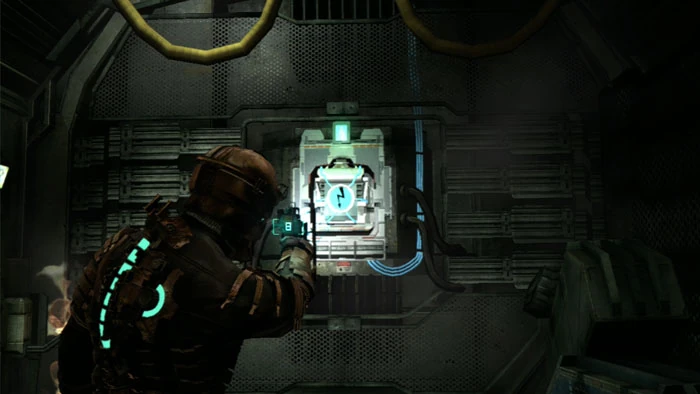
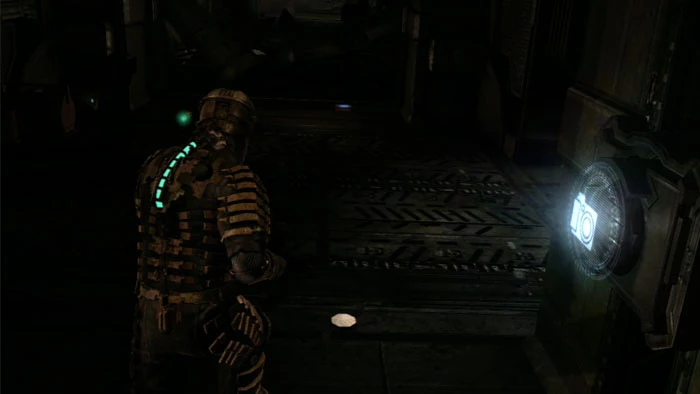
30. The power box next to the door is blown. Fortunately a fresh one is across the hall.
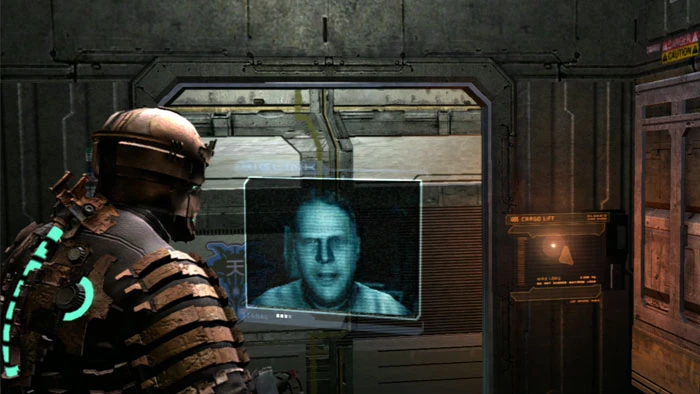
31. Replace the power box then ride the lift to trigger this communication from the creepy-yet-sensible Dr. Kyne. He doesn't look like Kiefer Sutherland, but he sounds just like his portrayal of Dr. Schreber in Dark City.
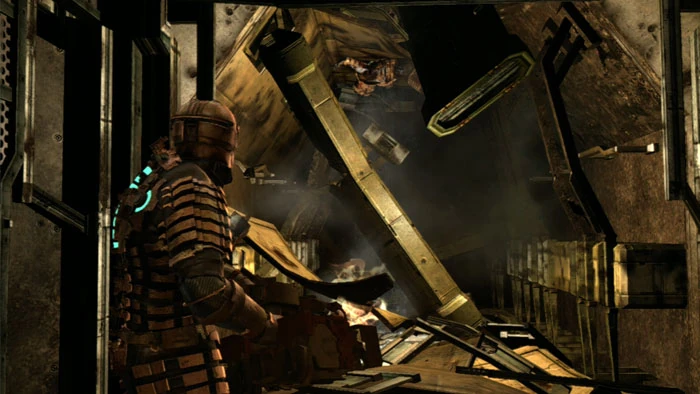
32. Exit the lift then hear the moans of this agonized Marine trapped on the ceiling by a malfunctioning gravity panel. Sadly, there's nothing you can do to end his misery.
33. Keep right then find this storage bin and wall cabinet. A pick-up is found in the debris ahead.
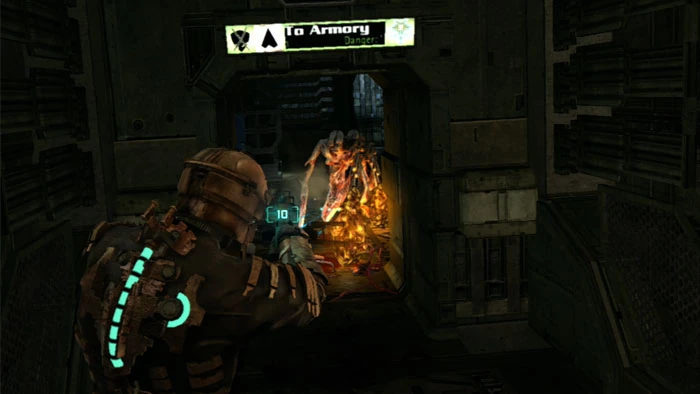
34. Open this door but don't go in until you defeat a Divider and these Exploders.
35. Here on the left are a Power Node and Upgrade Bench. A pick-up can be seen ahead.

36. A storage bin and supply crate are on the right; approaching them triggers two Exploders to come through this vent.
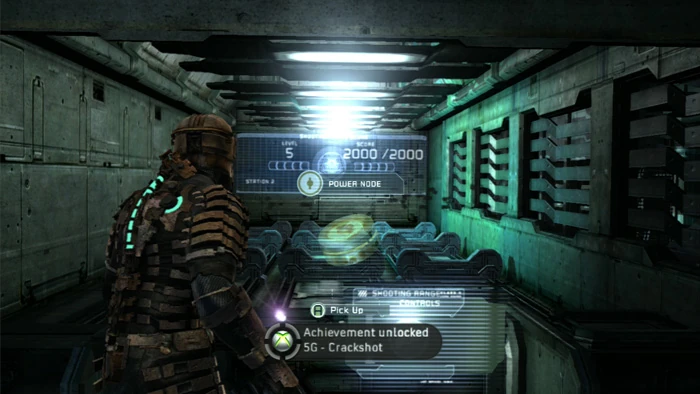
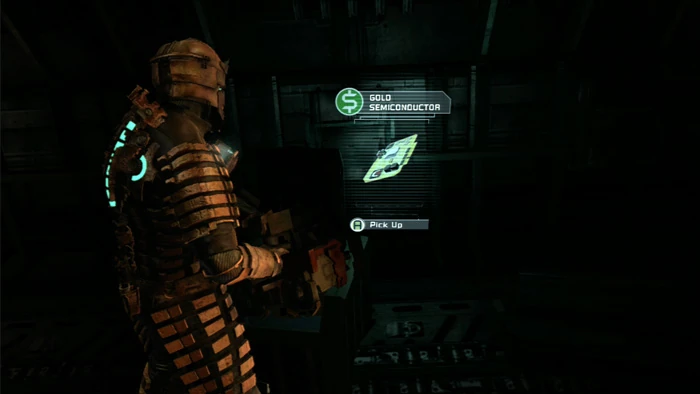
37. This neighboring room is the firing range, where you'll find the Emergency audio log. Succeed by shooting the red targets but avoiding the blue targets to receive an award each round. Level four earns you a Ruby Semiconductor. Level five earns you a Power Node and the Crackshot Achievement.
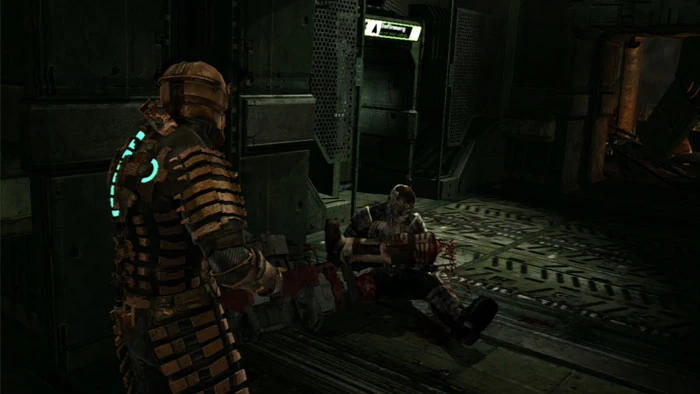
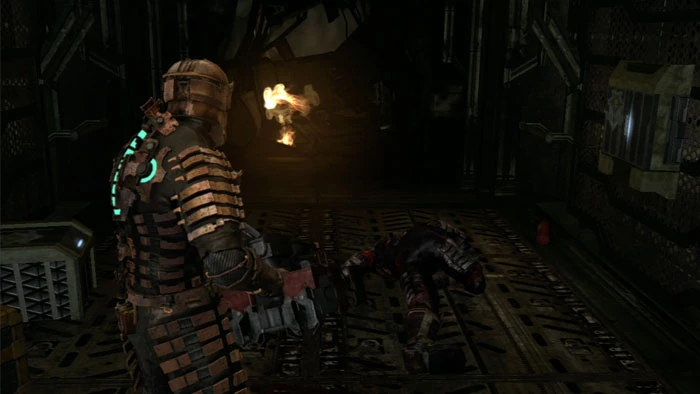
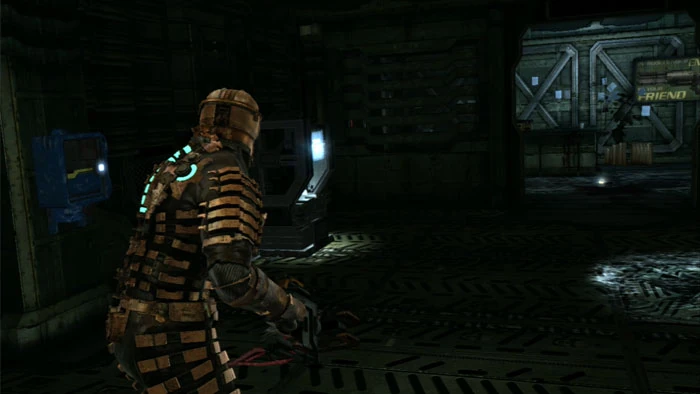
38. Your locator leads to this soldier mourning his severed leg. He doesn't last long. Fill up at the Stasis Recharge to the left then enter the Infirmary.
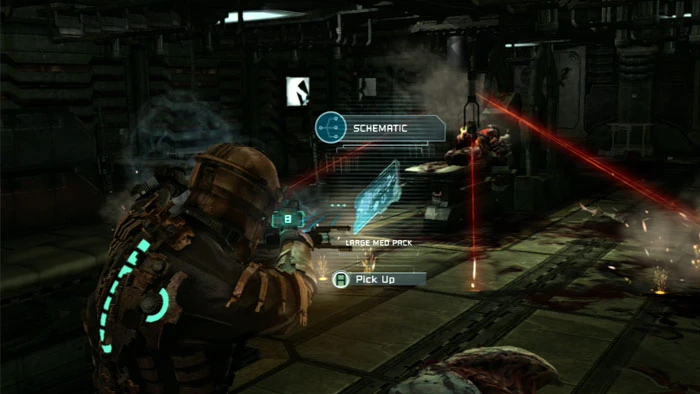
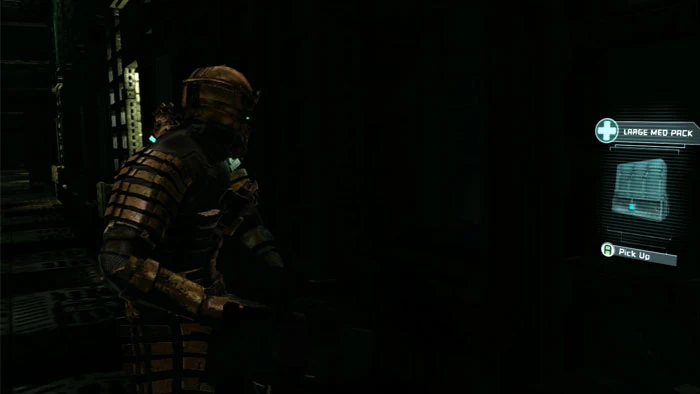
39. Lasers mean instant death to anyone they touch, so tread carefully. Kinesis brings you this Large Med Pack Schematic on the left. Use Stasis to slow the lasers then walk around them. A storage bin is available on the more-difficult left path.
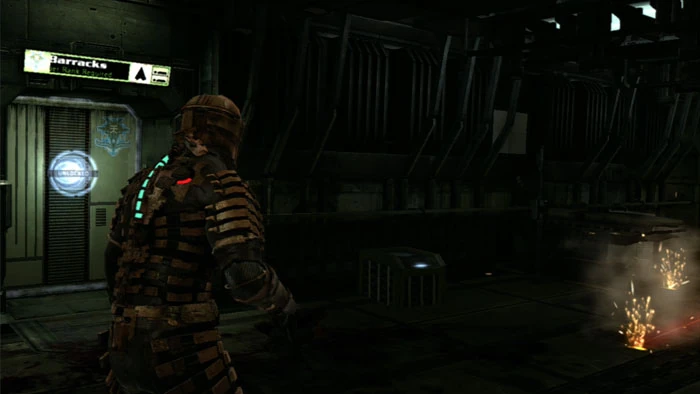
40. Two more storage bins are in the back of the room. Continue through the Barracks door seen here.
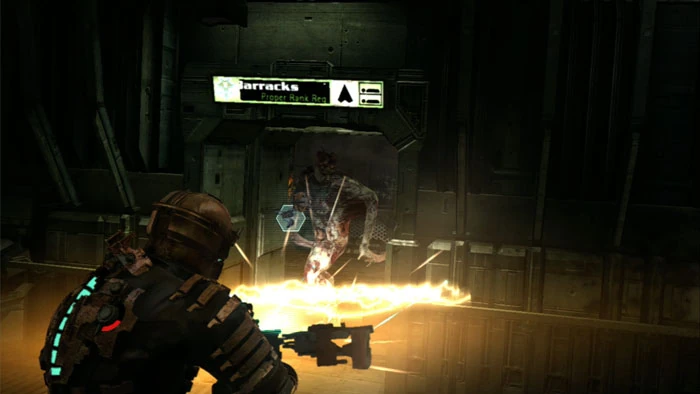
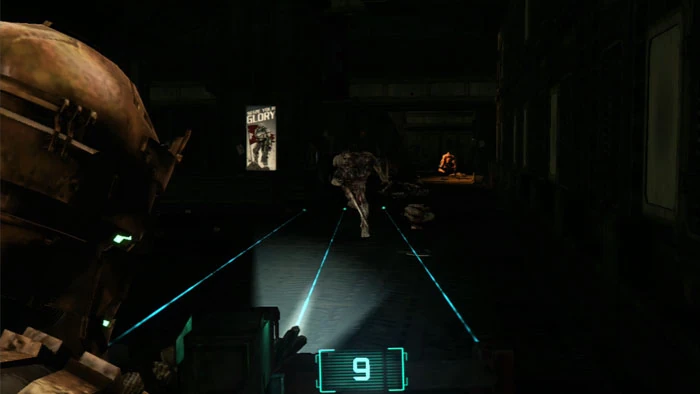
41. A Twitcher and several Exploders attack. You can lure the Twitcher to the doorway for easier targeting.
42. If you stay put the Exploders will then file in through this vent for even easier targeting.
43. Reenter the barracks then keep right to find this Power Node and two pick-ups.
44. Follow your locator left to this Save Station, two storage bins and two more pick-ups. Reload all weapons, Stasis and health before entering the Barracks door to the right.
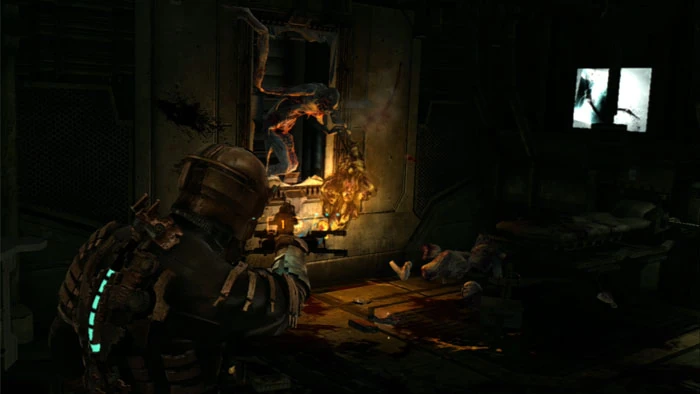
45. Carefully advance into the room, looting these cabinets and alcoves front-to-back. You won't make it far before triggering a quarantine, but grab what you can before it starts.
46. The attack begins across the room, so you have the advantage of distance. A Pregnant starts things off, followed by several Lurkers and then this Twitcher.
47. Soon after, Leapers, Exploders and more Twitchers charge in. Practically the whole bestiary comes down on you.
48. This is a very intense fight that quickly becomes up-close and personal. The most vicious fight yet, clearly the designers assumed you'd have a well-upgraded Rig and weaponry by now. The maxed-out Line Gun really shines in this fight.
49. The good thing is that the sheer volume of enemies results in a tremendous number of pick-ups once the battle is done. Combined with the many wall cabinets and Store, you should leave here well-stocked.
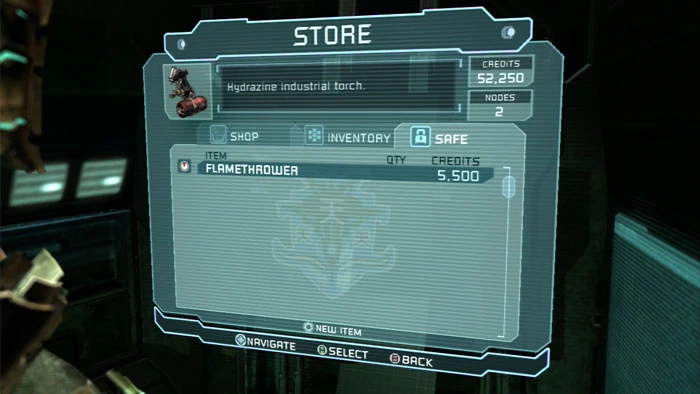
50. If you had stored your Flamethrower in the Safe earlier, you might want to retrieve it now if you aren't happy with the performance of your current weapons. Another Brute battle is coming up later.
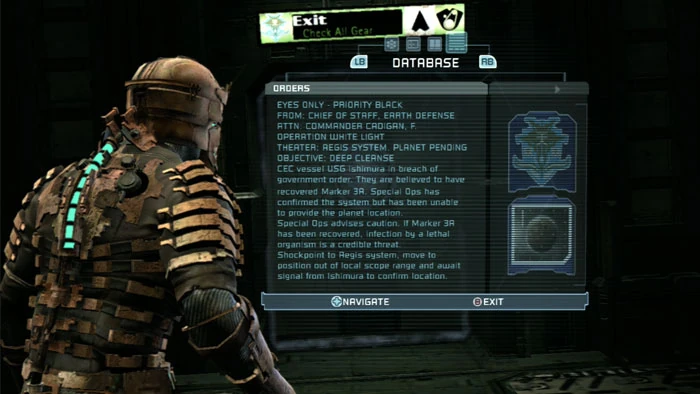
51. Before heading out the exit be sure to read this Orders text log for some important background.
52. A pick-up is on the right, along with the ceiling-trapped guy you saw earlier.
53. Find this Save Station at the end of the corridor. Continue to a storage bin on the right then the Engine Room doors on the left.
54. Through the doors you can see someone running away. Find four storage bins and a supply crate before entering the large door to the right.
55. Empty two wall cabinets then ride the lift up.
56. Engine backwash pulsates throughout the room. Grab this left cylinder and push it forward, then left, then forward to advance safely. Stay close or you'll be toast.

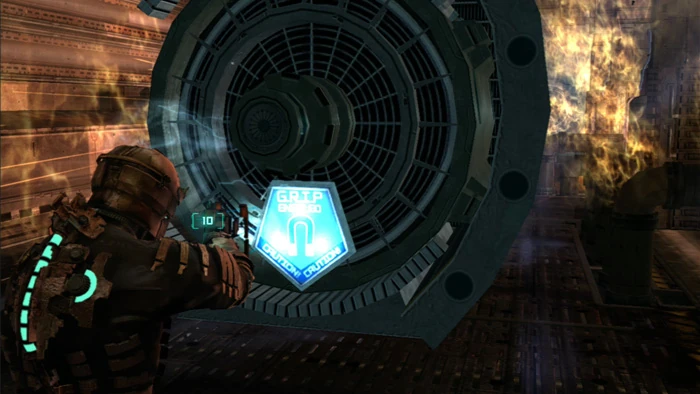
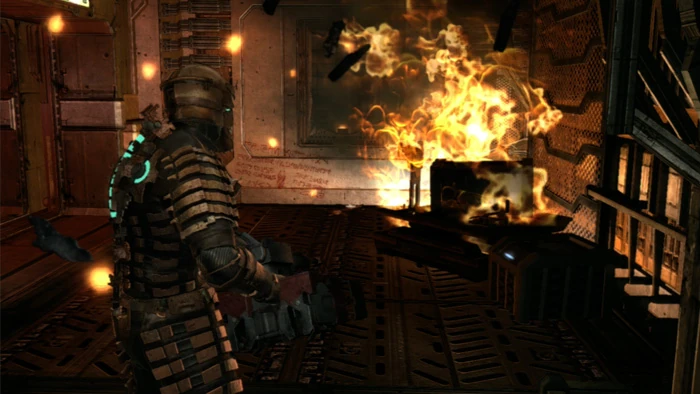
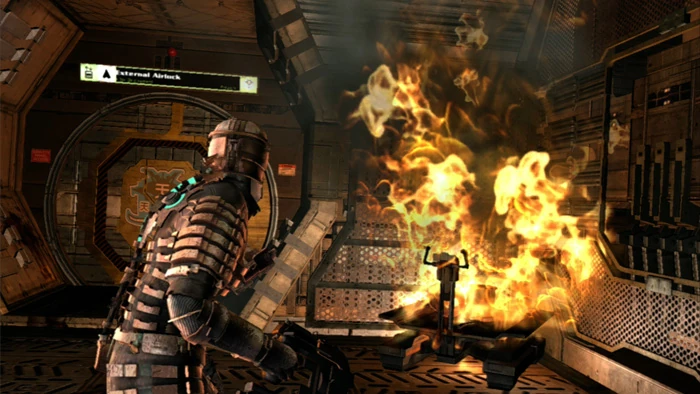
57. Shoot three of these fuses, then retreat the way you came. Continue to shield yourself from the flames.
58. Repeat with the three fuses on the right side of the room.
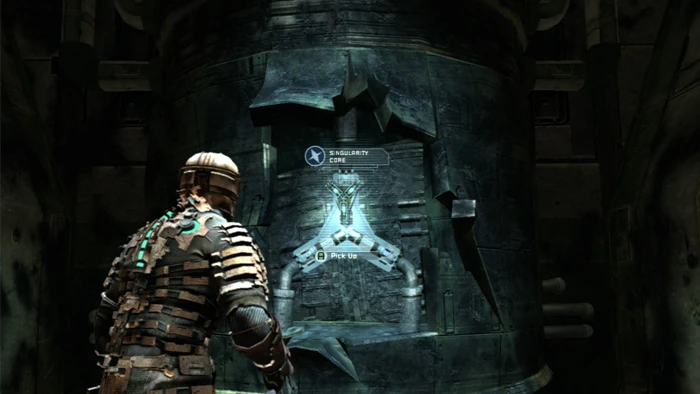
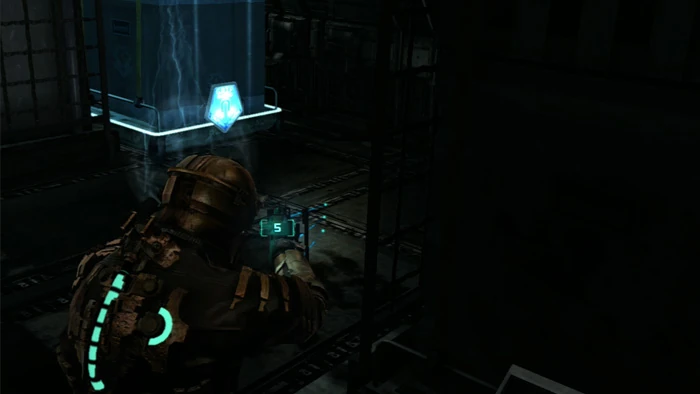
59. The flames cease, allowing you to grab the Singularity Core.
60. Kendra sounds genuinely thrilled. Descend through this door to the lower engine room, sure to empty all six storage bins.
61. Find this cabinet to the left as you enter the room.
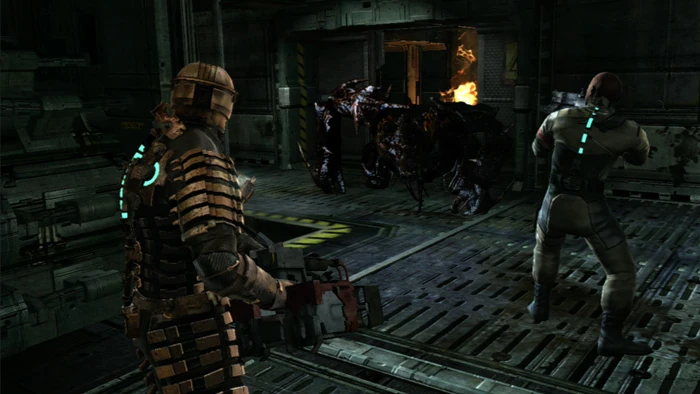
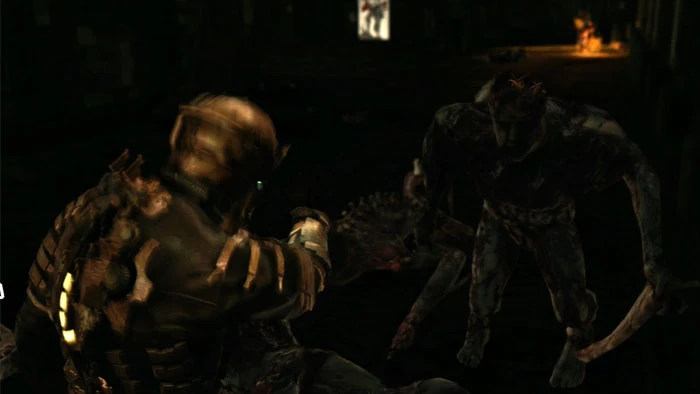
62. Approach the window and watch as Hammond battles this Brute - unsuccessfully.
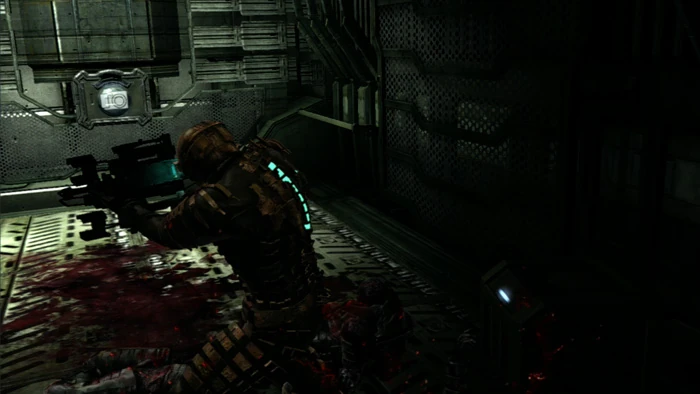
63. The Brute smashes through the glass. If you don't have a well-upgraded weapon you can use the Flamethrower as before, but this time there are no stairs to use for safe haven. My maxed-out Line Gun was able to take him down with seven shots to the legs.
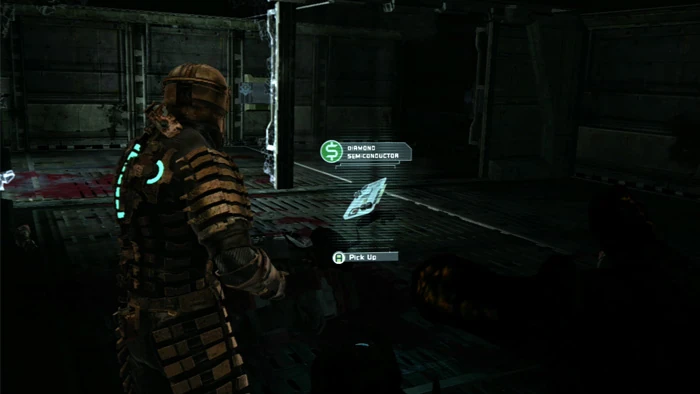
64. He barely made it into the room. Collect the 25,000-credit Diamond Semiconductor then exit through the shattered window to the large door beyond.
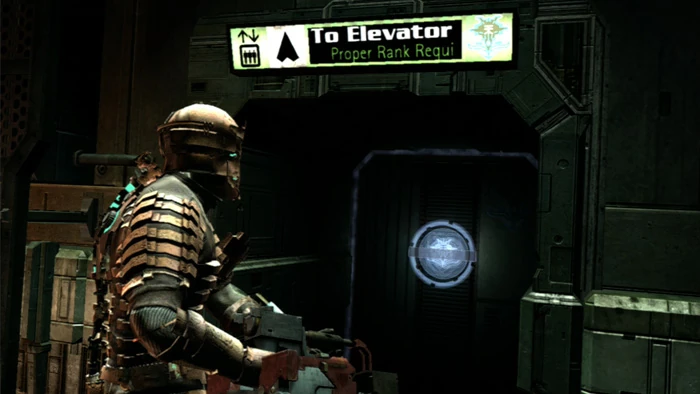
65. Empty the storage bin to the left of this door leading to the lower-decks elevator.
66. Two more storage bins are on the right. Take note of the writing on the wall ahead before continuing left.
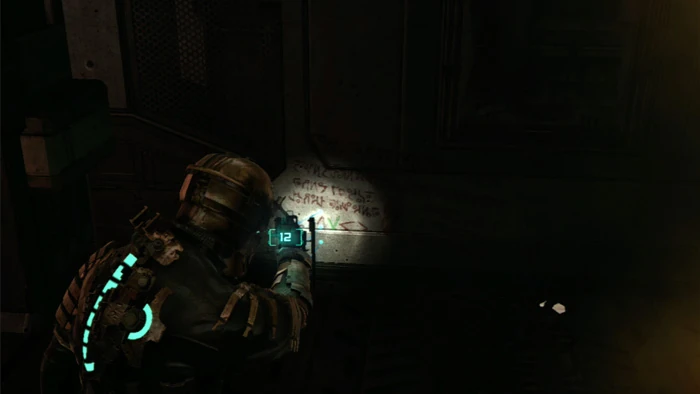
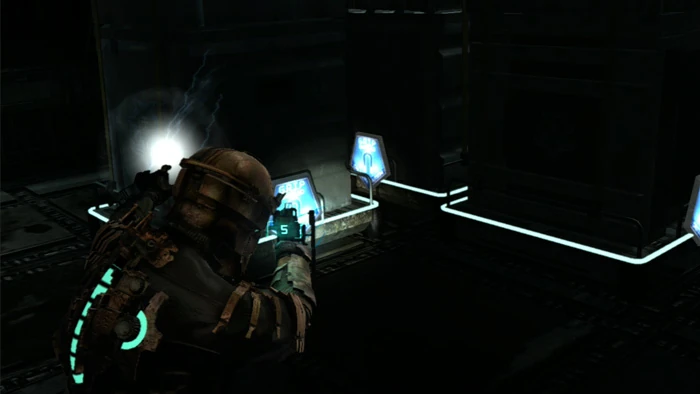
67. Here is the seventh clue to the 5-Node Cheat, a green down arrow. The ninth character of the cheat is a Y.
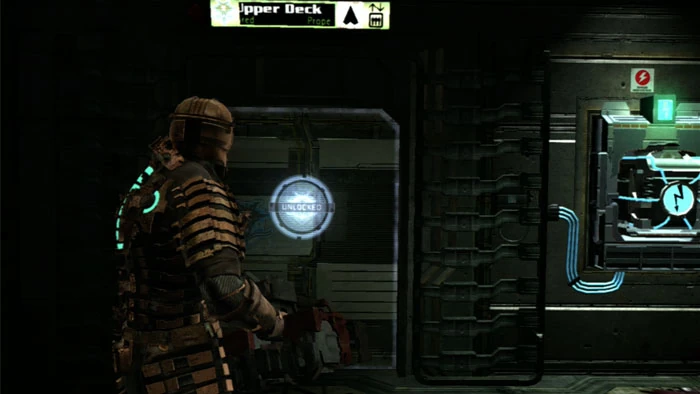
68. Place this power node in the socket, powering up the Elevator to Lower Decks. Don't miss the cabinet on the right.
69. The Valor continues to break up without the Singularity Core. Exit the elevator and find a Save Station straight ahead before exiting the ship through this airlock on the left.
70. Zero-G jump to the Ishimura an reenter through its airlock.
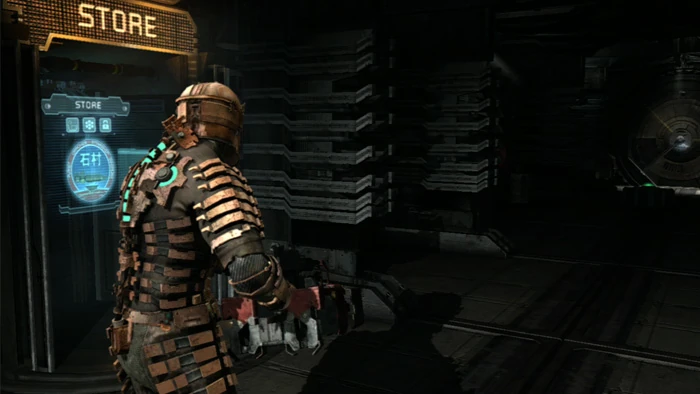
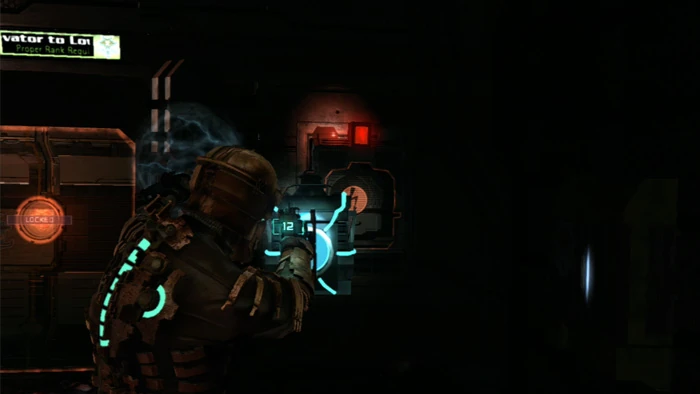
71. Beware this Twitcher hanging out near the Store.
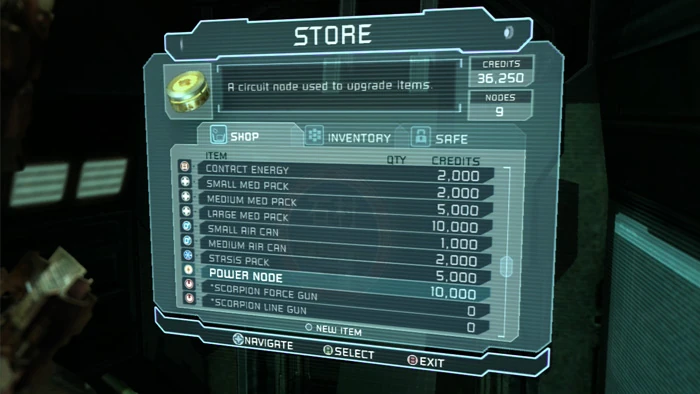
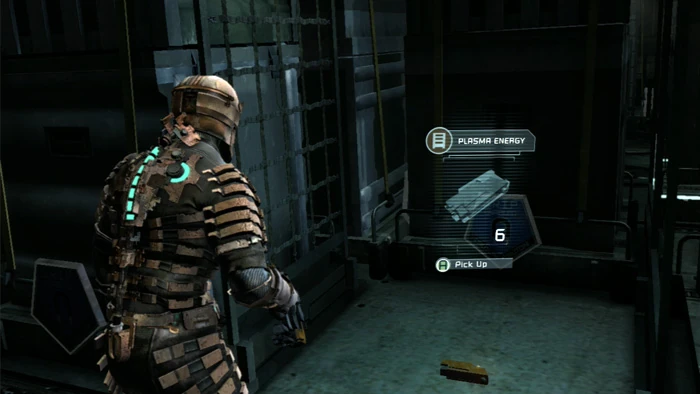
72. I sell what I don't want (including the Flamethrower) then fill up on health and ammunition. The sale of the Diamond and Ruby Semiconductors leaves me feeling pretty rich, so I also buy six Power Nodes.
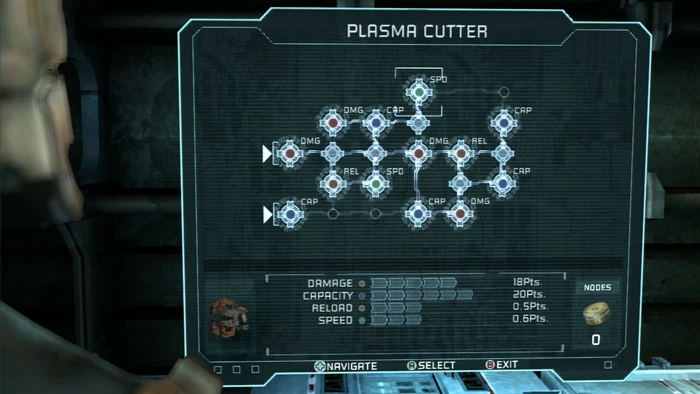
73. That makes a total of nine, which I allocate to finally maxing-out my Plasma Cutter's Capacity, Reload and Speed at the nearby Bench.
74. Lastly, use the Tram to complete the level.
Sources[]
Visual Walkthroughs - Dead Space Walkthrough - Dead on Arrival
|
| |||
| |||
|
|