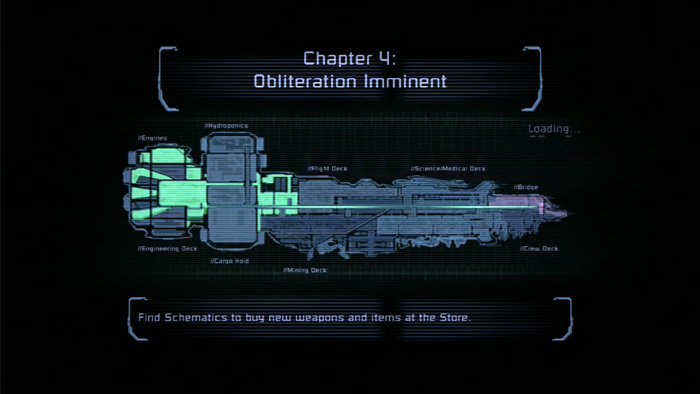
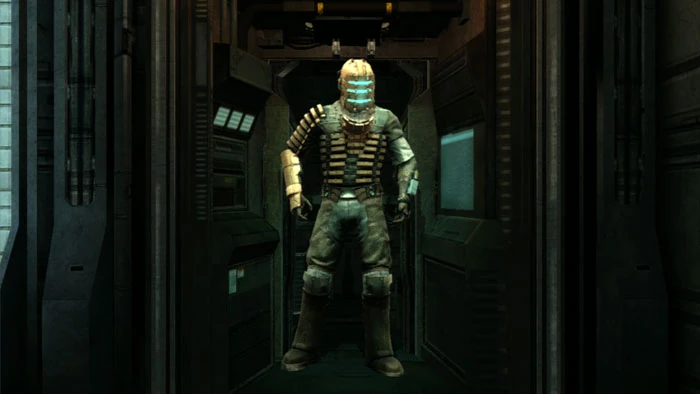
1. Welcome to Dead Space's most controversial level, Chapter 4: Obliteration Imminent.
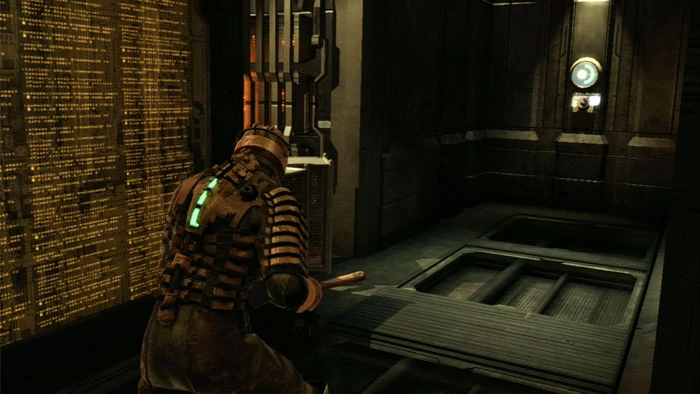
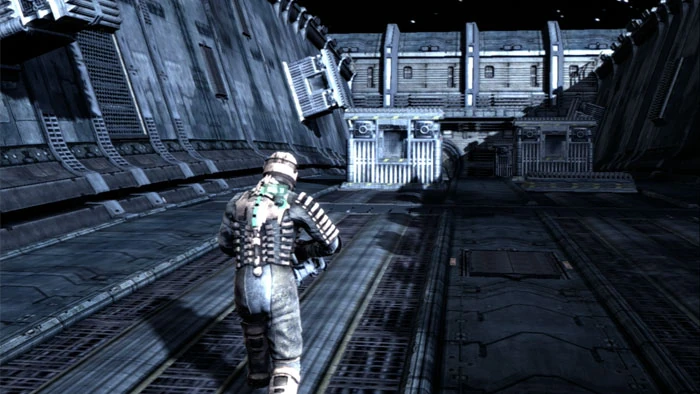
2. We'll be getting to the controversies soon enough. Step off the tram and watch Hammond and Kendra argue. Loot the two cabinets ahead, grab the pick-up from inside the waiting area then proceed through the Main Atrium door on the left.
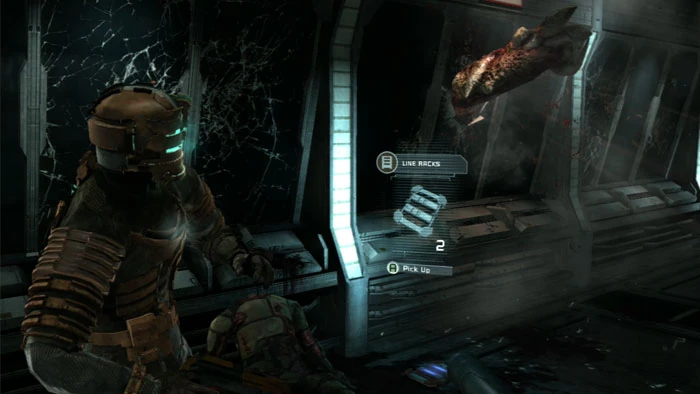
3. Grab the ammo next to this corpse, mindful of a brief scare.
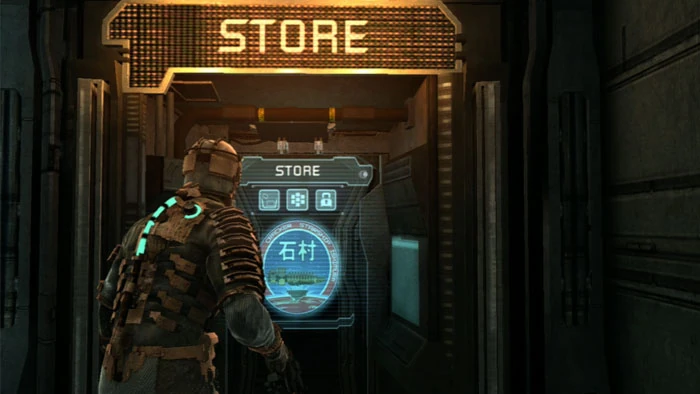
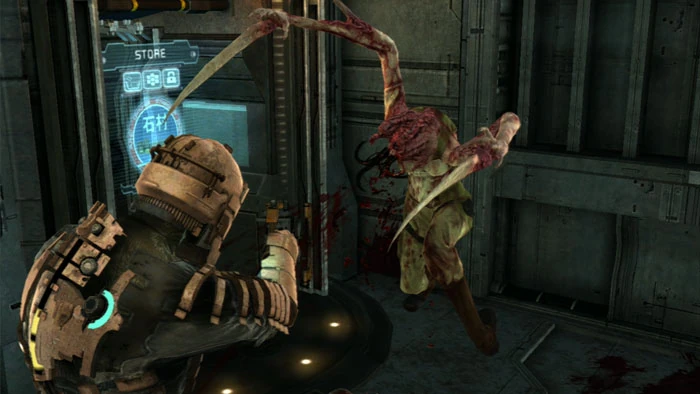
4. This Store is at the end of the corridor. I highly recommend purchasing a Flamethrower and at least three canisters of Flame Fuel to be used on an upcoming boss. Do this even if you need to sell some items.
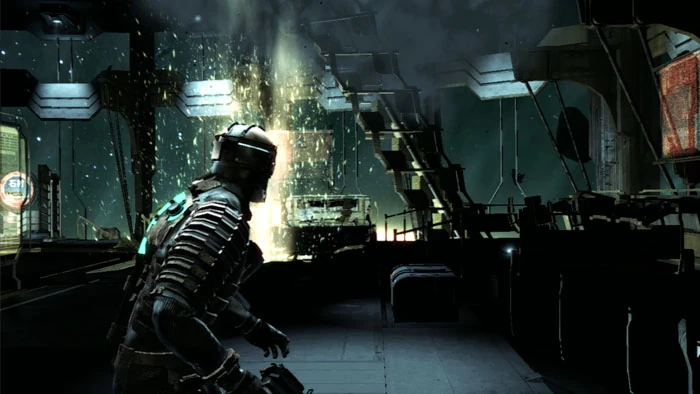
5. Enter the Atrium and an asteroid crashes through the ceiling. Listen to Kendra's damage report.
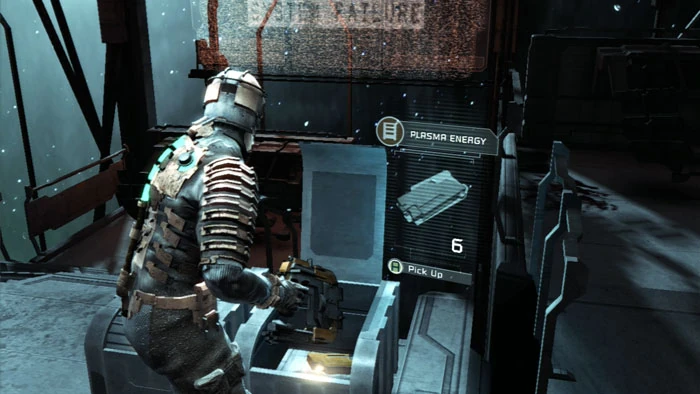
6. Collect the plentiful loot in the Atrium, including five unlocked storage bins and three ammunition pick-ups.
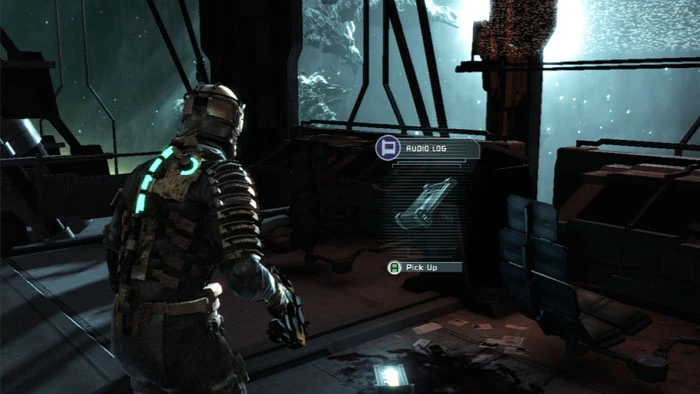
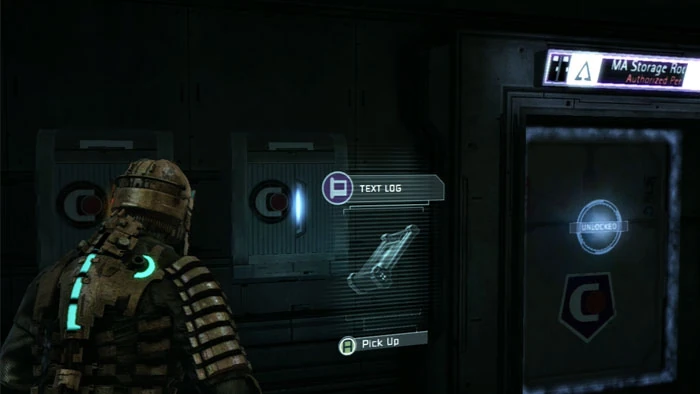
7. The Initial Attack audio log is found here.
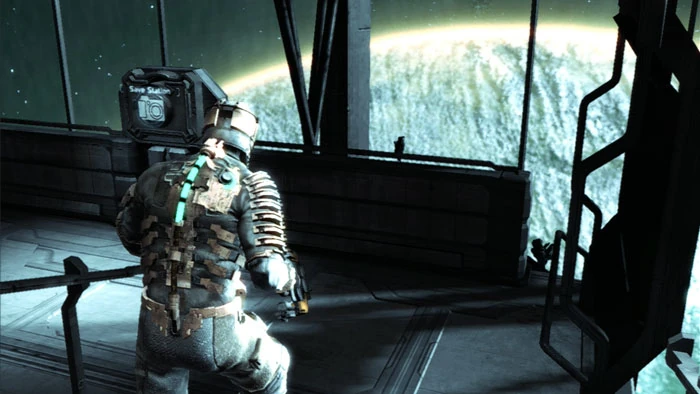
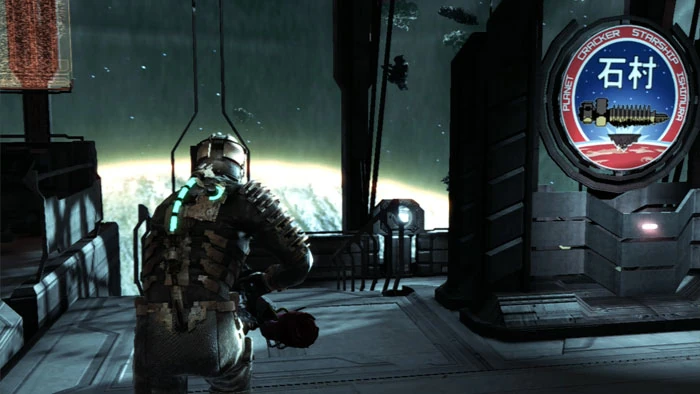
8. Descend these stairs, availing yourself of the Save Station and the great view.
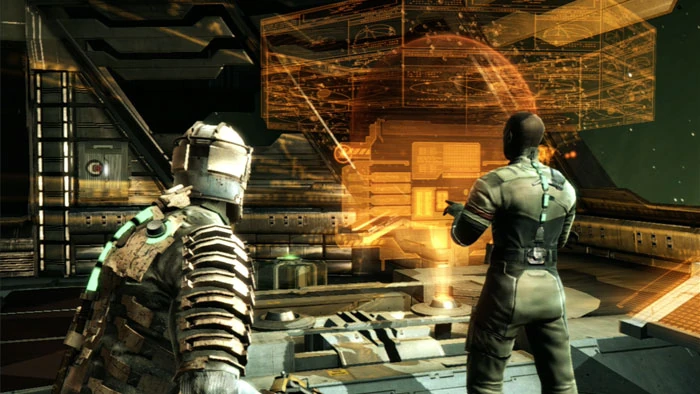
9. Ride the lift down to the Captain's Nest and receive a briefing from Hammond. Loot the two unlocked cabinets plus the supply crate in the far corner. Find the List of Dead text log on the captain's chair.
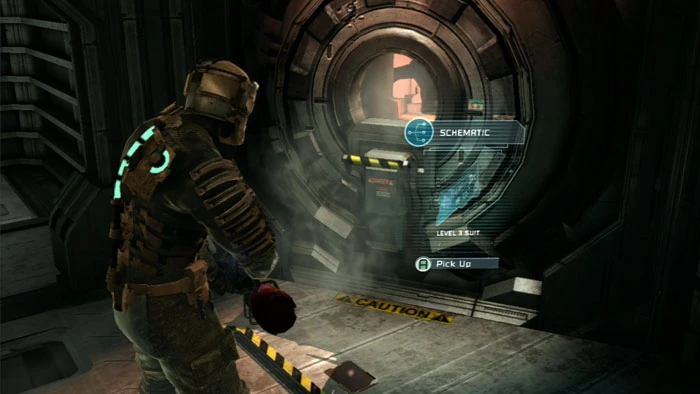
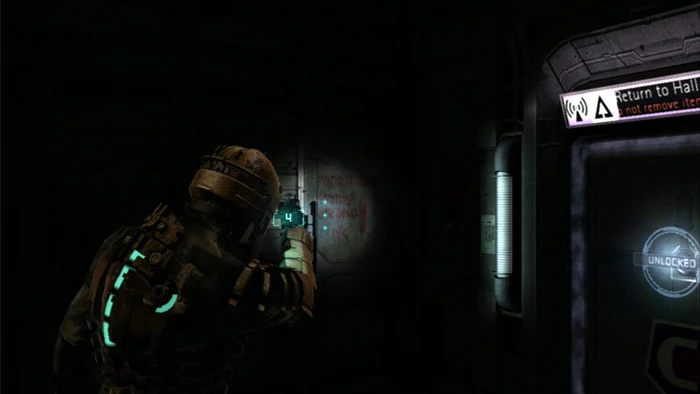
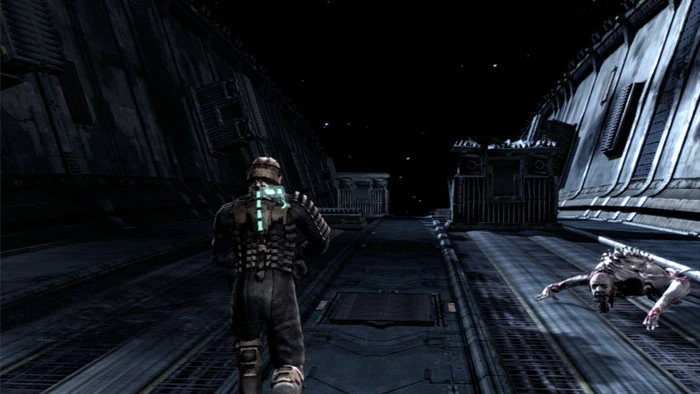
10. Exit the Captain's Nest and find the Level 3 Suit Schematic (plus a short scare) in front of this pod.

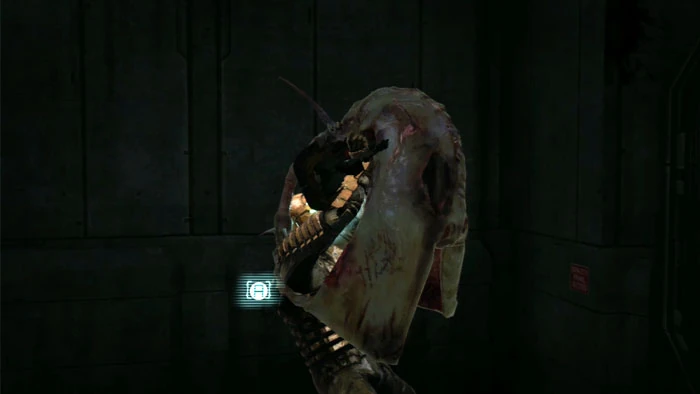
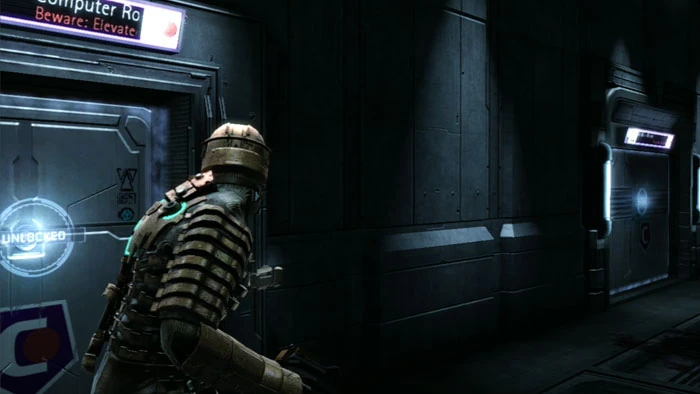
11. Your navigation beacon leads back to the Main Atrium and this Security Room door. As you approach the door, your next Necromorph type, the Brute, smashes through. Time for a mini-boss battle.
12. Turn around and head for the stairs, where you'll be safe.
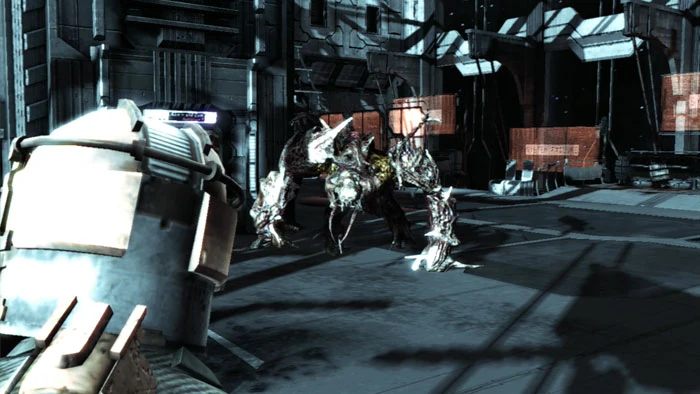
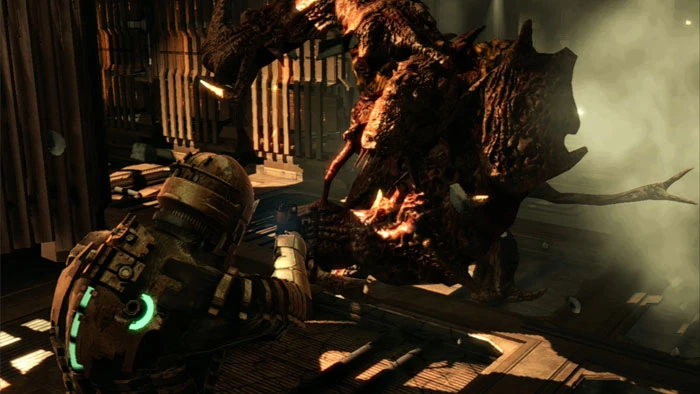
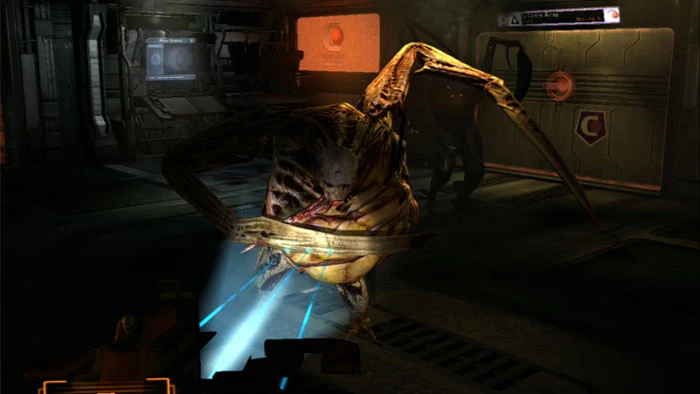
13. A true tank, the Brute is heavily armored from the front. Unlike traditional tanks, however, he is very fast and has devastating offensive capabilities. Being somewhat unbalanced, this Brute is the first controversial aspect of Chapter 4.
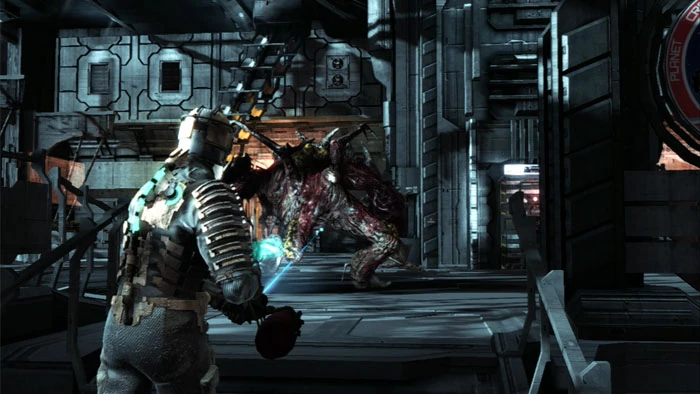
14. Hammond radios that you should attack the Brute from behind. But a better way to kill the brute is to cut off its easy to hit limbs. You can see the vulnerable red and yellow areas where you should be aiming. The Brute will not stand still to make this easy for you, hence my preference for the Flamethrower.
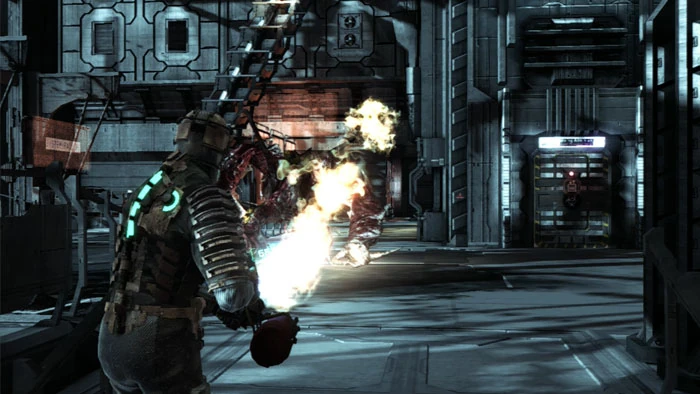
15. A less-than-pinpoint weapon, the Flamethrower blankets the back of the Brute in fire. Plus, the flames provide damage-over-time as the Brute retreats. Repeat the pattern of luring him out, then retreating to the stairs and firing on his back as he retreats. You can also attack him from behind after he balls-up armadillo-style, or when using Stasis, but the Brute is somewhat immune to its effects.
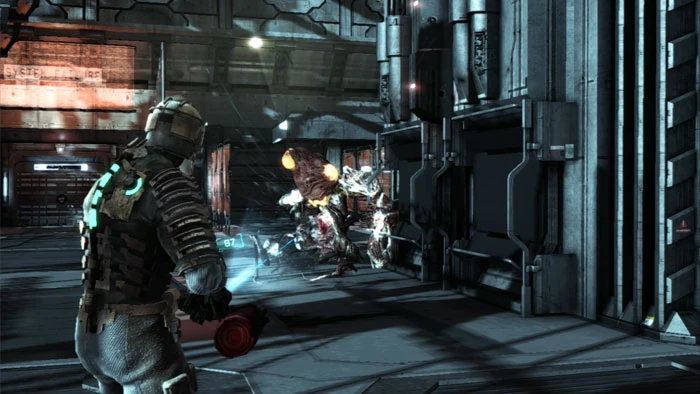
16. Cut one of the Brutes limbs of and it will start lobbing yellow projectiles from its chest. You can catch them with Kinesis and throw them back.
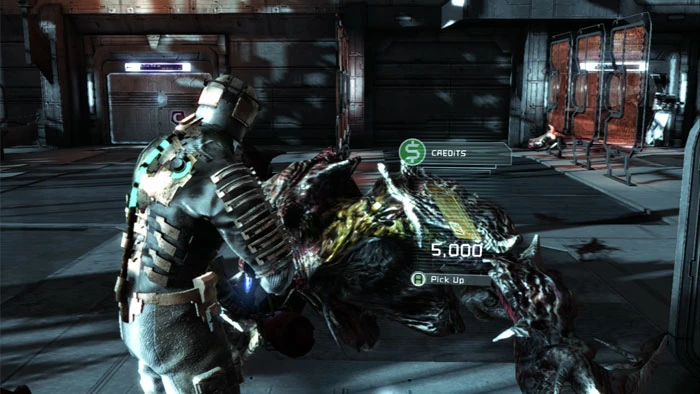
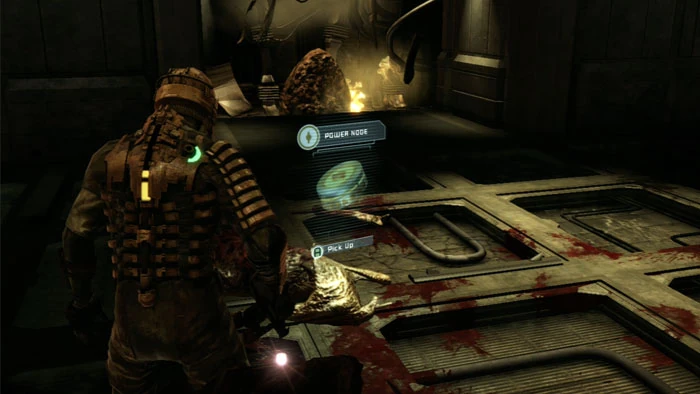
17. Once defeated, the Brute gives up 5,000 Credits, 3,000 credits, or a power node. The path forward is through the Security Room door on the right, but first I backtrack through the door on the left to the store.
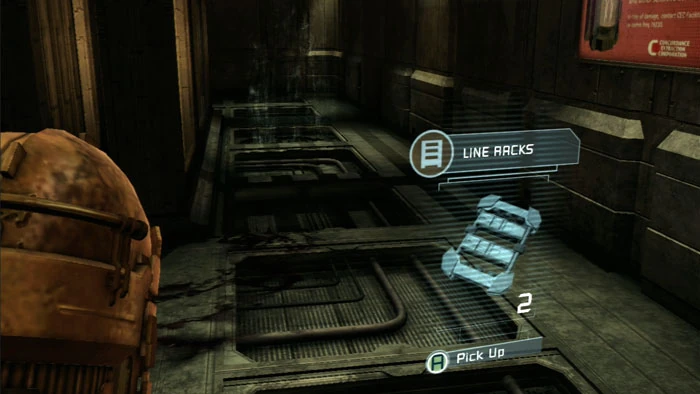
18. Time to use that Level 3 Suit Schematic and upgrade those threads! The Level 3 Suit grants 10% armor protection and 17 inventory slots. I recommend placing your Flamethrower in the Safe to maximize your preferred ammo type for pick-ups (in my case Line Racks and Plasma Energy.)
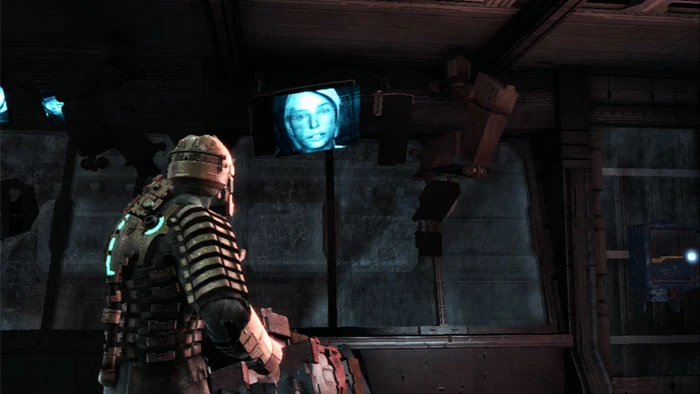
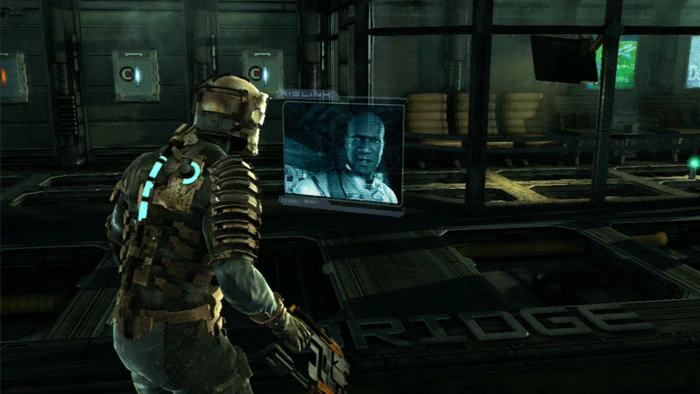
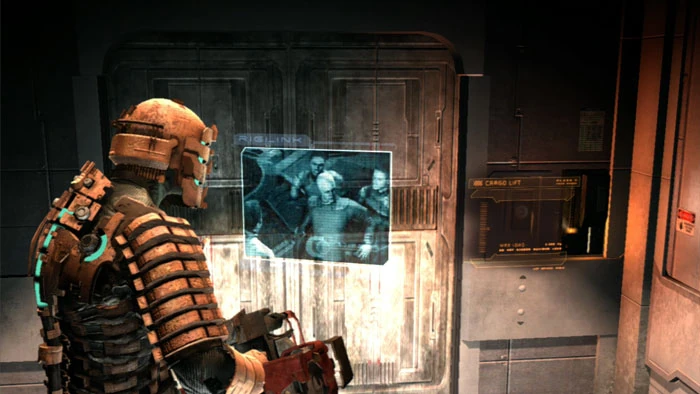
19. Pass through the Security Room door then Watch this brief video, apparently from Nicole.
20. A Power Node is on the left, and the control to activate the Atrium elevators and update your objectives is on the right. Inside the Storage Room are two lockers, a supply crate and an Upgrade Bench.
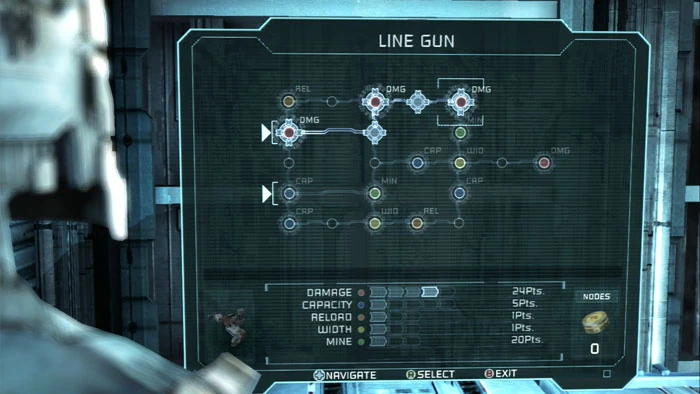
21. With my Plasma Cutter's damage at maximum, it's time to turn my attention to my favorite weapon for dealing with multiple enemies, the Line Gun. I spend all five of my Power Nodes to upgrade the Line Gun's damage to level 4. Feel free to allocate all of your Power Nodes, as you'll be getting a new Power Node shortly.
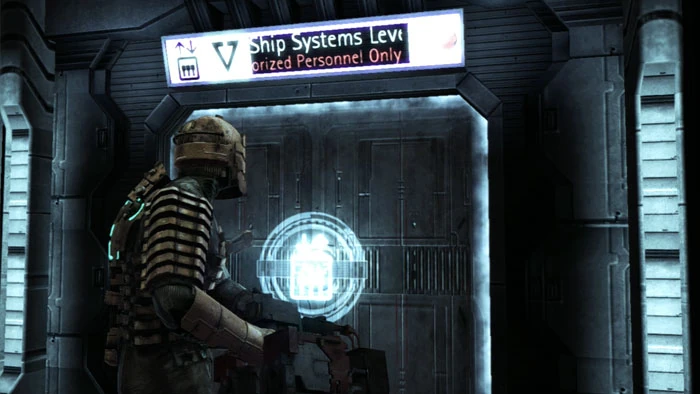
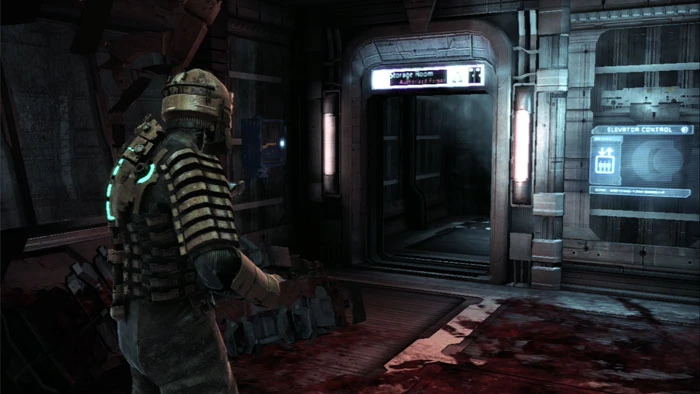
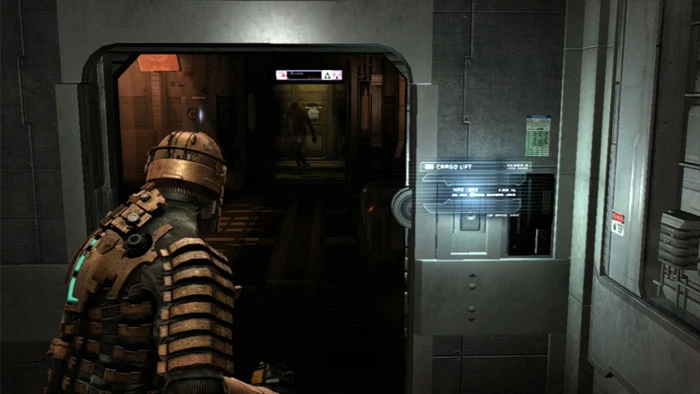
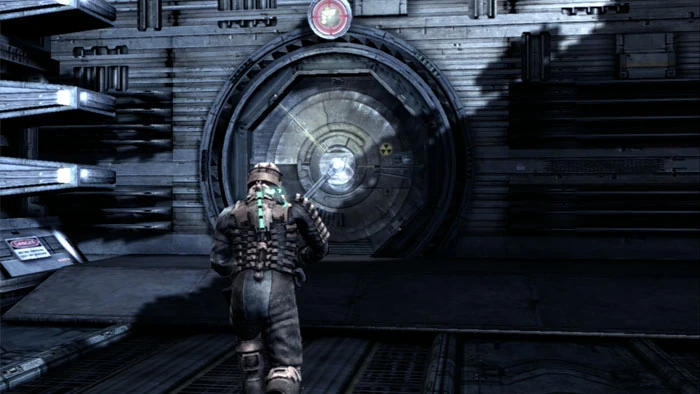
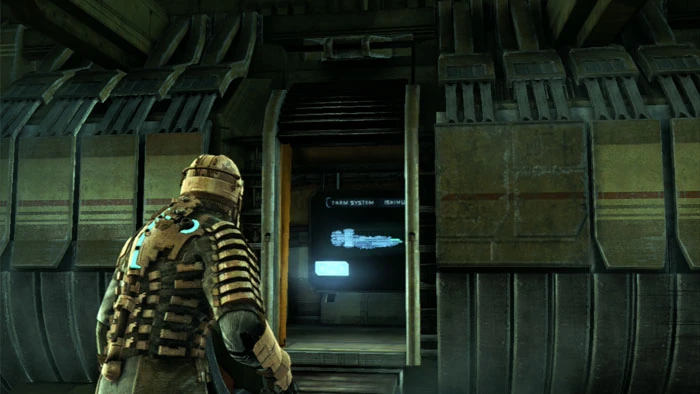
22. Enter the now-functional elevator to Ship Systems Level.
23. Inside is the Captain's Demise video log. A blood-curdling scream is heard as the lift approaches its destination.
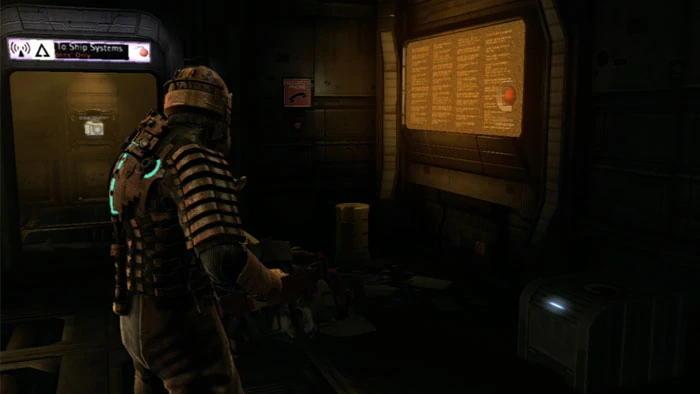
24. Exit the lift then find a wall cabinet to the left, plus a supply crate, a storage bin and a Save Station.
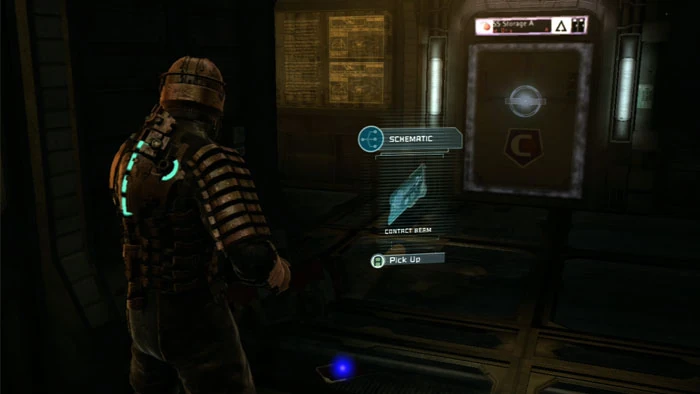
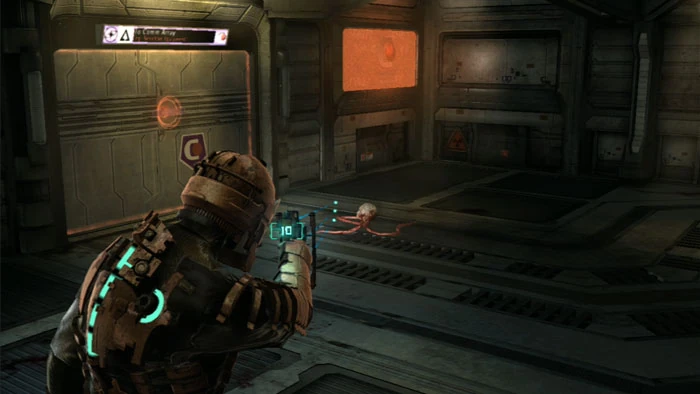
25. Grab the Contact Beam Schematic then raid Storage A for a wall cabinet, a Stasis Recharge and a supply crate. Just make sure to get the first shot at the Slasher playing dead.
26. Storage A also holds the fourth clue to the 5-Node Cheat. This time the right arrow lights up green, indicating that the fourth character of the cheat is X.
27. Continue right and get an update from Kendra about these Gravity panels. They are deadly when stepped on - a danger, yes, but also an opportunity. Don't miss this ammo pick-up on the far right.
28. You can lure the Necromorphs into these gravity panels for an instant-kill. Other options include using the Force Gun to push them onto the panels, or Stasis them and push them onto the panels.
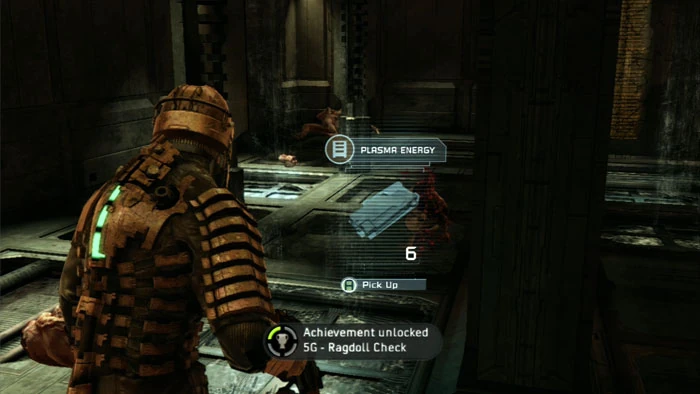
29. Eliminate five Necromorphs on the Gravity Panels and earn the Ragdoll Check Achievement.
30. Grab another ammo pick-up on the left, then discover this Stasis Recharge at the end of the hall. Kinesis clears the crates from the doorway to the left.
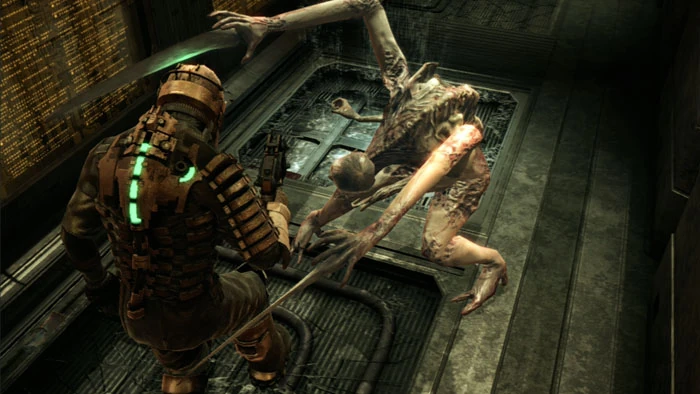
31. Uh-oh, another Brute. Don't panic, though, this one is red all over. You'll have much less difficulty bringing down this Brute, no matter what your weapon.
32. The corpse drops a Power Node, 5,000 credits, or 3,000 credits, same as the brute before. Carefully approach the flailing cables ahead.
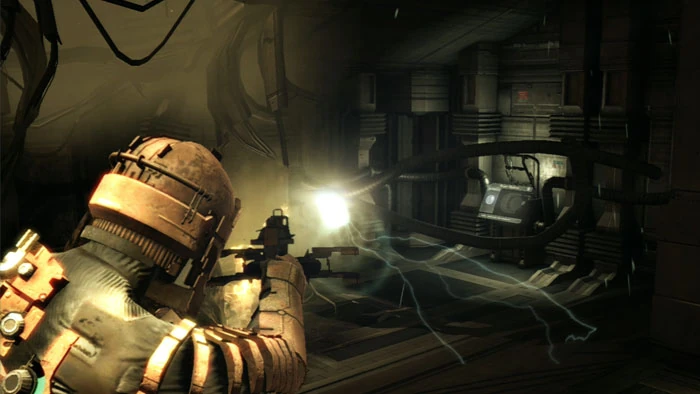
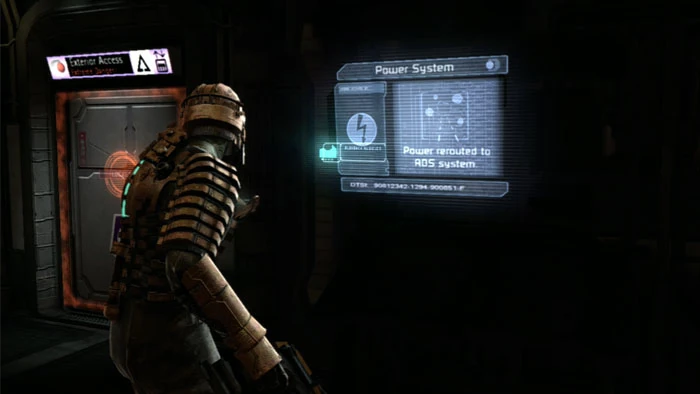
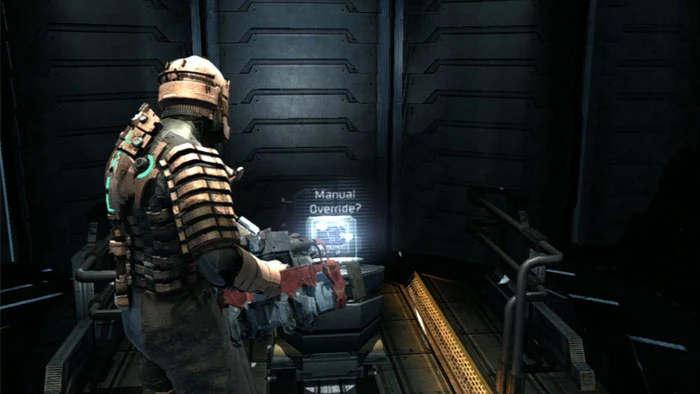
33. Stasis the cables to hold them still while you walk around and activate the first of three ADS Power Panels to update your objective.

34. Backtrack toward the Atrium, defeating these two Slashers as you approach the Save Station. Fill up at the Stasis Recharge inside Storage A -- you're going to need it.
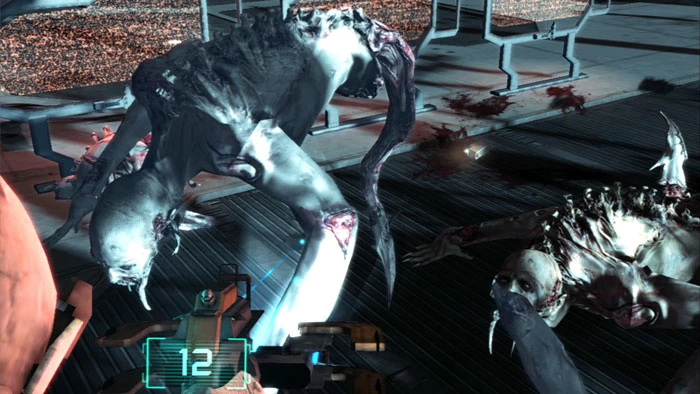
35. Jeepers creepers who called out the Leapers? Step off the Atrium elevator then quickly take cover. More Leapers than you can shake a Stasis stick at attack from every corner.
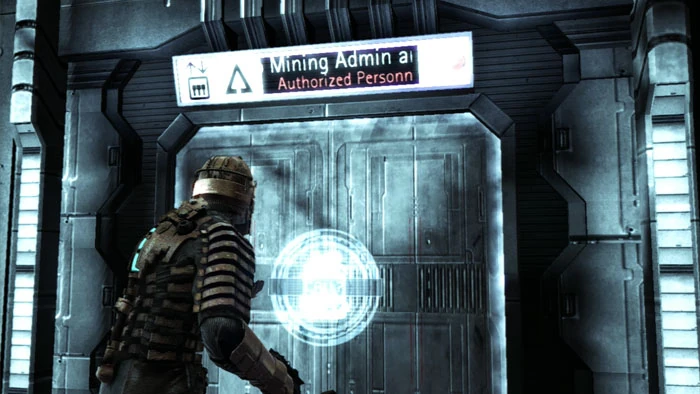
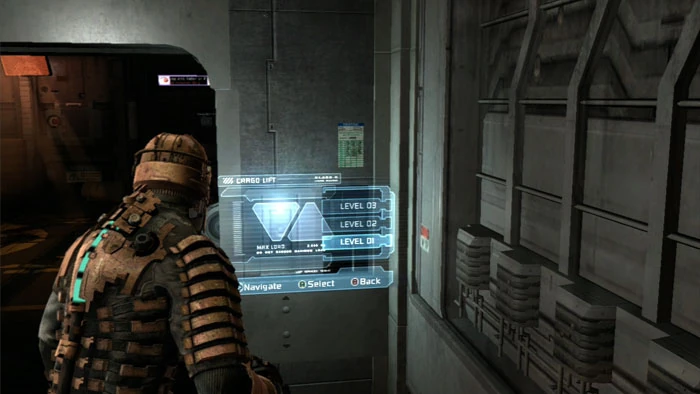
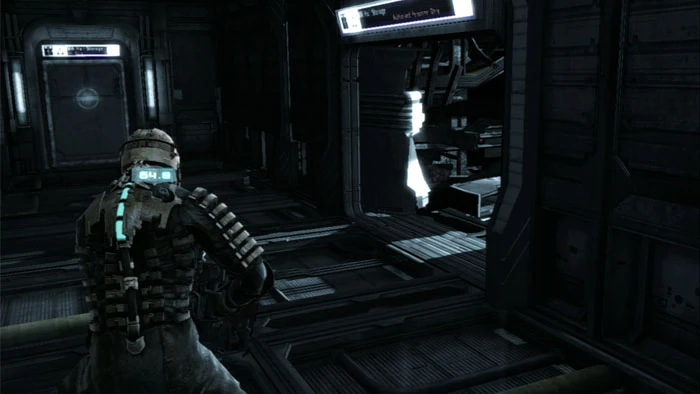
36. Feel free to return to the Store for supplies before entering this elevator to the Mining Admin and Comm Array Levels.
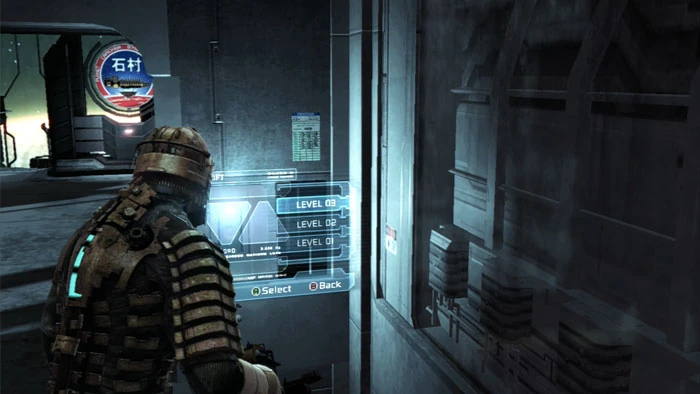
37. The Atrium is Level 2, and you can choose to ride up to Level 3 or down to Level 1, it doesn't matter (unless you want the Aim the ADS Cannon audio log, in which case you need to start with Level 3).
38. Since many of you are probably here looking to get the Aim the ADS Cannon audio log, I'll start by going to Level 3. Exit the lift and witness Zombie Man stagger away. The Temple on the Bridge text log is to the right. A cabinet, storage bin and the Force Gun Schematic are here as well.

39. This Save Station is in the next hallway, along with two more unlocked cabinets.
40. A Pregnant and an enhanced Slasher attack in the next room. Be sure not to fire when aiming at the Pregnant's belly as I am here, or else he'll birth a Swarm. And that is never good.
41. Use this panel to activate the second of three ADS power panels.
42. Head back to the lift. This time, ride it down to Level 1.
43. Step off the left and find two storage bins and a Save Station. Continue through the door ahead.
44. The bulkhead on the right gives way and you are in a vacuum once again. An Upgrade Bench, a storage locker and a wall cabinet are in the room ahead. Hang on to a Power Node to unlock an upcoming door.
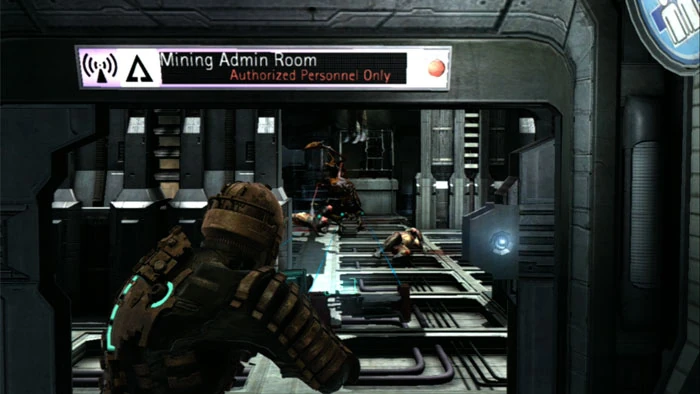
45. Follow the corridor to the Mining Admin room and take out a pair of enhanced Slashers.
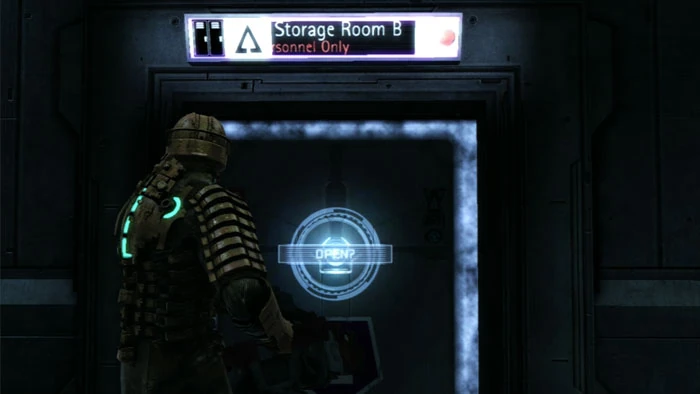
46. On the left is Storage Room B, where you'll find an unlocked cabinet.
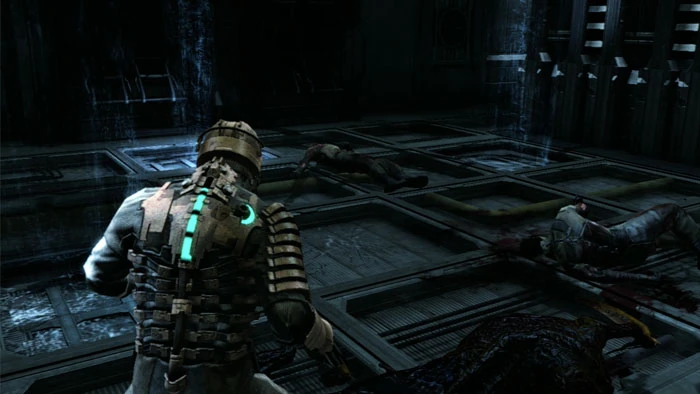
47. Navigate between the gravity panels. Lots, o corpses are here. An Infector is about to show itself and you don't want these corpses becoming Necromorphs. So cut off the arms of the corpses for free stuff!

48. If you choose to spend a Power Node on Storage Room C you'll find two unlocked lockers, a supply crate, a Large Med Pack, 5,000 Credits, a Gold Semiconductor and a wall cabinet.

49. Defeat a Lurker as you walk between the gravity panels to this third ADS Power Panel. Activate it to complete the objective and receive the Aim the ADS Cannon audio log from Hammond, directing you to take the lift to the top of the ship (Level 3.) If you had powered these last two panels as directed by your navigation beam you would have missed this log. Note the Small Med Pack to the right.
50. Battle this Infector on the way out. You'll also have to contend with a number of enhanced Slashers depending on whether you stomped or shot the corpses, earlier.
51. Don't miss this Computer Room before exiting.
52. Inside is the Report of Infection text log and an unlocked cabinet. A Power Node, storage bin and Supply Crate are through the next door.
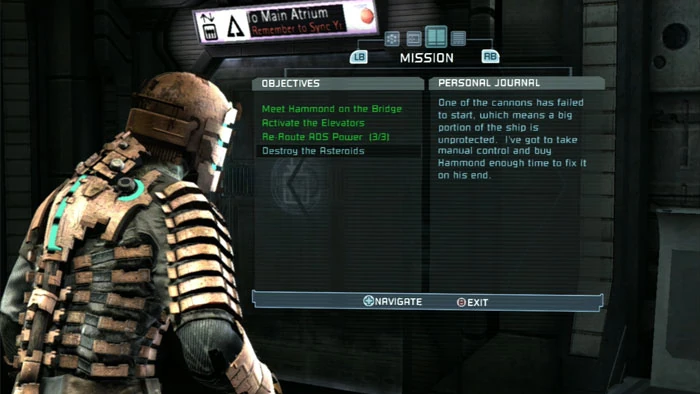
53. Here's your new objective. Take the elevator up to level 3 so you can manually fire the Asteroid Defense System (ADS).
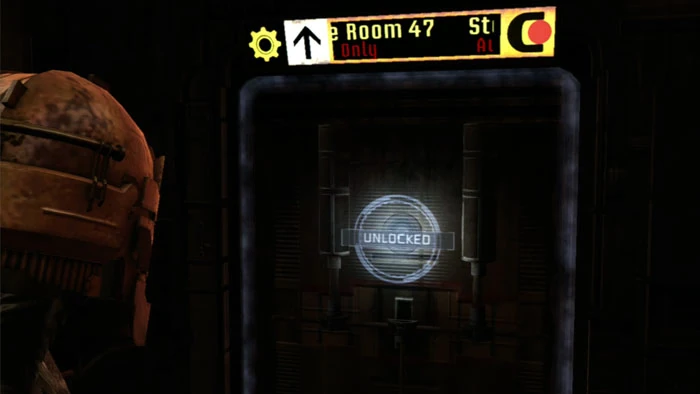
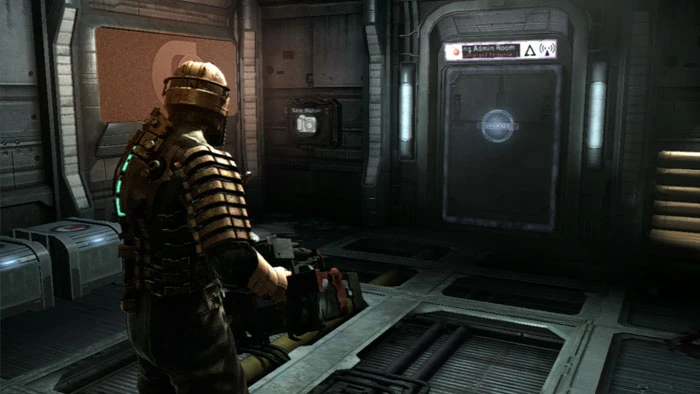
54. Use the Save Station after exiting the lift. Proceed through the now-available Ship Exterior Access door, then enter Storage Room 47 on the right. Inside is a pick-up, a supply crate and an unlocked locker.
55. Rid the lift to Ship Exterior Access. Ever wonder what that "bib" is on Isaac's suit? This angle lets you see that it is a display of some sort.
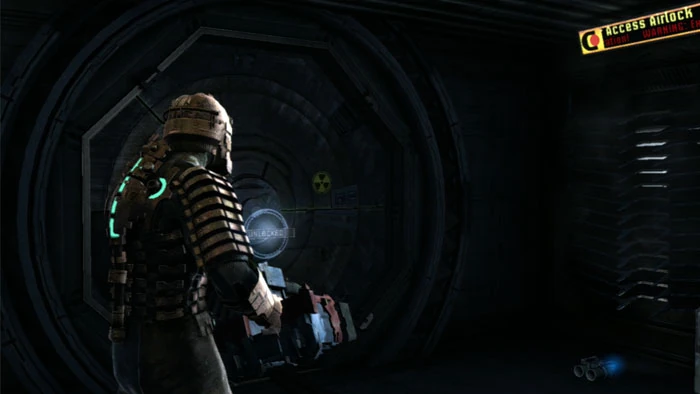
56. Receive an audio transmission from Hammond. Grab the Medium Air Can on the right, then proceed to the airlock.
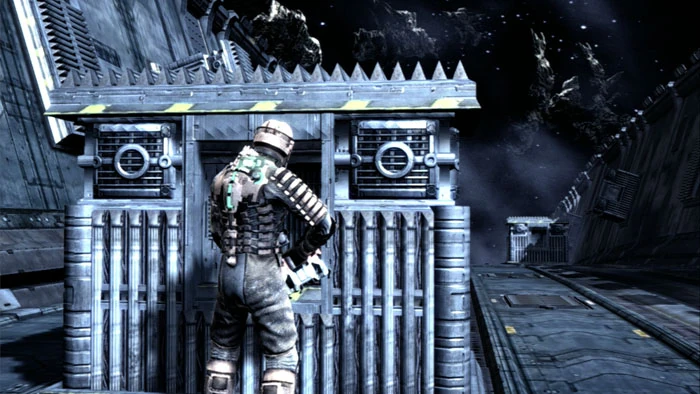
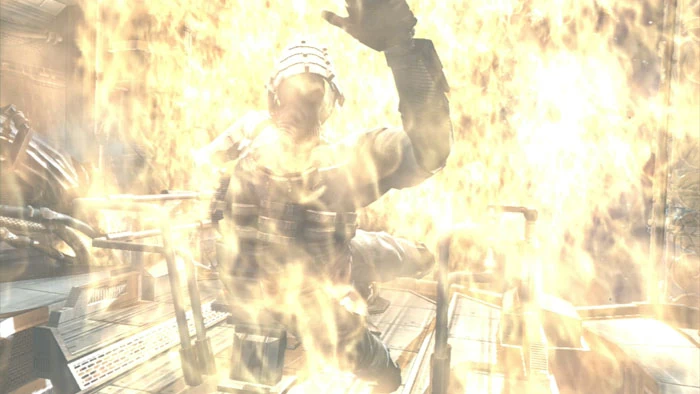
57. Do as Hammond says and take cover immediately after exiting the airlock. Meteors are whizzing by and will mean instant death if you don't hide behind these bulkheads. The meteors aren't easily seen and death seems to come from nowhere if you don't understand what exactly is going on. This is another controversial aspect of Chapter 4.
58. Rush to the next bulkhead once there is a lull in the meteor storm and repeat to reach the other side safely. Press your left bumper to run, and bypass the bulkheads on the right to save time. Use the Medium Air Can before your air runs out when you are about halfway across.
59. Here is the door to re-enter the Ishimura.
60. Grab the Ruby Semiconductor by the Save Station then smash the supply crate in the corner. Use this panel to take a seat at the mass driver cannon.
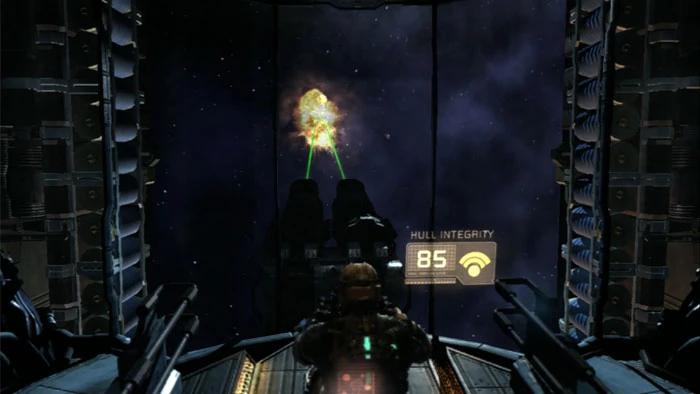
61. Welcome to the most controversial segment of Chapter 4. Your task is to destroy the onslaught of asteroids long enough for Hammond to repair the ADS. Like an arcade-style shooter of years past, this segment of the game is all about reflexes.
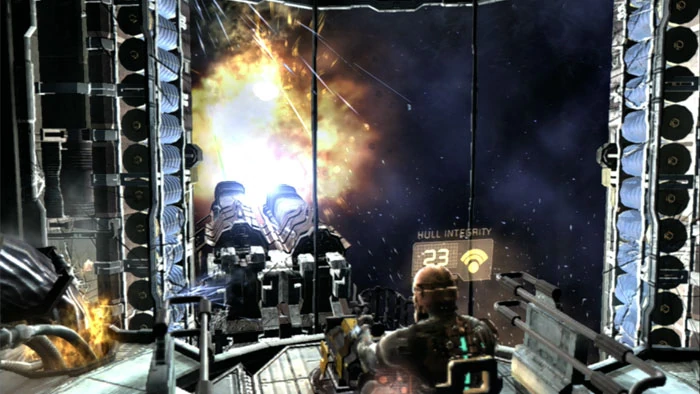
62. The problem is that the controls are less-than-responsive, and missed asteroids lower your hull integrity with a quickening pace.
63. For many gamers, this screen is frustratingly repeated.
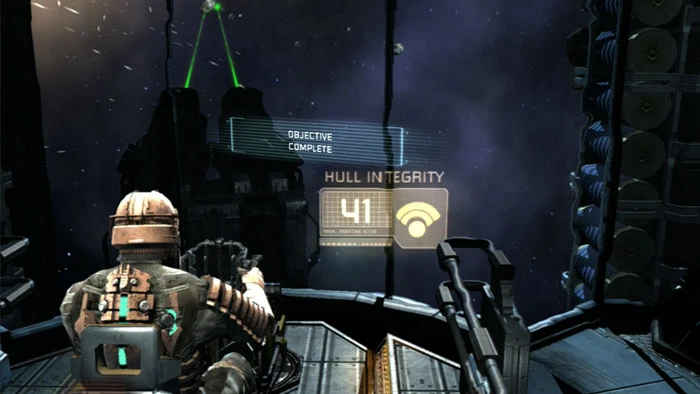
64. My advice is to fire a barrage of several shots at each target, especially the larger asteroids which will split up into smaller rocks. Don't panic when you let an asteroid hit the ship. Note that you have two guns to fire, one with each trigger. Turn up the brightness of your display to spot the meteors sooner. This 41 is the best I could do—my hat's off to those of you who finished above 50% and earned the Don't Get Cocky, Kid achievement. (one shot is usually good enough for the smaller rocks. save the barrage for larger rocks so you avoid over heating. try to get the rocks before they leave the center screen. use you shots to spot oncoming asteroids the light from you shots flash off of oncoming meteors making them easier to spot and take out sooner i finished the mission with a shield strength of 65.
65. A pair of Leapers are outside as you backtrack; running passed them saves air. Note that there is an Oxygen Recharge Station at the last bulkhead on the left.
66. Watch a video transmission from Kendra and Hammond before reaching the lift, then battle these Divider segments after stepping off.
67. Continue backtracking to the Tram. Two Slashers attack near the Store.
68. Lastly, step onto the Tram and use the panel to end this controversial level.
Sources[]
Visual Walkthroughs - Dead Space Walkthrough - Obliteration Imminent
|
| |||
| |||
|
|