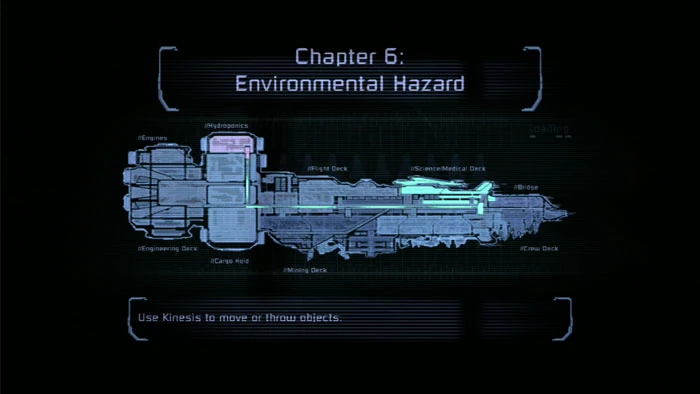
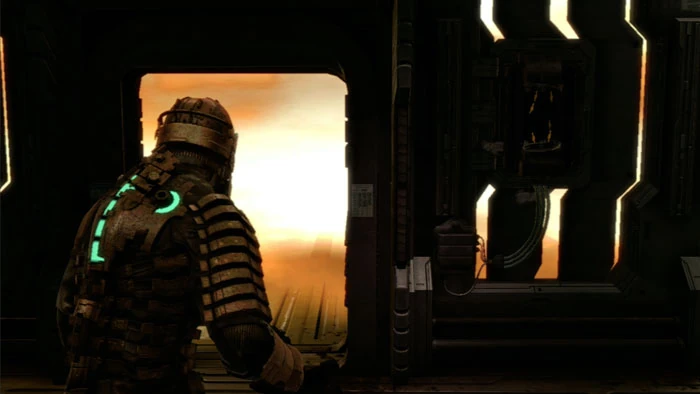
1. The Hydroponics deck is the setting for Chapter 6: Environmental Hazard.
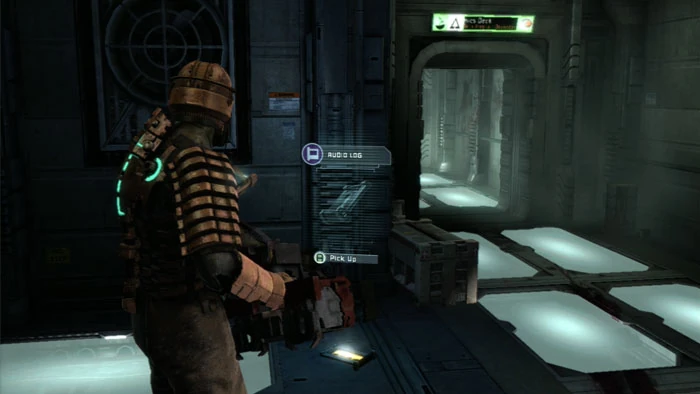
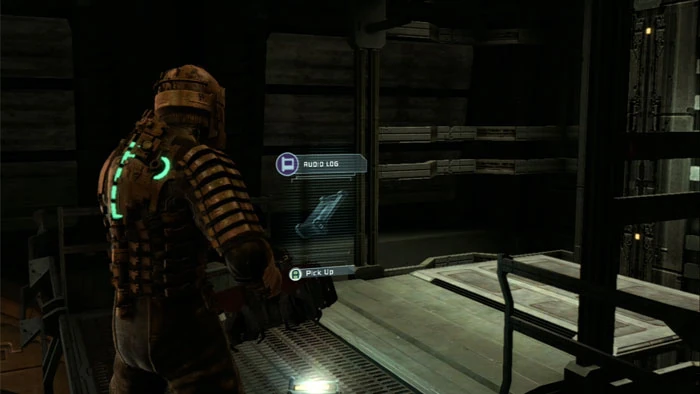
2. Find a pick-up in the waiting area, listen to the Cross Report 1 audio log here then continue through the doorway on the left.
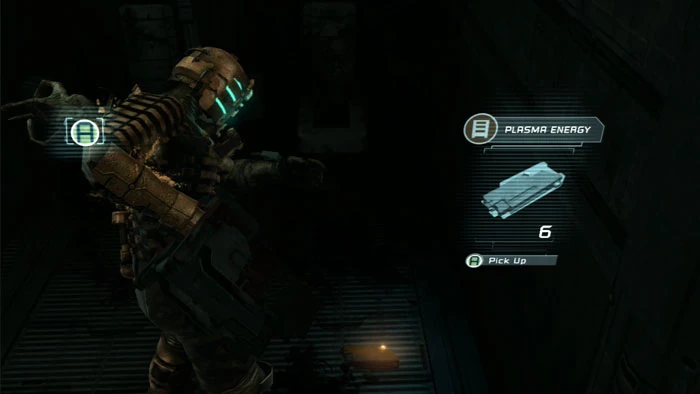
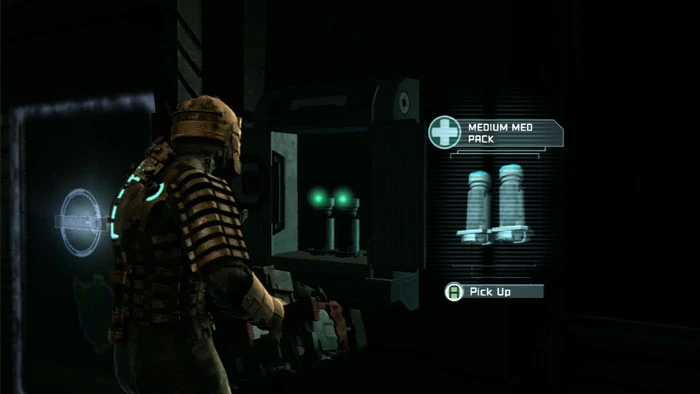
3. Enter the bathrooms on the right. Two storage bins and a pick-up are in the ladies' room. The men's room has a solitary storage bin and this pickup, guarded by a small Swarm.
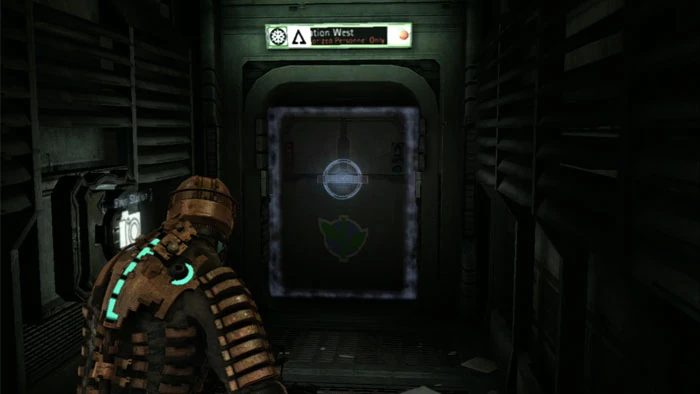
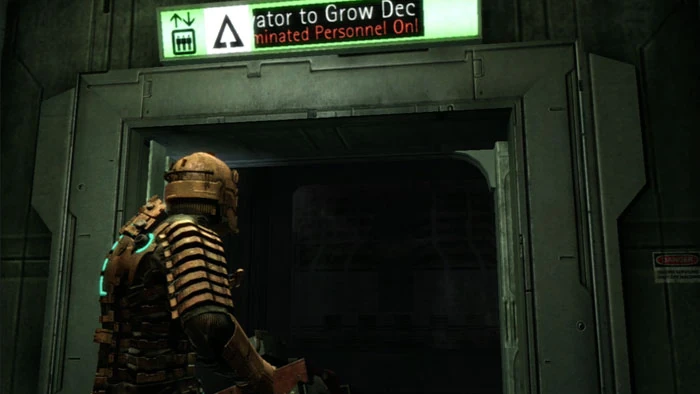 4. Step inside the Elevator to Grow Decks at the end of the corridor.
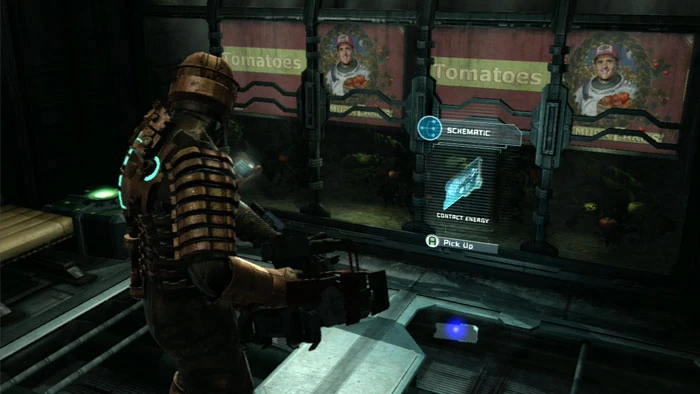
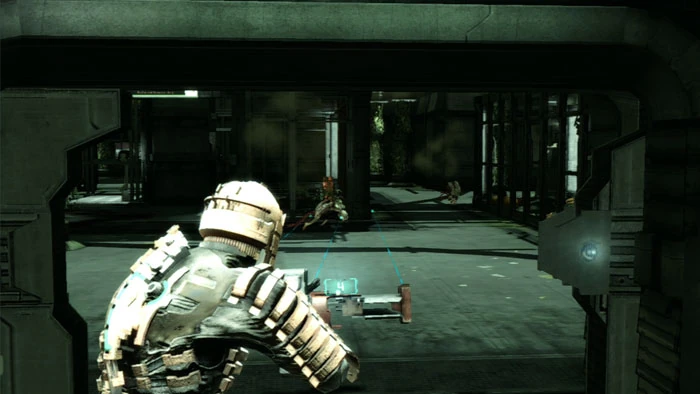
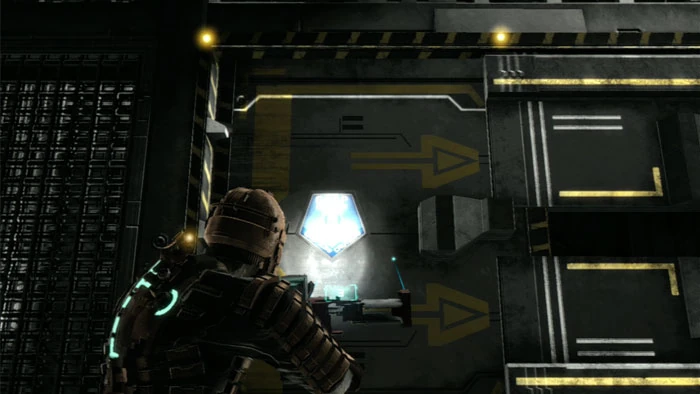
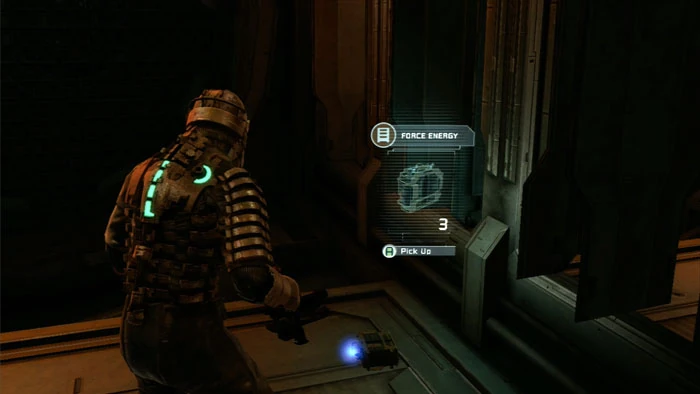
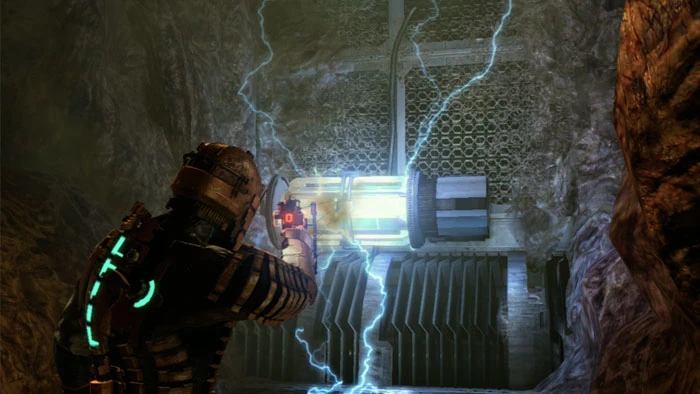
5. Ride the elevator up then find this Contact Energy Schematic and a supply crate. Don't be startled when the tomatoes get watered.
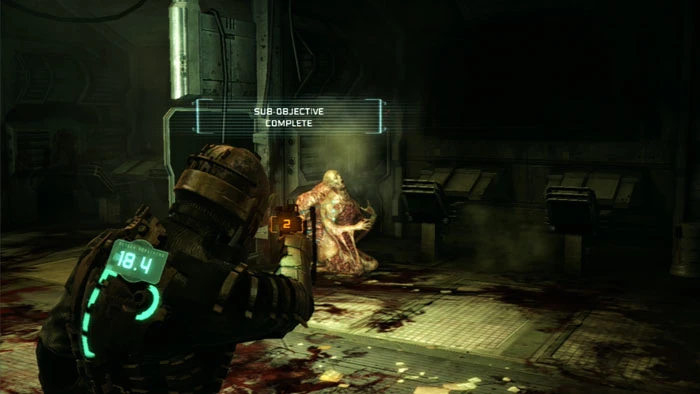
6. Find Hammond, injured by the toxic air. Kendra updates your objectives: kill the 8 poison pods.
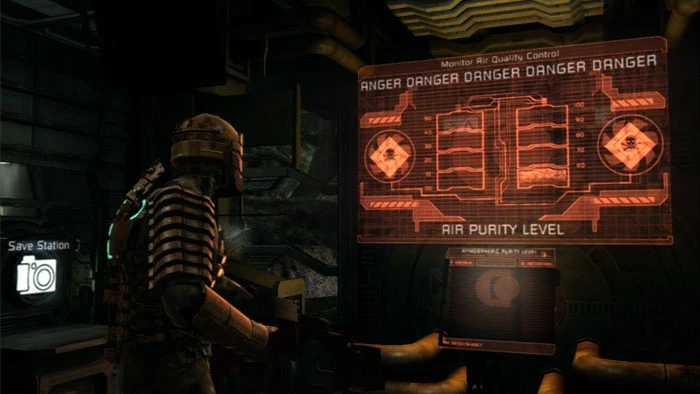
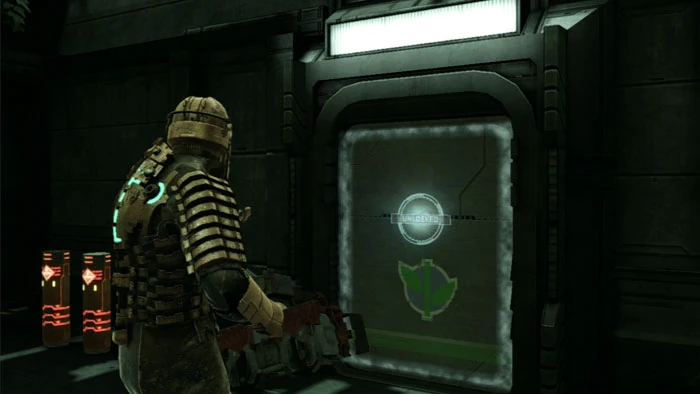
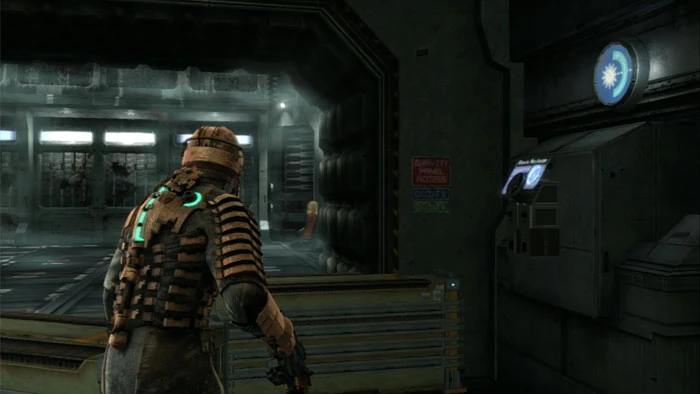
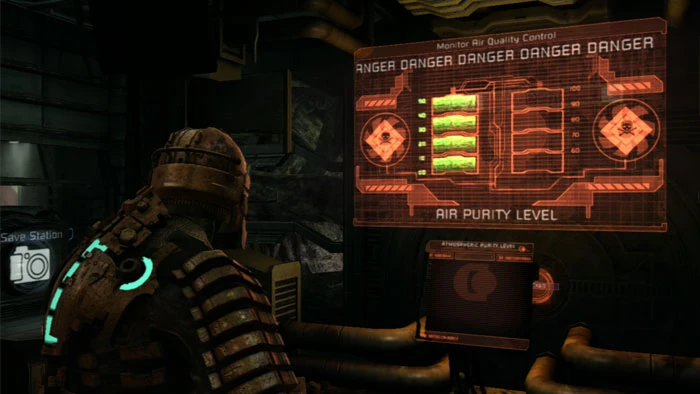
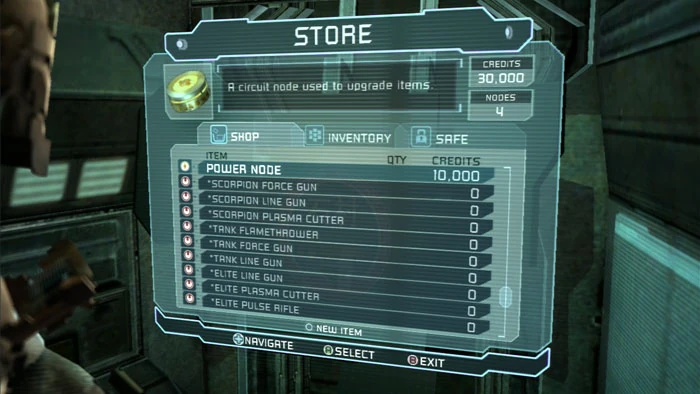
7. Through the next door is a Save Station and this Air Quality Control Console. A Store (where I purchase two Power Nodes) and an unlocked locker are to the left.
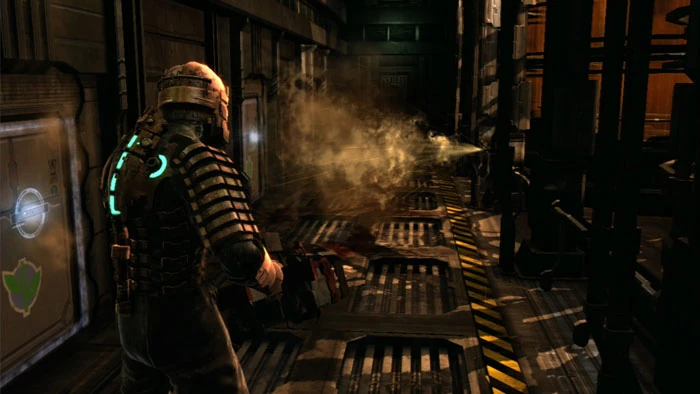
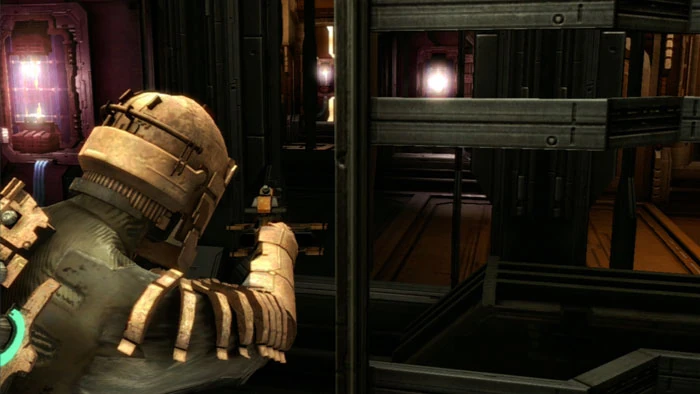
8. Your locator leads to this corridor. The sprayers fire in succession. Wait for the closest to fire before proceeding. The first room on the left is empty. The second room has an Upgrade Bench, and the third room is locked.
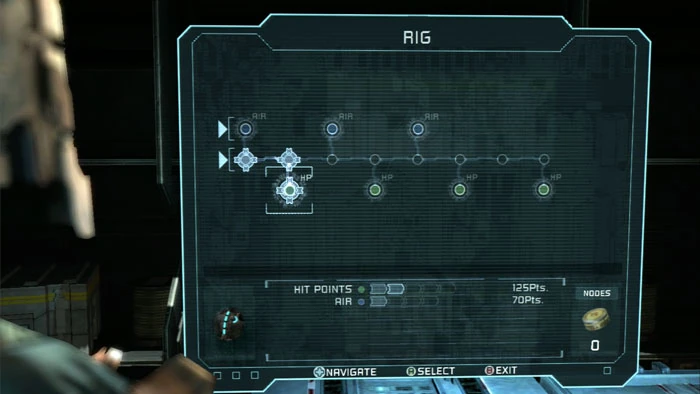
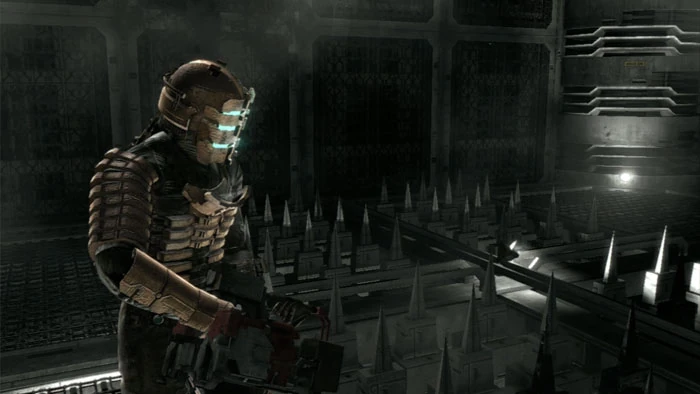
9. I make use of the Upgrade Bench. With my Plasma Cutter and Line Gun both having been upgraded to maximum damage, I now turn my attention to my RIG's hit points. I spend all three of my Power Nodes to increase my hit points from 100 to 125. All RIG upgrades carry over when you purchase a new suit.
10. Raid two cabinets at the end of the hall then ride this lift to the upper level. Ready your weapon.
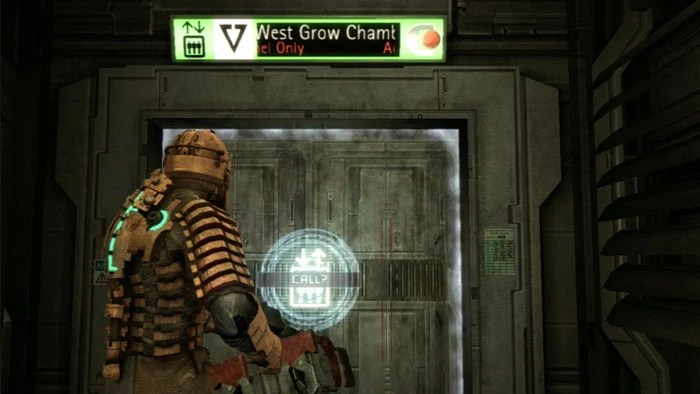
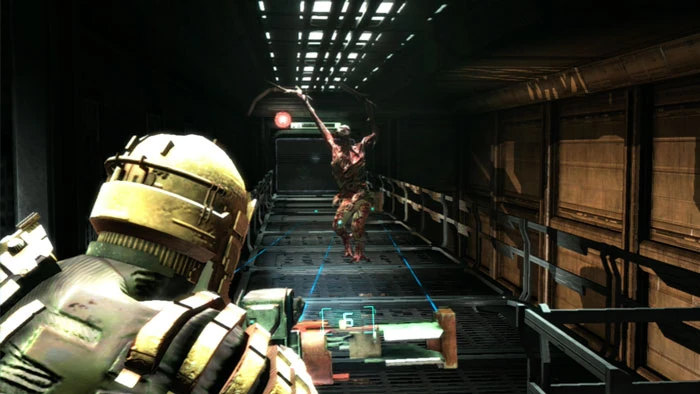 11. This Slasher is waiting on the walkway. Strike him down then enter the West Grow Chamber at the opposite end.
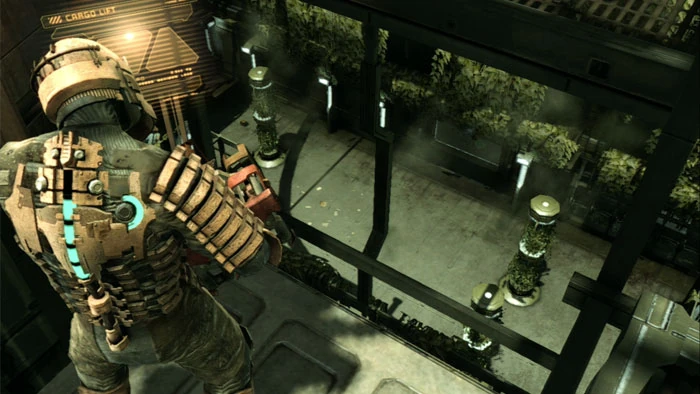
12. Tread carefully, there are numerous spawn triggers in this large room. Two pick-ups are to your left, both easily grabbed with Kinesis. An unlocked storage bin is to the right.
13. Return to the doorway for safety as enemies spawn. Here you can see two Lurkers retreating, which is the behavior they exhibit when you open the door. This can help you manage the onslaught somewhat.
14. What you don't want to do is run around the room, triggering enemies all at once. Defeat those that have spawned, reload, then carefully explore until you trigger another spawn. Be especially mindful of the air vents to the left.
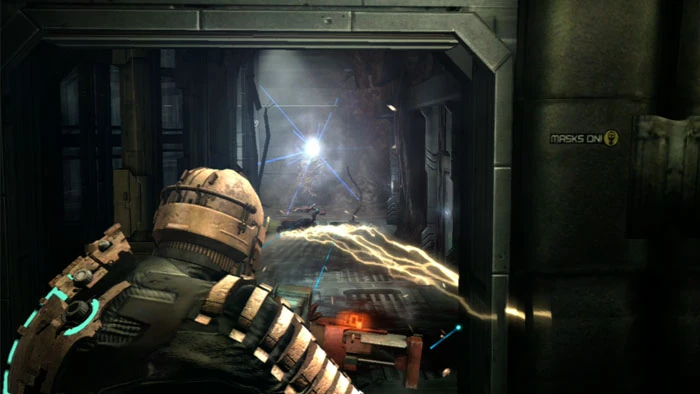
15. Plenty of explosive canisters are available if you're low on ammunition. Follow your locator to this door.
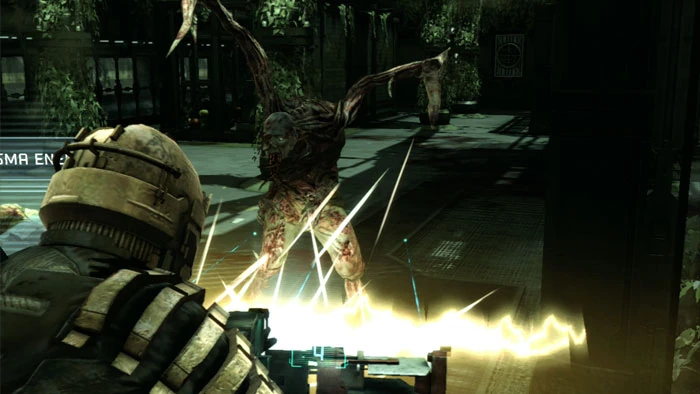
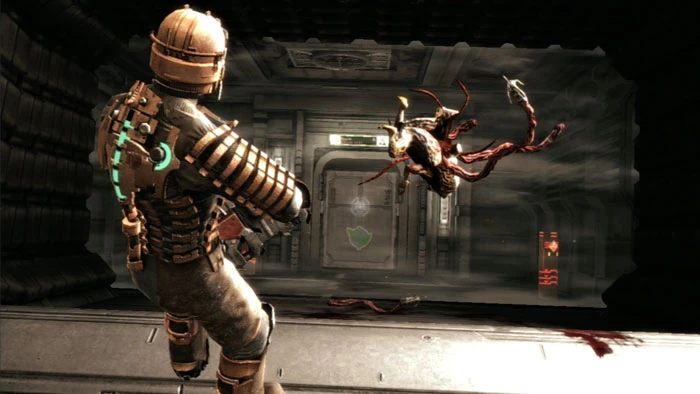
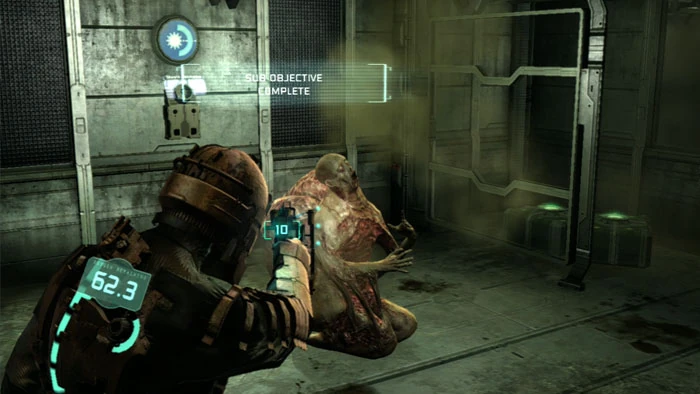
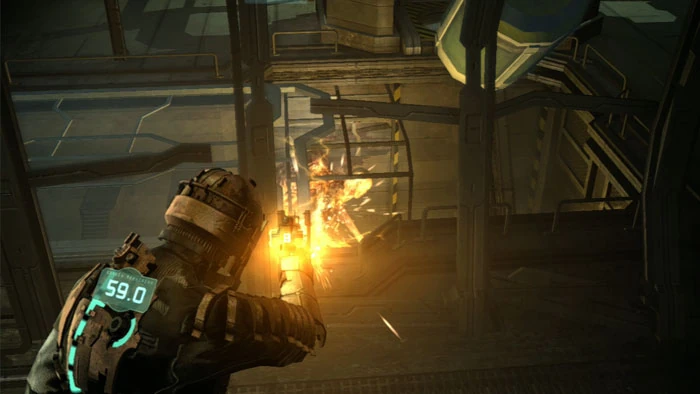
16. The air inside is poisoned, activating your Oxygen countdown. You've found your first Wheezer. Other than the noxious fumes spewed from his malformed lungs, the Wheezer poses no threat. Take him out with a couple shots from your Plasma Cutter to update your objective and trigger an attack from a Super Slasher and a Lurker.
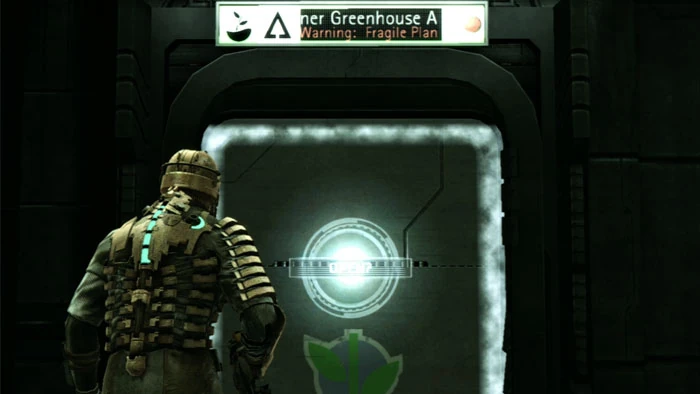
17. Your locator leads next to Inner Greenhouse A.

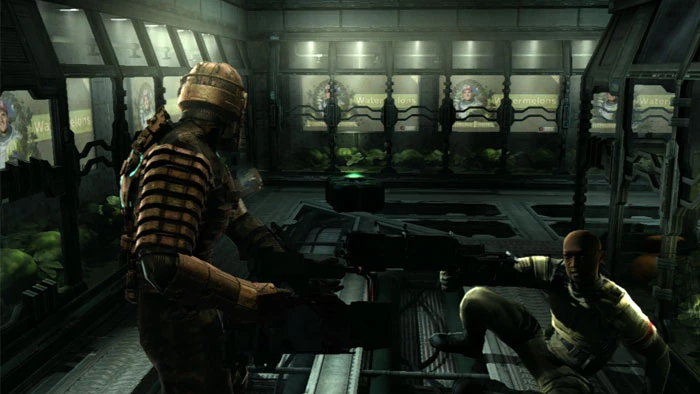
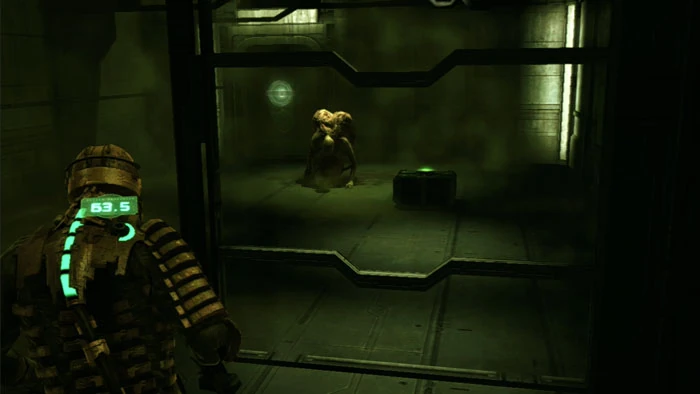
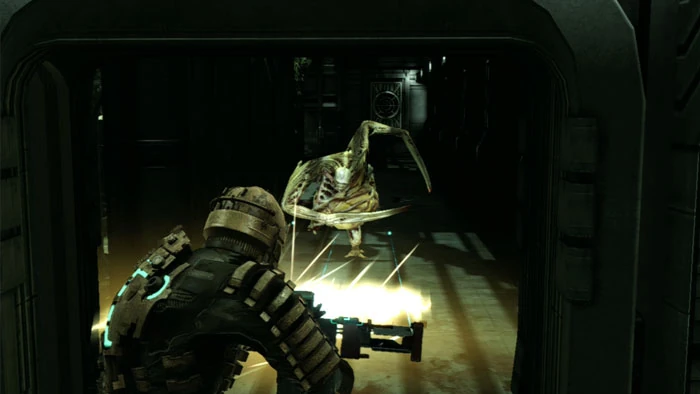
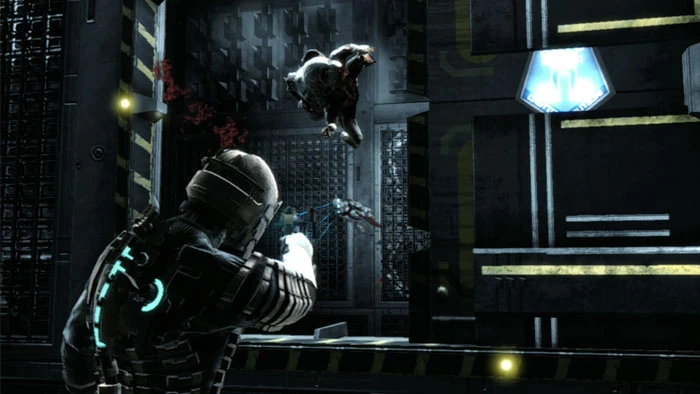
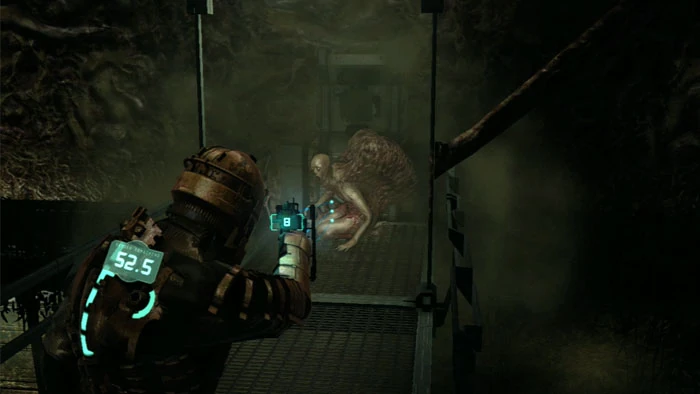
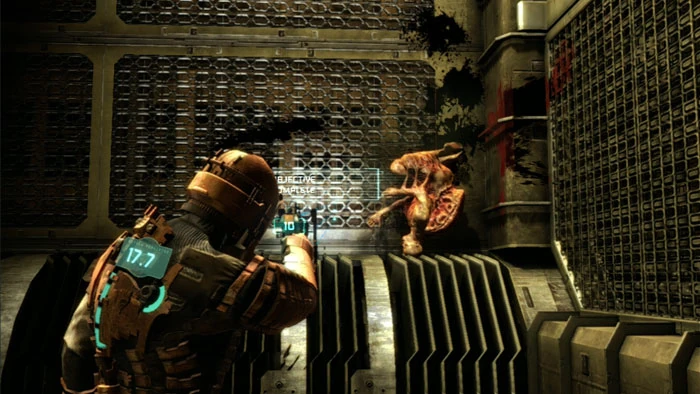
18. Inside is the second Wheezer. A total of 8 must be destroyed.
19. Grab a pick-up from the corner then be met by this Pregnant as you exit. Remember to avoid shooting the Pregnant in the belly, as he will birth a Swarm if you do.

20. Ride this lift up to level 2.
 21. Continue to follow your locator. For the time being your locator will not cause you to miss any rooms.
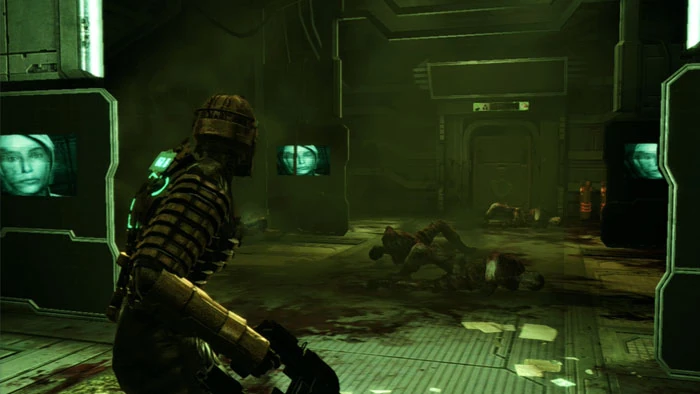
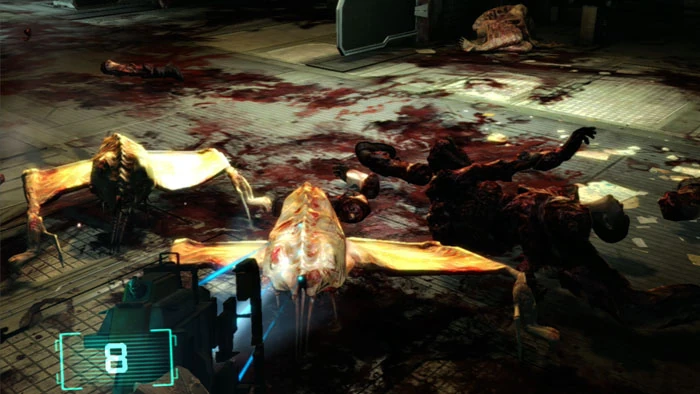
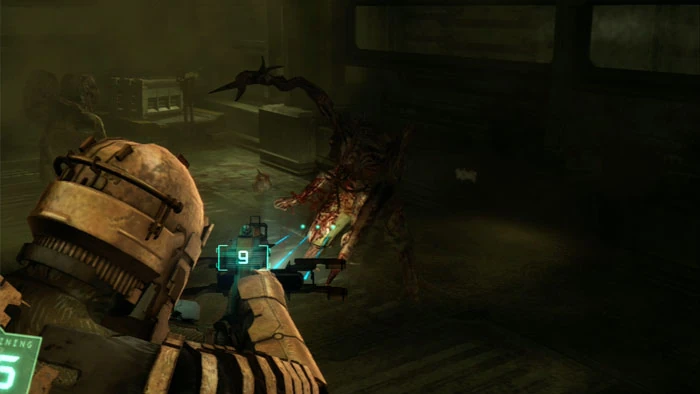
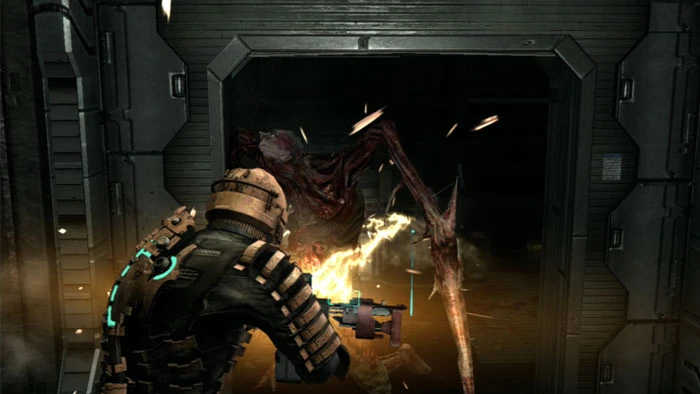
22. Witness another creepy Nicole video in this next room. Stomp these corpses thoroughly. Otherwise, a pair of Infectors will Necromorph them in a moment.
23. Euthanize Wheezer number three.
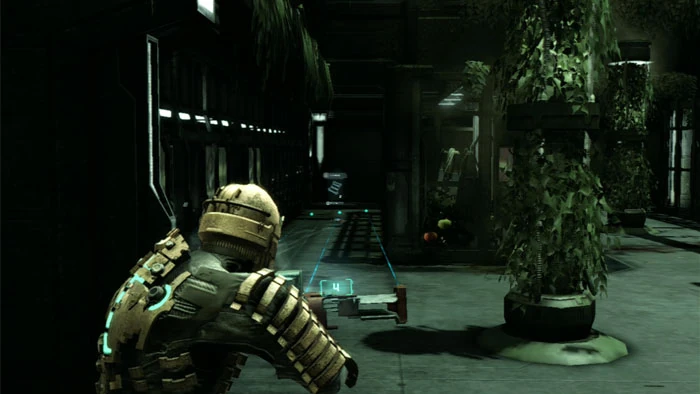
24. Here come the Infectors. These two are a handful, even without any extra Slashers. They remind me of the Flying Nun.
25. Empty the unlocked locker then spy the sixth clue to the Five-Node Cheat, a down-arrow. The sixth character of the cheat is Y.
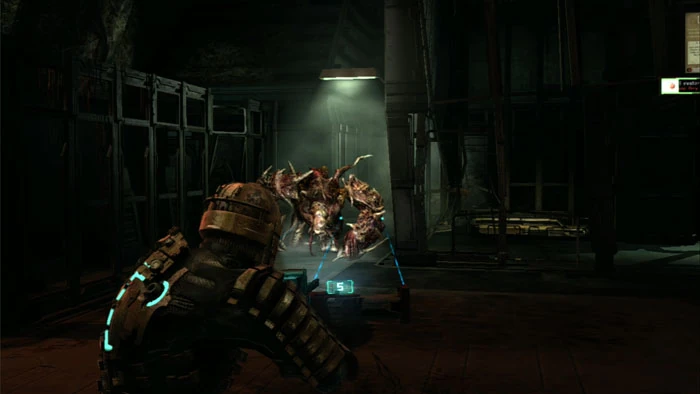
26. Return to the walkway and find this pick-up before proceeding through the door to Refrigeration West seen ahead/left.
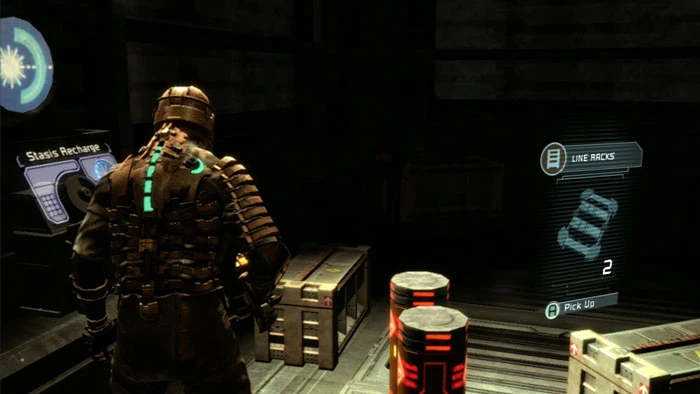
27. Use the Save Station then ready your Plasma Cutter before continuing through the door ahead.
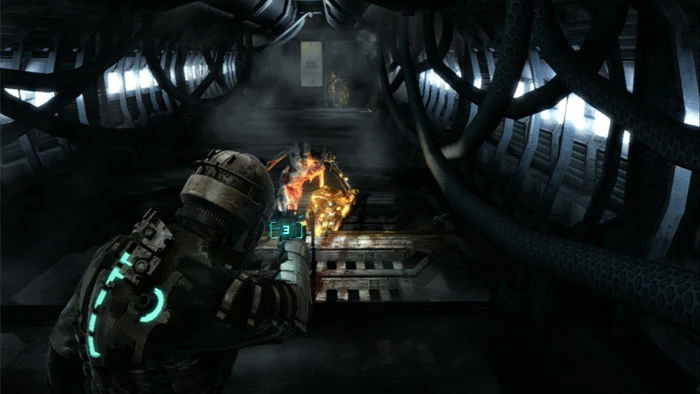
28. Here comes your next Necromorph type, the Exploder. These suicide-bombers carry a yellow sack of explosive goo that makes them easy fodder for the Plasma Cutter. Just don't let any get too close before being popped.
29. Fill up on Stasis at the Stasis Recharge, clear out the unlocked lockers to the left then enter the Zero-G room beyond.
30. Your locator is very useful for laying out a path in this confusing area. Zero-G jump to the indicated surface. Note the floating supply crate.
31. Grab hold of the door with Stasis then slide it open. A pair of Lurkers jump through.
32. Defeat the Lurkers then Zero-G jump into this next room. Note that some of these surfaces are covered in spikes, preventing you from using them as jump-to points.
33. Position yourself to open this next door with Kinesis and jump on through.
34. Another Lurker guards this doorway. Take him out then continue past.
35. Welcome to the fiery Air Filtration room. A storage bin is to your immediate right, and a pick-up is up the stairs to the left.
36. Farther right is the Cross Report 2 audio log. Ride the lift down to the lower level.
37. Find a Stasis Recharge and a pick-up at the end of the corridor.
38. Note these three fuses. (The distant ones are only visible when the vertical slats open up.) Shoot the fuses to open the corresponding doors.
39. Three chambers are ahead and must be traversed. The first and third will have alternating flames shooting through them. Wait to advance once the flame in the first chamber stops firing.
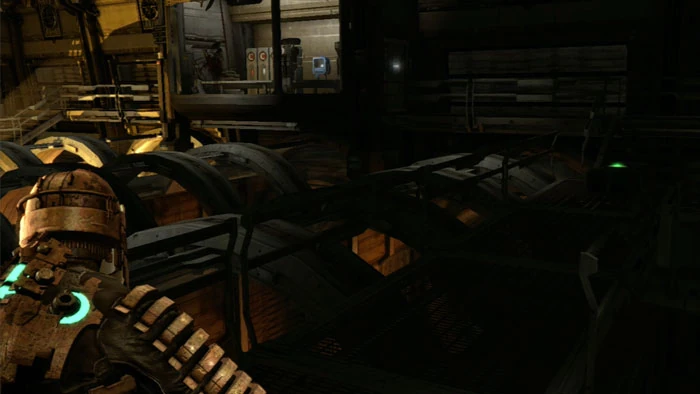
40. A power-up will occasionally spawn here on the left. Quickly advance to the next chamber which is always flame-free.
41. Rush through the third chamber when the flames subside then enter this final chamber where you'll find the fourth Wheezer. I've run this segment repeatedly and sometimes the Wheezer is defended by a Slasher, sometimes defended by an Exploder.
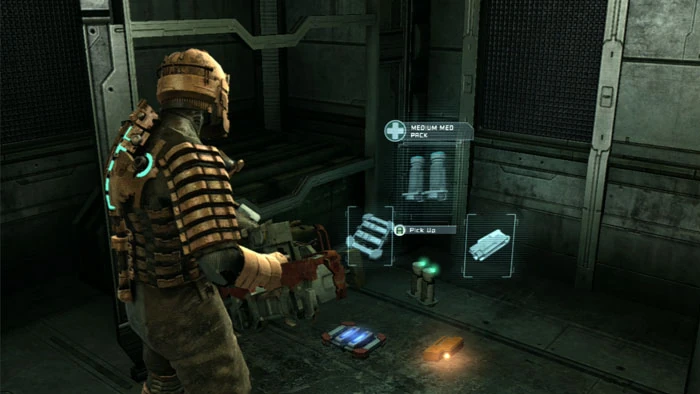
42. Ride the lift back up to the upper level, this time on the opposite side of the room. A storage bin and supply crate are to the right, and you can now access the room ahead/left where you'll find a Power Node, an unlocked locker and a pick-up.
43. Your locator leads to this lift which will take you back to the West Grow Chamber. Be met by two Lurkers and a Pregnant.
44. Your locator directs you to return to Atmosphere Control, but first ride the lift up to the still-unexplored Level 3.
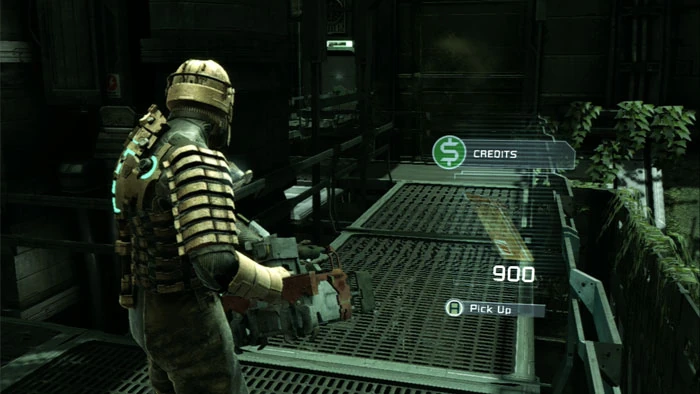
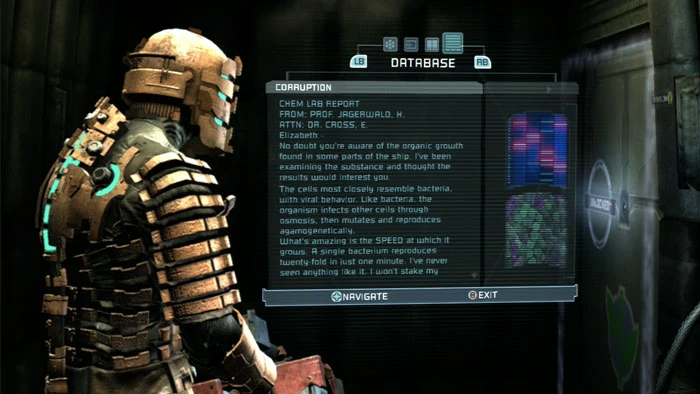
45. Follow the catwalk to be rewarded with three supply crates and the 10,000 credit Ruby Semiconductor.
46. Now you can follow your locator back to Atmosphere Control and a Save Station. Note the display indicates that four of eight areas are now clear of toxins.
47. Proceed to the East Grow Chamber, picking up this Corruption (2) text log on the way.
48. A Guardian is opposite the next door. There's no explosive canister close by this time, but a pair of Line Gun mines take him down almost as quickly.
49. Three doors are on the right. The first holds an Upgrade Bench, the second room holds this Slasher and a storage bin. The third room is a Power-Node door which holds plenty of health and ammo pick-ups plus a storage bin.
50. Ride the nearby lift to the upper level then follow the corridor to the East Grow Chamber, even more infected than the West Grow Chamber. Find two wall cabinets to the left then do battle with another Brute. This one is of the wimpy variety and drops a Power Node.
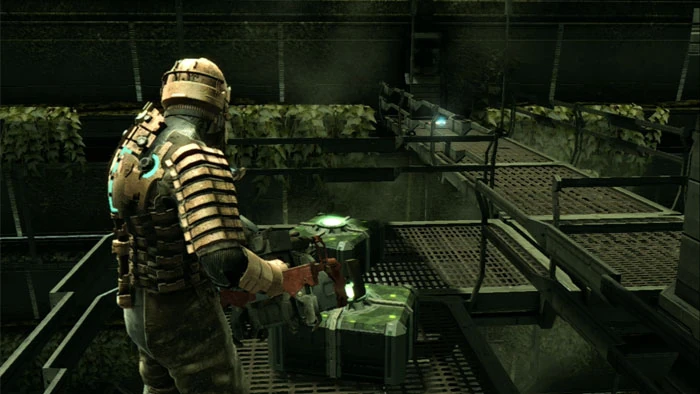
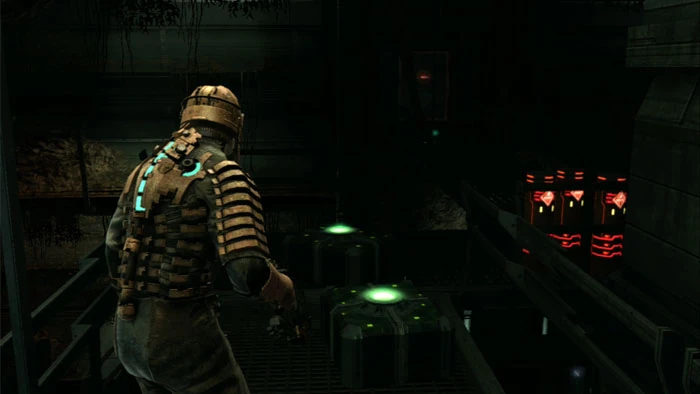
51. Smash a pair of supply crates in the right corner and raid this wall cabinet before entering the neighboring door.
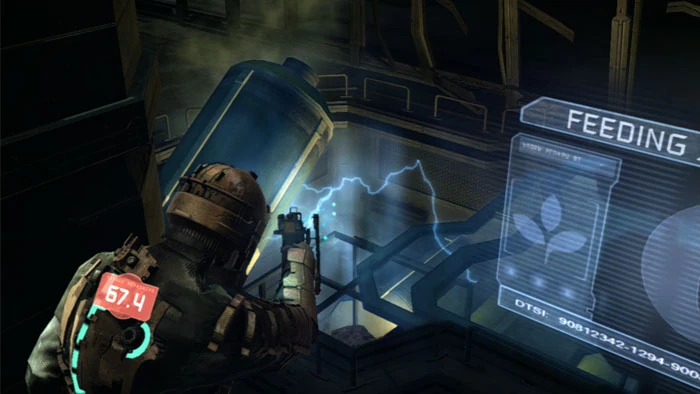
52. Take down Wheezer number five. In addition to the supply crates seen here, a third is around the corner next to a pick-up.
53. Find these pick-ups and a supply crate inside Inner Warehouse B.
54. Activate the Feeding System then quickly Stasis it.
55. Run around the other side and finish off Wheezer number six.
56. Ride the lift up to Level 3 and find Wheezer number seven on the catwalk here.
57. Descend to Level 2 and find two supply crates, the Cross Report 3 audio log and a pick-up.
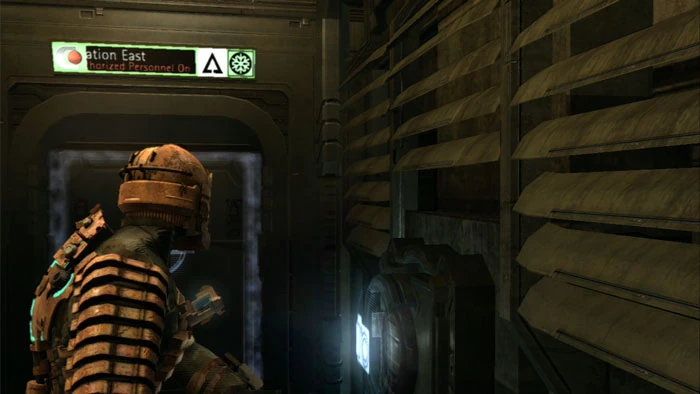
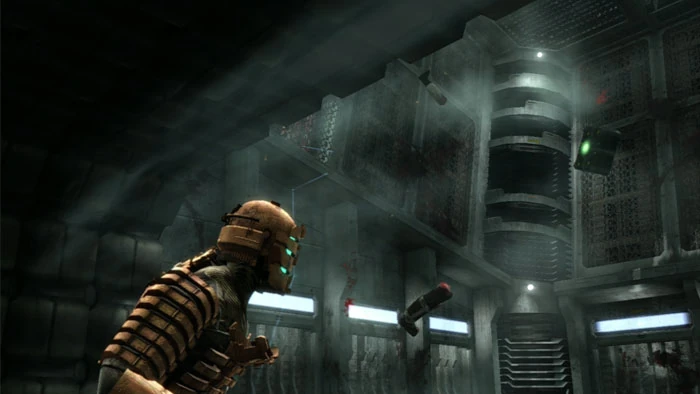
58. Enter this corridor to Refrigeration East and find a Power Node and a Save Station.
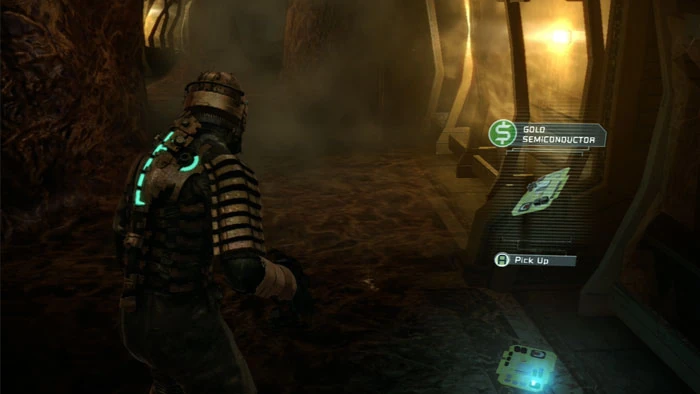
59. Ready your Plasma Cutter before picking up this Gold Semiconductor.
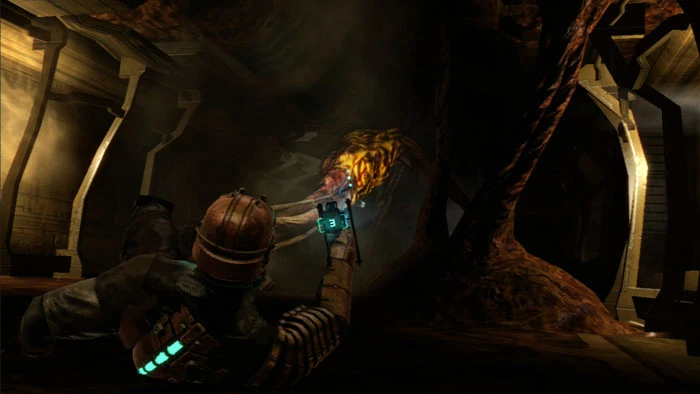
60. Wee! Time for another Drag Tentacle ride. As before, land a few shots on the vulnerable yellow node to avoid being dragged to your demise.
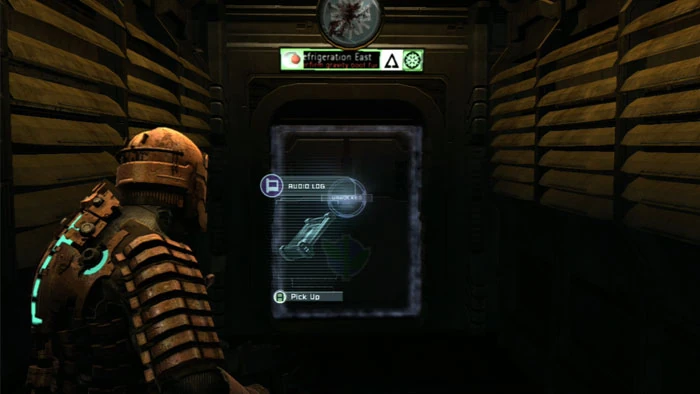
61. Listen to the Temple's Search audio log then continue to Refrigeration East.
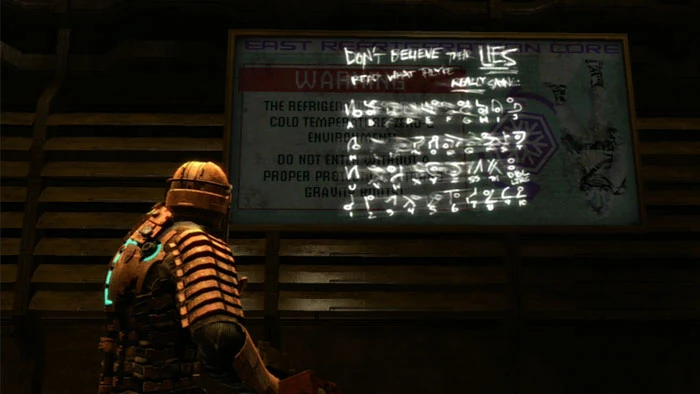
62. Here's another Unitology translation key for deciphering the 5-Node cheat. A Stasis Recharge and two storage bins are nearby.
63. Time for more Zero-G jumping fun. Follow your locator, keeping clear of the discharge from this electrical generator. Use Stasis to slow it down, allowing you to proceed.

64. You can turn off the generator here after defeating a pair of Lurkers.
65. Another pair of Lurkers guard the final Wheezer. Take him down to complete the objective.
66. Backtrack to Atmosphere Control, defeating three Slashers in this corridor.
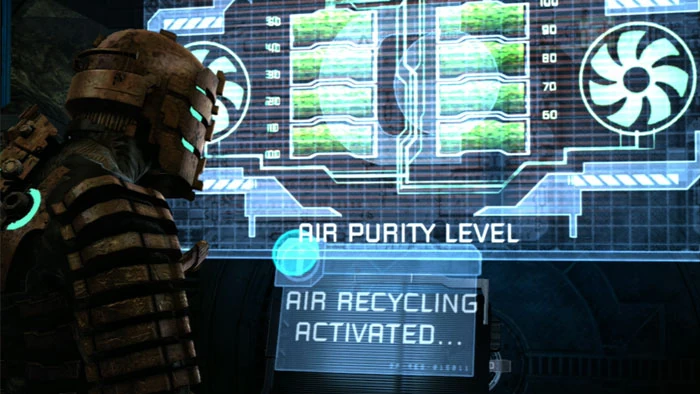
67. It's clear sailing the rest of the way back to Atmosphere Control, where you can now activate the recycling panel and complete the objective.
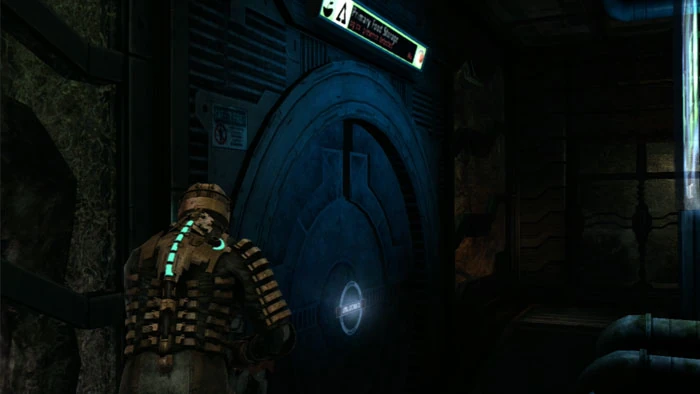
68. Transact what business you need at the Store before exiting. I sell what I can then purchase two Power Nodes.
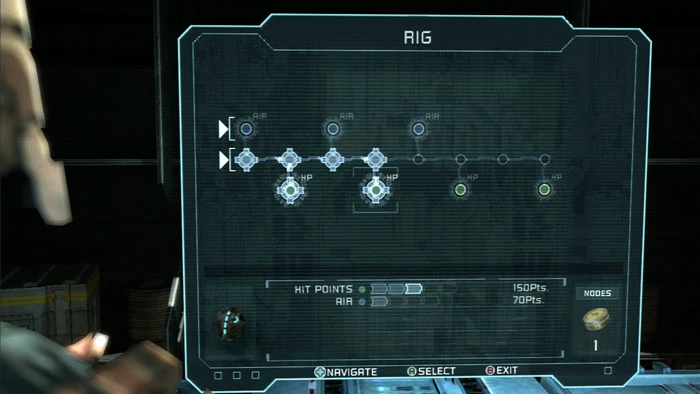
69. I backtrack to the West Grow Chamber Upgrade Bench and spend three Power Nodes to upgrade my Rig's hit points from 125 to 150.
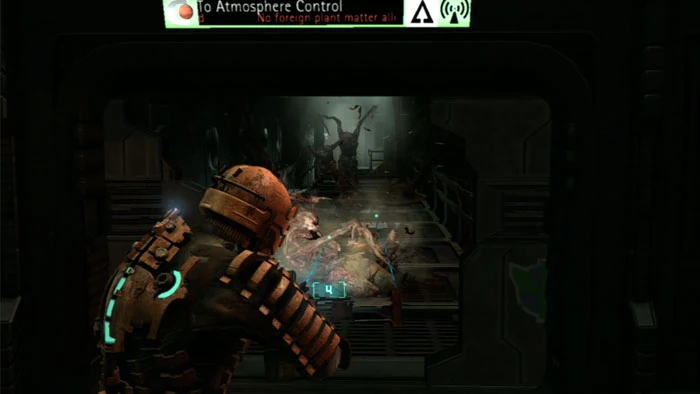
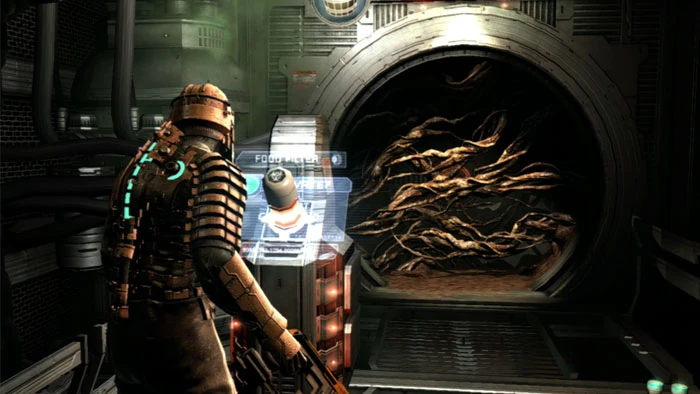
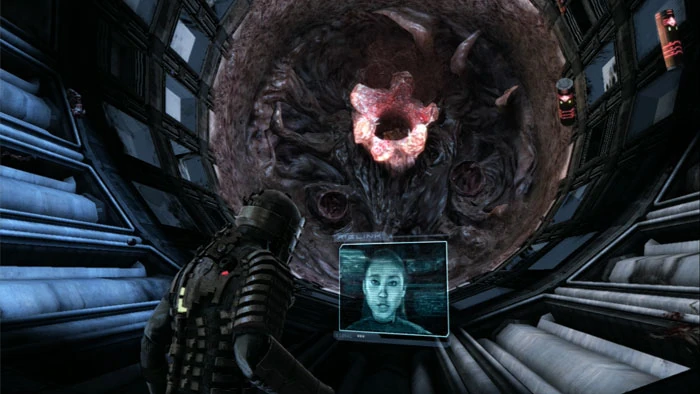
70. Continue through this circular door to Primary Food Storage.
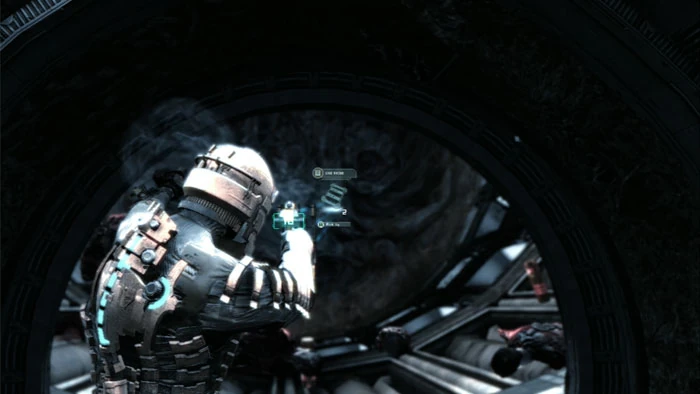
71. Listen to the A Message audio log. A pair of supply crates are ahead.
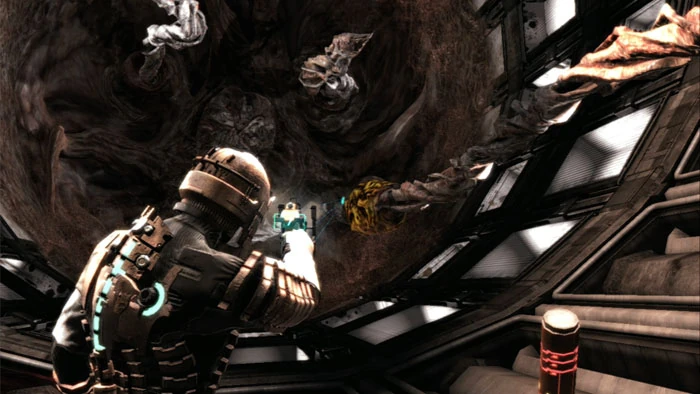
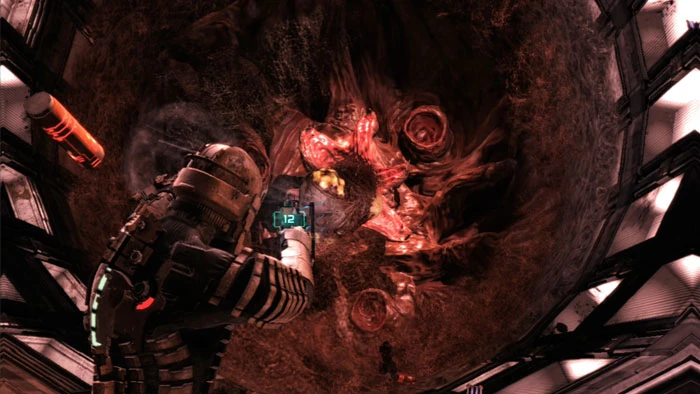
72. Use your poison capsule in the food filter to clear the final door to Food Storage. The poison doesn't completely destroy the Leviathan -- you'll need to do that face-to-face.
73. Before completely walking into Food Storage, use Kinesis to pull whatever pick-ups you can reach.
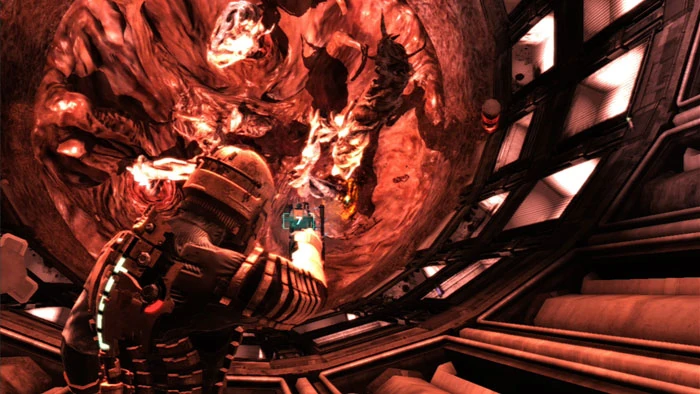
74. The Leviathan is your toughest boss of the game so far. The first stage of the battle requires you to defeat these three tentacles by popping the yellow nodes.
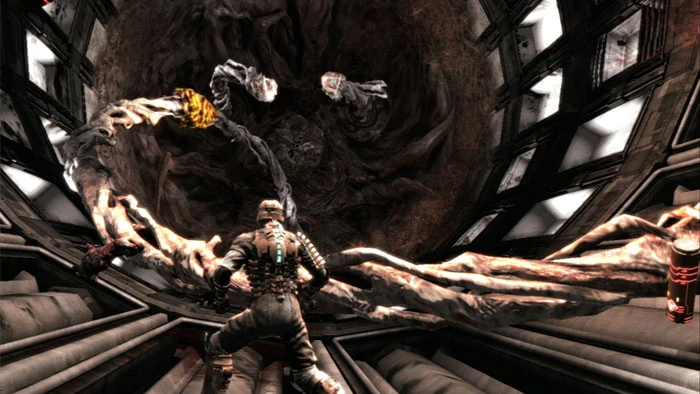
75. The tentacles will slap against the wall. When this happens, immediately begin running in the opposite direction before the tentacle has a chance to knock you down.
76. Once all three tentacles are gone, the Leviathan's mouth throws these yellow projectiles at you. Catch them with Kinesis and throw them back at the Leviathan's mouth. If you haven't upgraded Kinesis you'll have to wait to grab the projectiles until they've almost reached you.
77. Once the Leviathan's mouth has taken enough damage, three more tentacles emerge, all while the mouth continues firing at you.
78. Keep grabbing and returning the mouth's projectiles until the Leviathan is finally defeated.
79. Backtrack to the tram to complete the level.
Sources[]
Visual Walkthroughs - Dead Space Walkthrough - Environmental Hazard
|
| |||
| |||
|
|