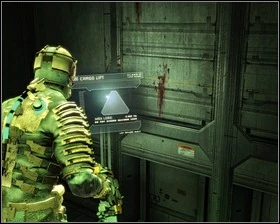
Retrieve the Captain's RIG (1)[]
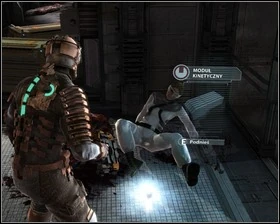
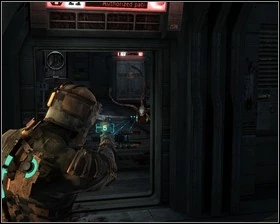
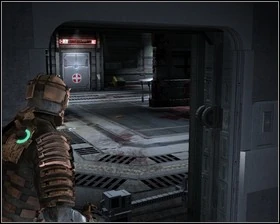
You start off in the medical bay. A dying woman will give you the Kinesis module. Aim using the LMB and fire by pressing F. There's also a Store located in the room. In the corridor filled with body bags you can find a small med pack. Clear the way with kinesis and carry on forward. On your way you will also find a Flamethrower schematics. Just take it to the nearest store and the weapon will become available. Open the door and go into the security room.
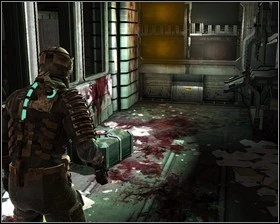
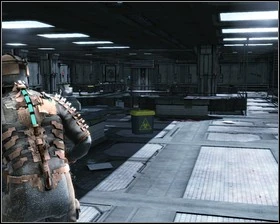
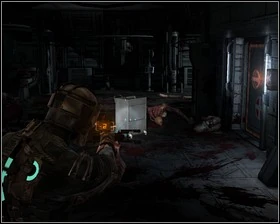
You will receive a message from Hammond. Two new objectives will appear, and it's up to you to decide the order of completing them. Before you get around it, however, use the Save Station, pick up Credits, find some ammo at the corner with body bags, and get to the room which is literally covered in blood. You'll find a crate and a locker here. You can also use the Store here.
Find the Thermite[]
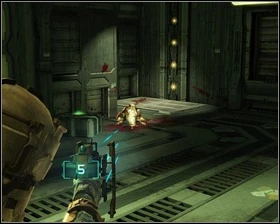
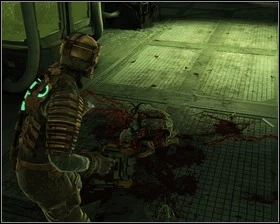
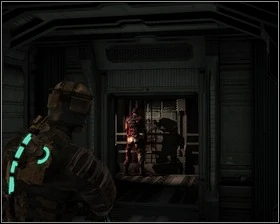
Leave through the door leading to the lab. You'll pass by the Stasis Recharge Station on your way there, which will prove quite useful as you need to slow down another door with a broken mechanism. Near the station you will find some credits. The lab seems to be safe, but not for long. A woman's voice will inform you of quarantine and some Necromorphs will crawl out – time to fight for your life. Again.
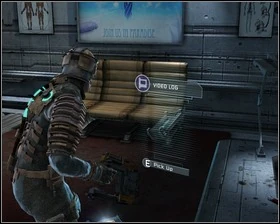
Get to the platform, go down to the lower level of the labs, deal with the Necromorphs and collect the items – the quarantine will be over. In one of the rooms you will find an interesting Video log. The lower level also offers access to the Stasis recharger. One of the lab rooms contains two open lockers and a container, so don't waste the opportunity to acquire some valuable items.
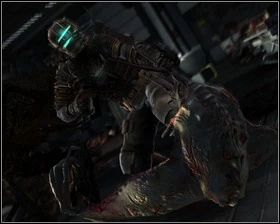
Enter the biology lab. After dealing with the naughty baby search the room – there's a crate lying around, and some Plasma energy. Go up.
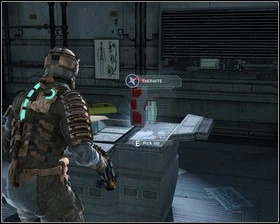
After dealing with more "Necrobabies" go into the main laboratory where the Thermite awaits. In the same room you will find a Power Node in a wall locker. Leave the research complex using stasis on the broken door.
Find the shock pad[]
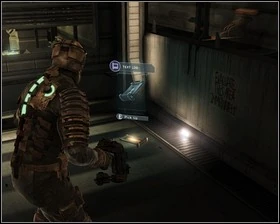
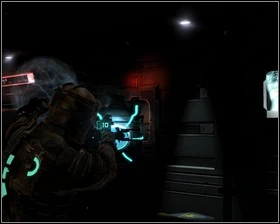
Go back to the security station (you might want to save the game here) and head to the Imaging Diagnostic room. You'll be the witness of quite a gruesome death. Near the newly created body you will find a random item. The wall to the right holds the Stasis recharger.
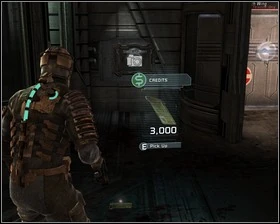
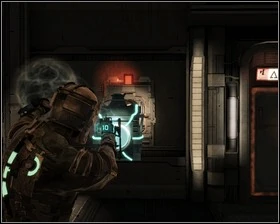
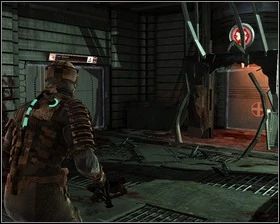
Enter the large room. The door to the left is blocked and you'll need to spend a Power node to open it. On the other side there's a Audio log, a Gold semiconductor worth 3000 credits and a large med pack worth 5000 credits. Since the Power node can be bought for 10000 credits you need to decide on your own whether listening to the log is worth 2000 credits for you. Near the note saying „Evacuate this area immediately” you'll find a Text log. In order to continue you will need to use kinesis on the large cylinder, moving it to the left. Prepare yourself for a fight.
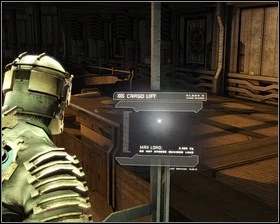
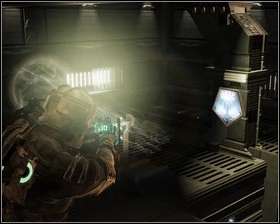
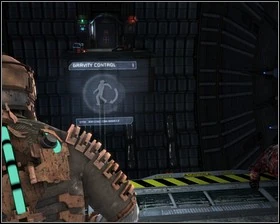
Behind the cylinder there's an office with two treasures inside - Pulse rounds schematics and a Power node. In order to fulfill the objective you will need to use the elevator, which seems to lack power at the moment. Use Kinesis to place the power unit into the slot next to the lift – now you're able to use it.
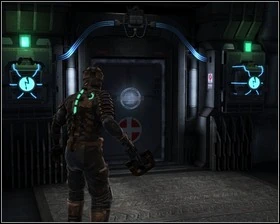
Kinesis will be of use twice now – you'll need to use it to summon a platform in order to proceed forward. You'll reach the zero-G Therapy Area this way. There's a Save point to your left, be sure to use it. On the right side of the door there's a fuse box you'll need to attack in order to open the door.
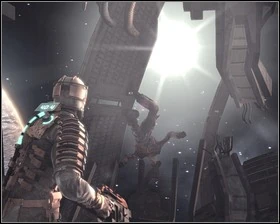
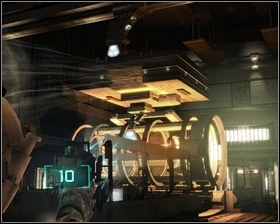
You can either spend the next seconds admiring the beauty of the space or rush to the next door before your oxygen runs out. You'll reach a large spherical room in which you'll need to activate zero-G from the panel just next to the entrance.

Now is the time to practice some jumping – in order to jump to a certain point target it and press Ctrl or Y if on Xbox 360. This way you'll need to get to the door right across the room. When you get there Kinesis one of the power units and place it in the slot marked red. Enter the room – our main interest here is the Shock Pad, be sure however, that you don't miss the Audio log and be sure to check all the lockers. On your way back you will have to fight in zero-G.
Destroy the Barricade[]

Backtrack to the security station. You'll need to fight off some Necromorphs in the vacuum and then use your remaining Oxygen to check the nearby lockers. When you'll leave the zero-g therapy complex visit the Save station. Then use kinesis again to summon the platform and continue.

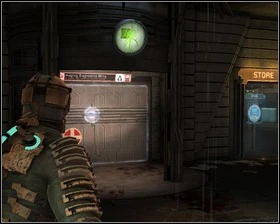
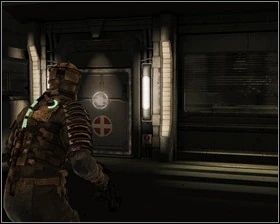
On your way back you'll encounter a few more Necromorphs. When you reach the familiar surroundings of the security station save the game and buy necessary equipment. After you're done with that you can proceed destroying the barricade – just approach it and press E.
Retrieve Captain's RIG (2)[]
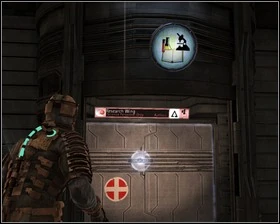
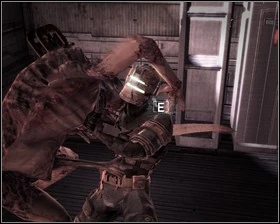
The coast is clear. Proceed onwards to find a Video log. When you reach the ER more Necrobabies will attack you. After dealing with them search the room – there are some crates and lockers here, as well as the Oxygen recharger the monster drops. You need to get to the end of the ER Hallway A, but the door is locked. Kinesis a power unit in order to open it.

The next room contains an Audio log, a Text log and the Oxygen recharger. There's also a locked room here, which can be opened by using a Power node. Behind the door you will find the Line racks schematics and some random items. Proceeding onwards you will reach intensive care which contains yet another disturbing scene as well a Save station. Continue along the path until you reach the elevator to the morgue.

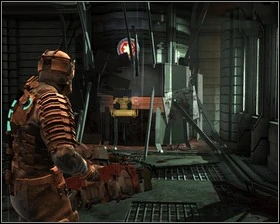
In the morgue you will be the witness of a grotesque transformation of captain's body into a Necromorph. After the creature is defeated it will drop our objective - the Captain's RIG. Search the area to find a Text log, a Power node and few other items of value.
Go to the Engineering[]
The elevator that activated after the Captain's death will take us up. Heading towards the security station we will soon reach more familiar surroundings. Now head back to the tram you used to arrive in this chapter, trying to collect everything you may have missed before and not letting your guard down for even a second.
|
| |||
| |||
|
|